Installation Guide
This guide walks you through a complete environment setup — from installing Flutter to running GreenCart on a real device or emulator.
:::tip Already have Flutter installed? Skip straight to the Quick Start → and be running in under 5 minutes. :::
At a Glance
| Step | What You'll Do |
|---|---|
| 1 | Install Git |
| 2 | Install Flutter SDK |
| 3 | Install Android Studio |
| 4 | Set Up Android SDK |
| 5 | Run Flutter Doctor |
| 6 | Set up Emulator or Device |
| 7 | Install VS Code + Extensions |
Step 1 — Install Git
Git is required to manage your project files.
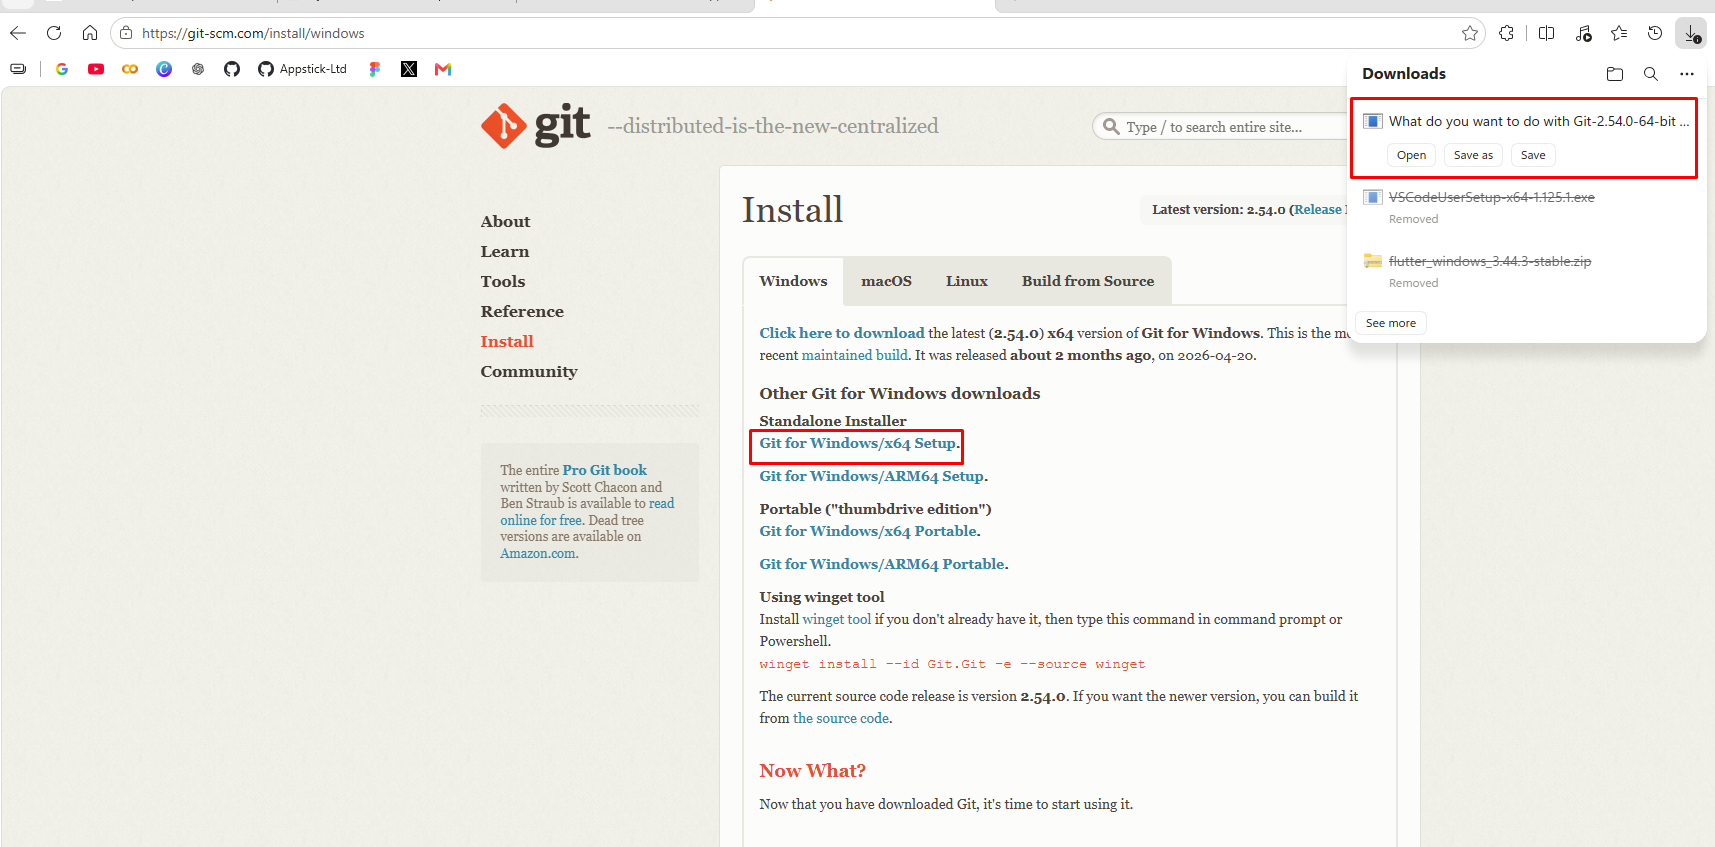
- Download Git from git-scm.com
-
Run the installer with the default settings — no changes needed.
-
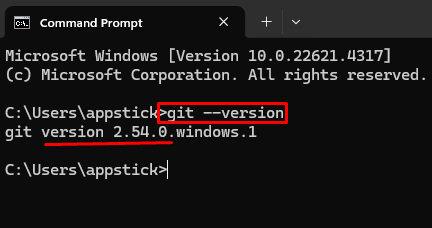
Verify the installation:
git --version
Expected output: git version 2.x.x
Step 2 — Install Flutter SDK
- Windows
- macOS
- Linux
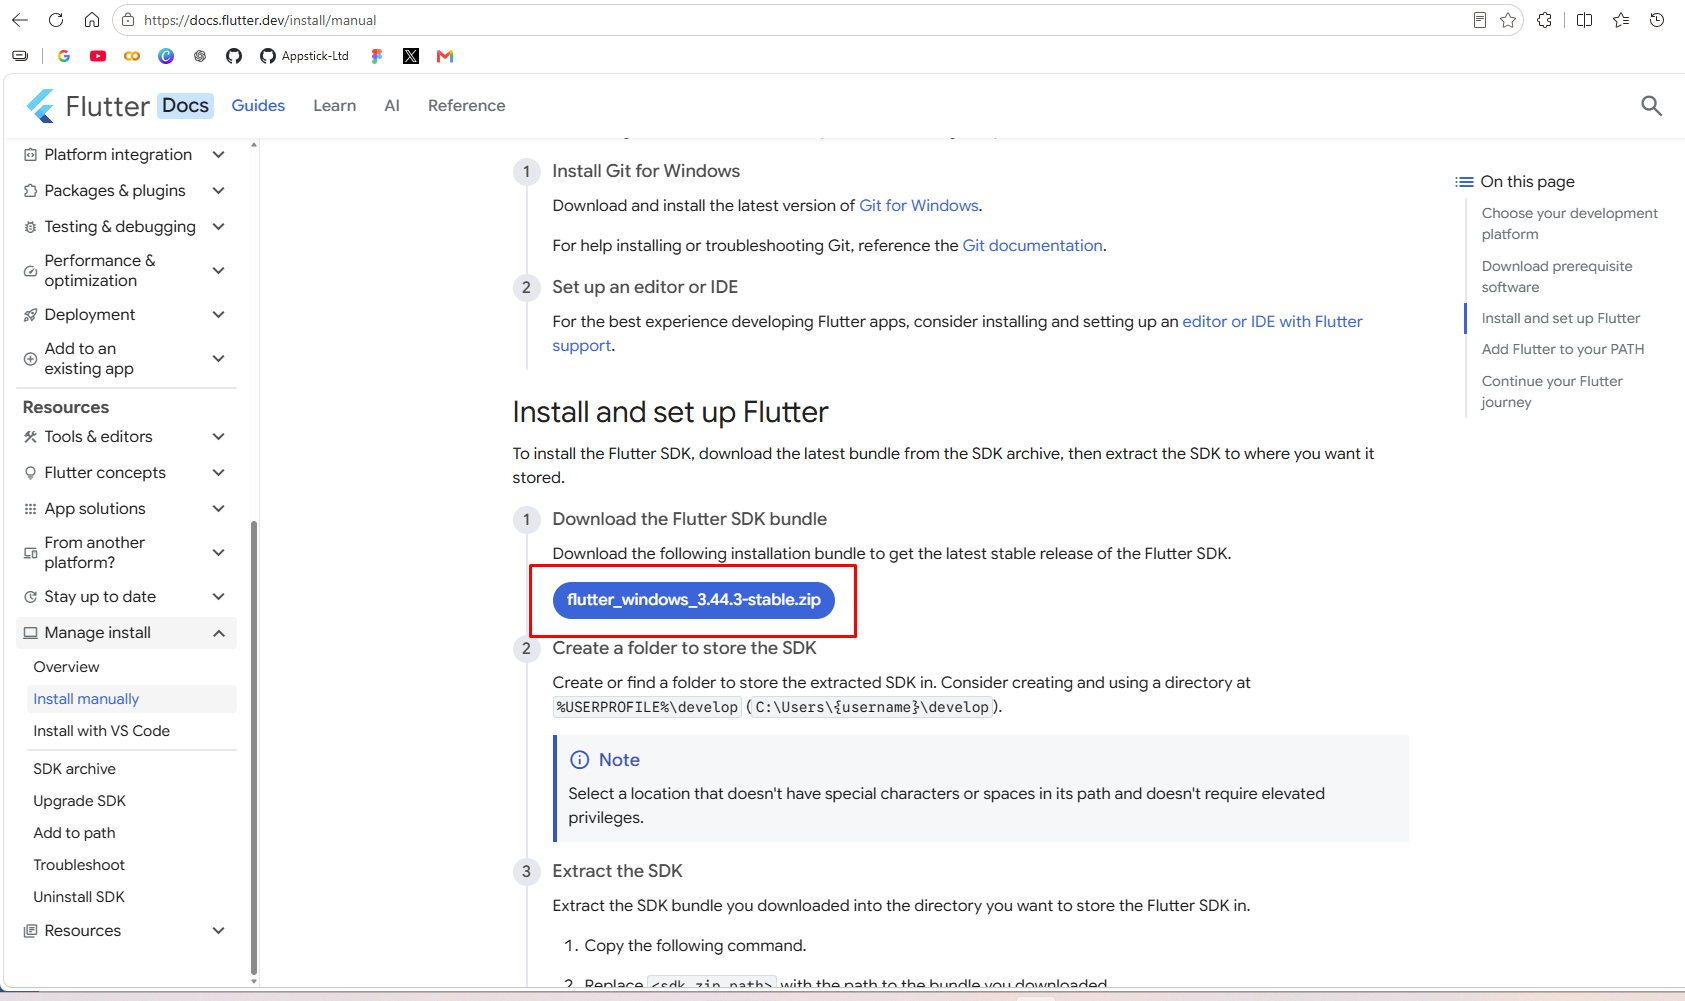
- Download the Flutter SDK from flutter.dev
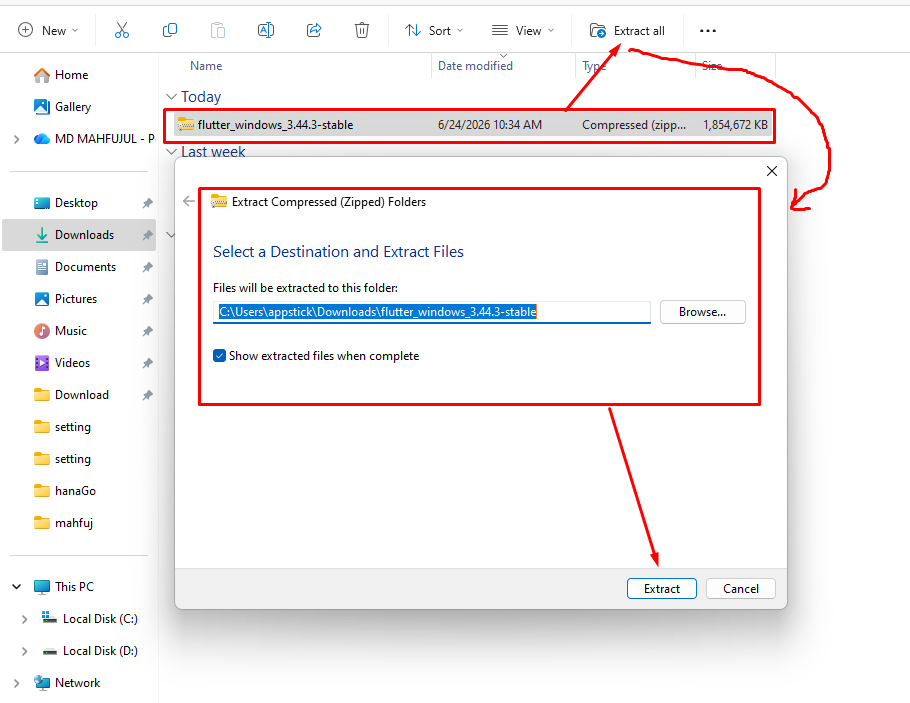
- Extract the zip to
C:\flutter
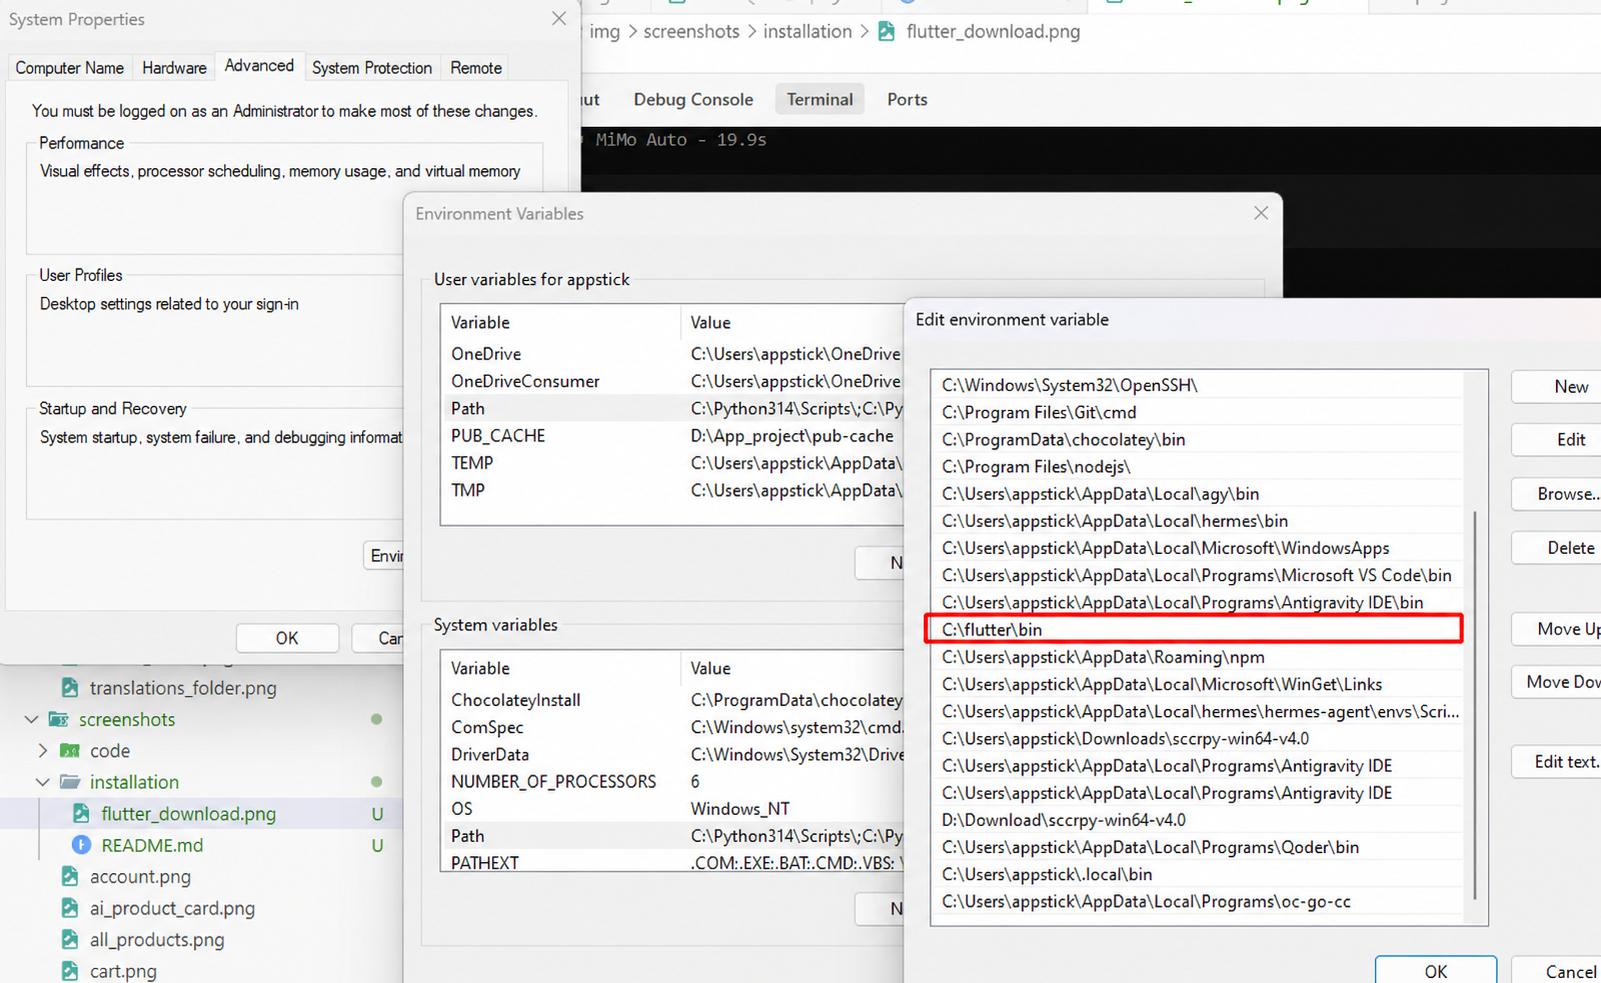
- Add Flutter to your PATH:
- Search for "Edit the system environment variables" in Windows Search
- Click Environment Variables
- Under System Variables, select Path → Edit → New
- Add
C:\flutter\binand click OK
- Open a new terminal and verify:
flutter --version

# Install via Homebrew (recommended)
brew install --cask flutter

# Or manually — add to ~/.zshrc or ~/.bash_profile
export PATH="$HOME/flutter/bin:$PATH"

# Verify
flutter --version
# Download the .tar.xz from flutter.dev and extract
tar xf flutter_linux_*.tar.xz
export PATH="$PATH:$(pwd)/flutter/bin"

# Verify
flutter --version
Step 3 — Install Android Studio
Android Studio provides the Android SDK, emulator, and build tools needed by Flutter.
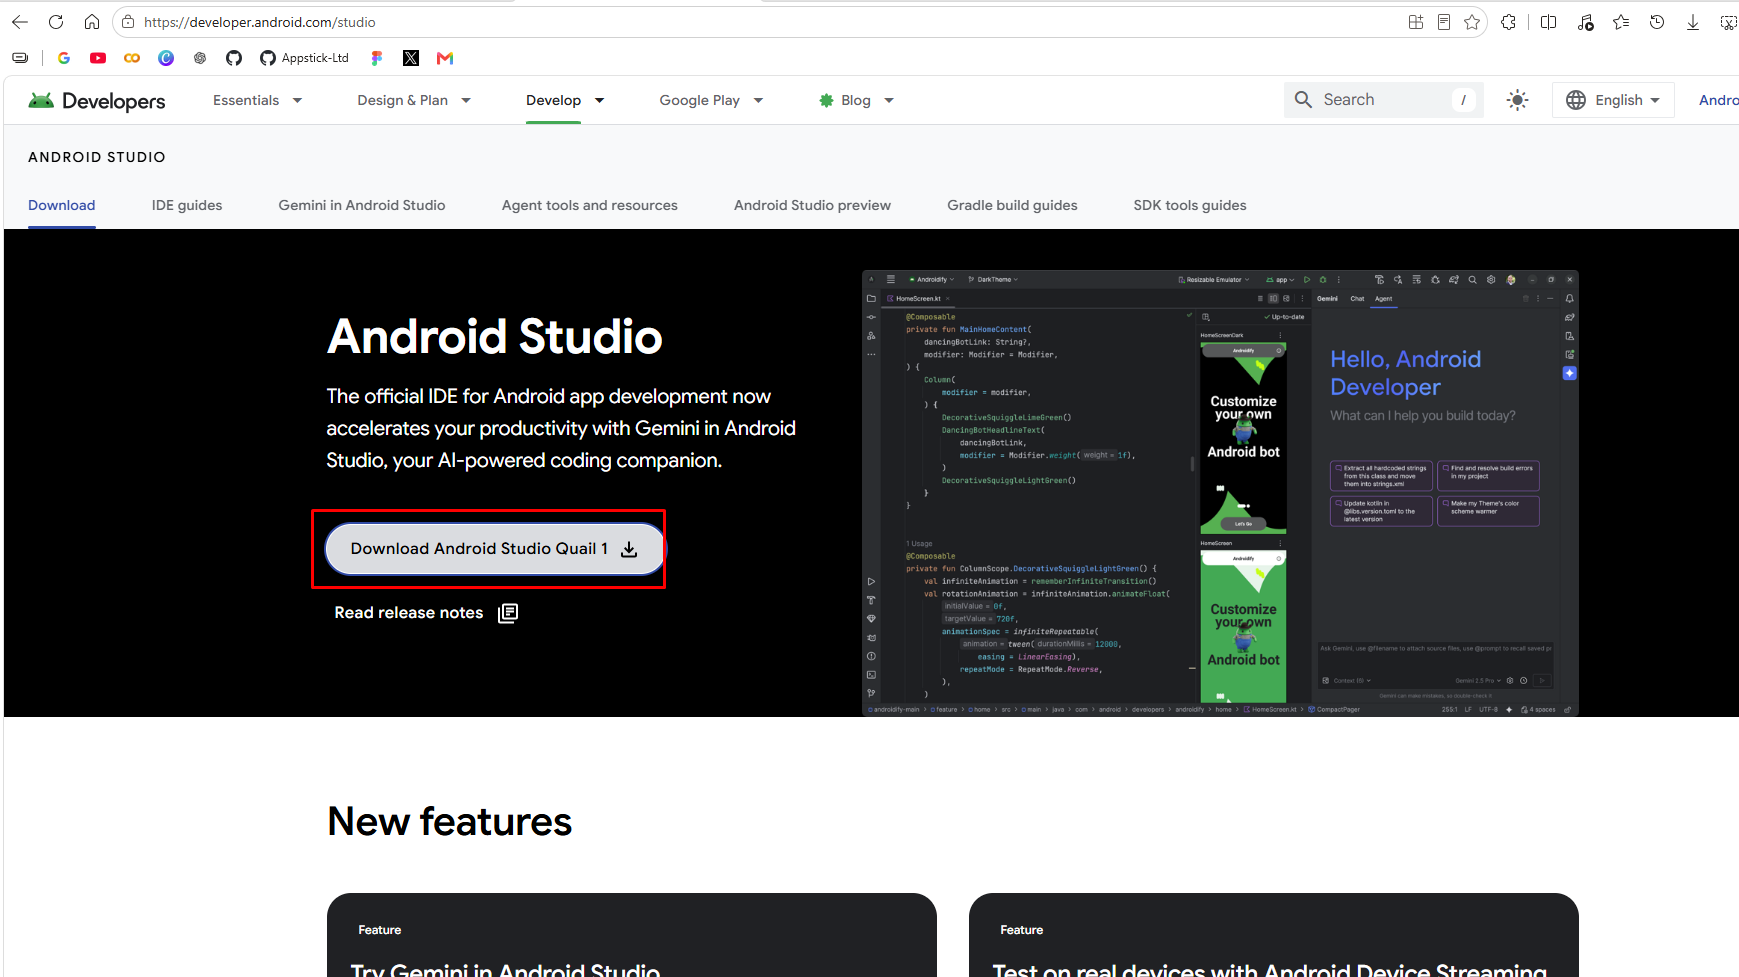
- Download from developer.android.com/studio
-
Run the installer and follow the setup wizard with default settings.
-
On first launch, Android Studio will download required SDK components — let it complete.
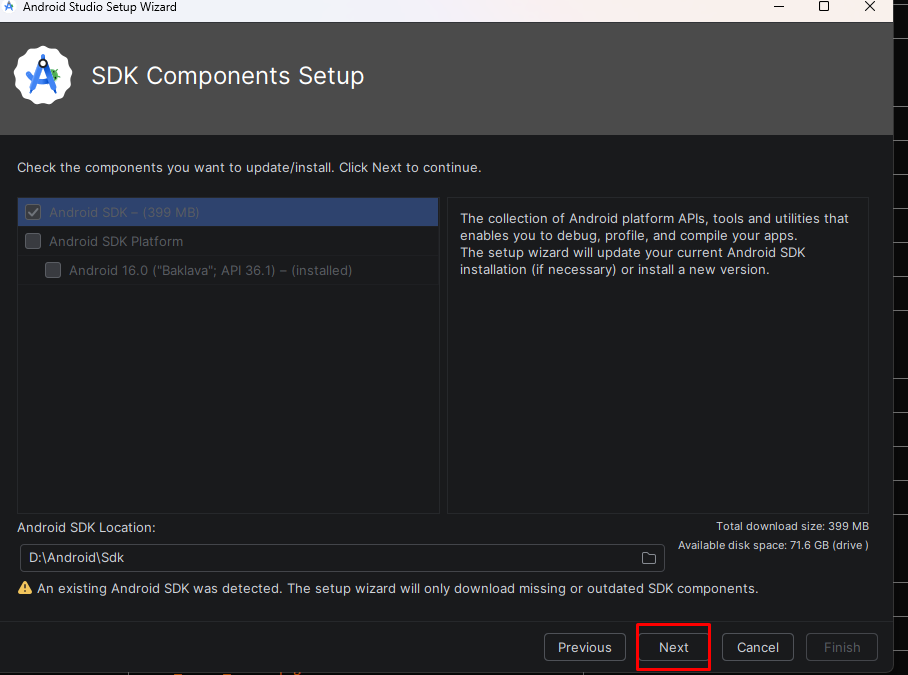
After installation, open Android Studio → SDK Manager and make sure Android SDK Platform-Tools and at least one SDK Platform (API 34+) are installed.
Step 4 — Set Up Android SDK
After installing Android Studio, you need to configure the Android SDK:
-
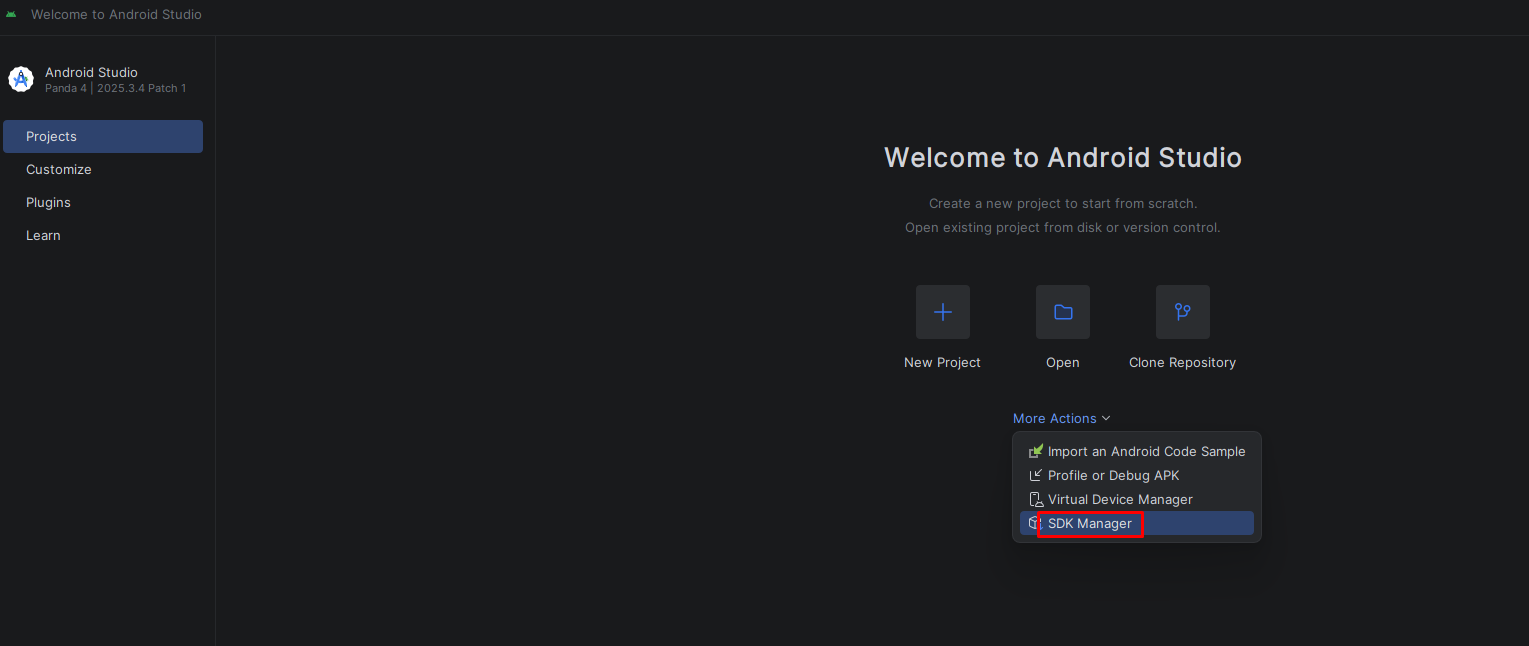
Open Android Studio
-
Go to More Actions (or Configure) → SDK Manager
-
Select the SDK Tools tab
-
Check Android SDK Command-line Tools (latest)
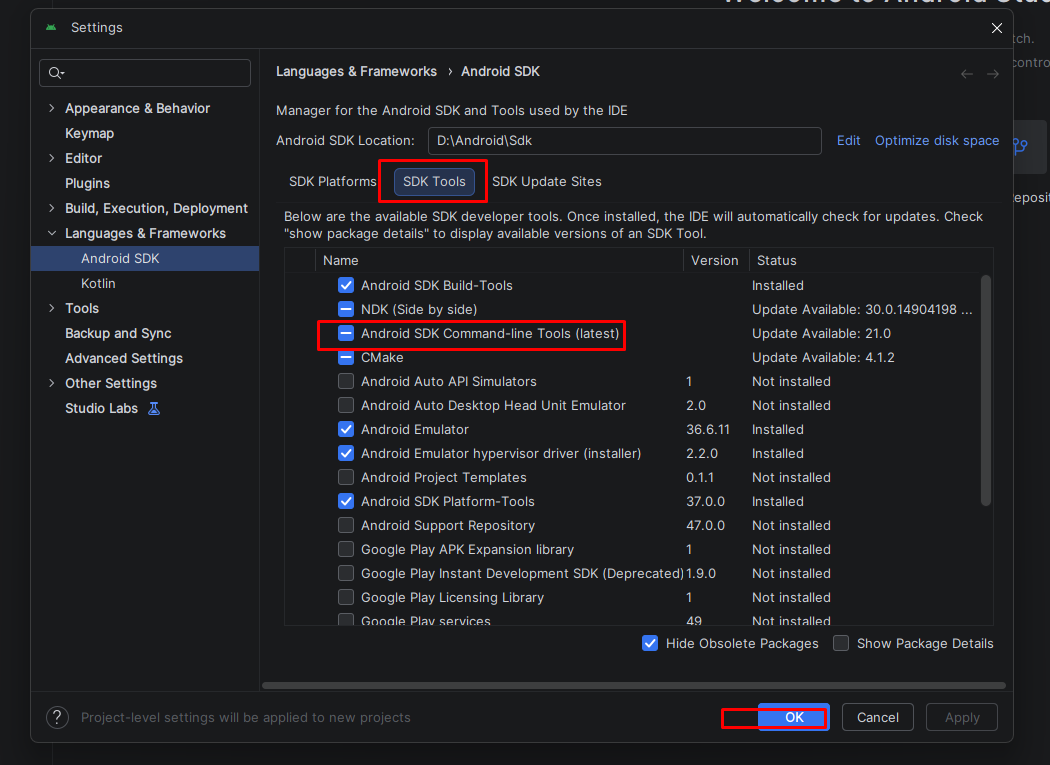
- Click Apply → OK to install
This step is required for Flutter to properly detect your Android toolchain.
Step 5 — Run Flutter Doctor
flutter doctor checks your entire environment and tells you exactly what's missing.
flutter doctor
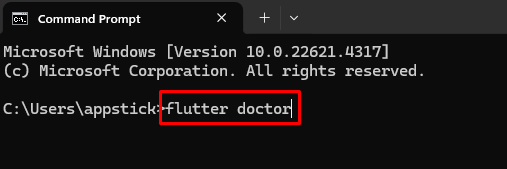
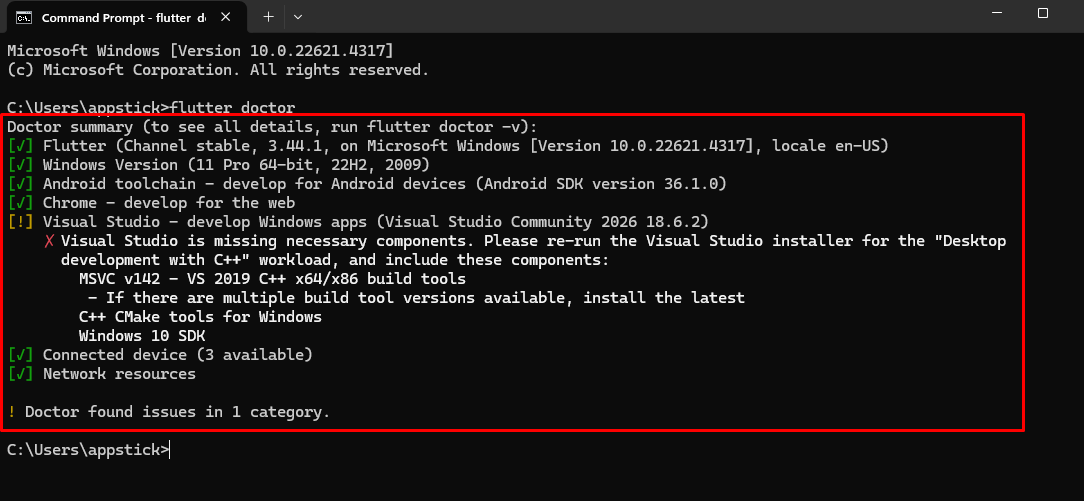
A fully healthy output looks like this:
[✓] Flutter (Channel stable, 3.22.x, Dart 3.x)
[✓] Android toolchain – develop for Android devices
[✓] Android Studio (version 2024.x)
[✓] VS Code (version 1.9x.x)
[✓] Connected device (1 available)
[✓] Network resources
:::warning Common Issues
| Issue | Fix |
|---|---|
| Android licenses not accepted | Run flutter doctor --android-licenses and accept all |
| Xcode not found (macOS) | Install Xcode from the Mac App Store, then run sudo xcode-select --switch /Applications/Xcode.app/Contents/Developer |
| CocoaPods missing (macOS) | Run sudo gem install cocoapods |
flutter not found | Make sure C:\flutter\bin is in your PATH and you opened a new terminal |
| ::: |
Step 6 — Set Up an Emulator or Device
You need a device to run the app. Choose one option:
- Android Emulator
- iOS Simulator (macOS only)
- Physical Device
- Open Android Studio
- Click Device Manager (icon in the right sidebar or top toolbar)
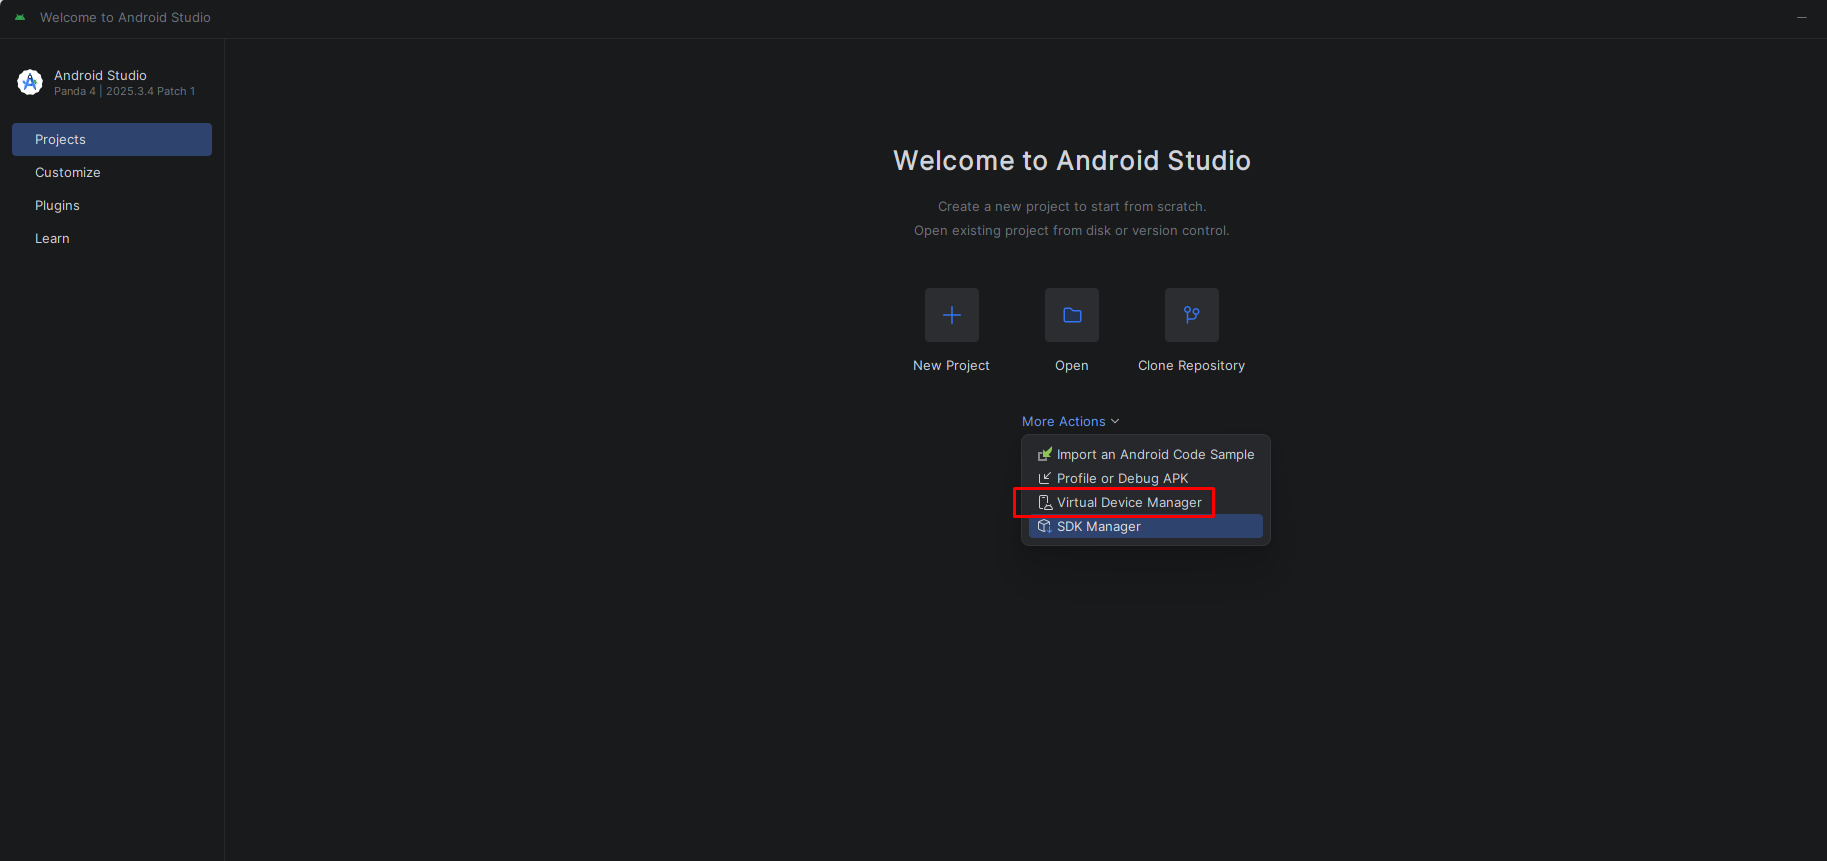
- Click Create Device
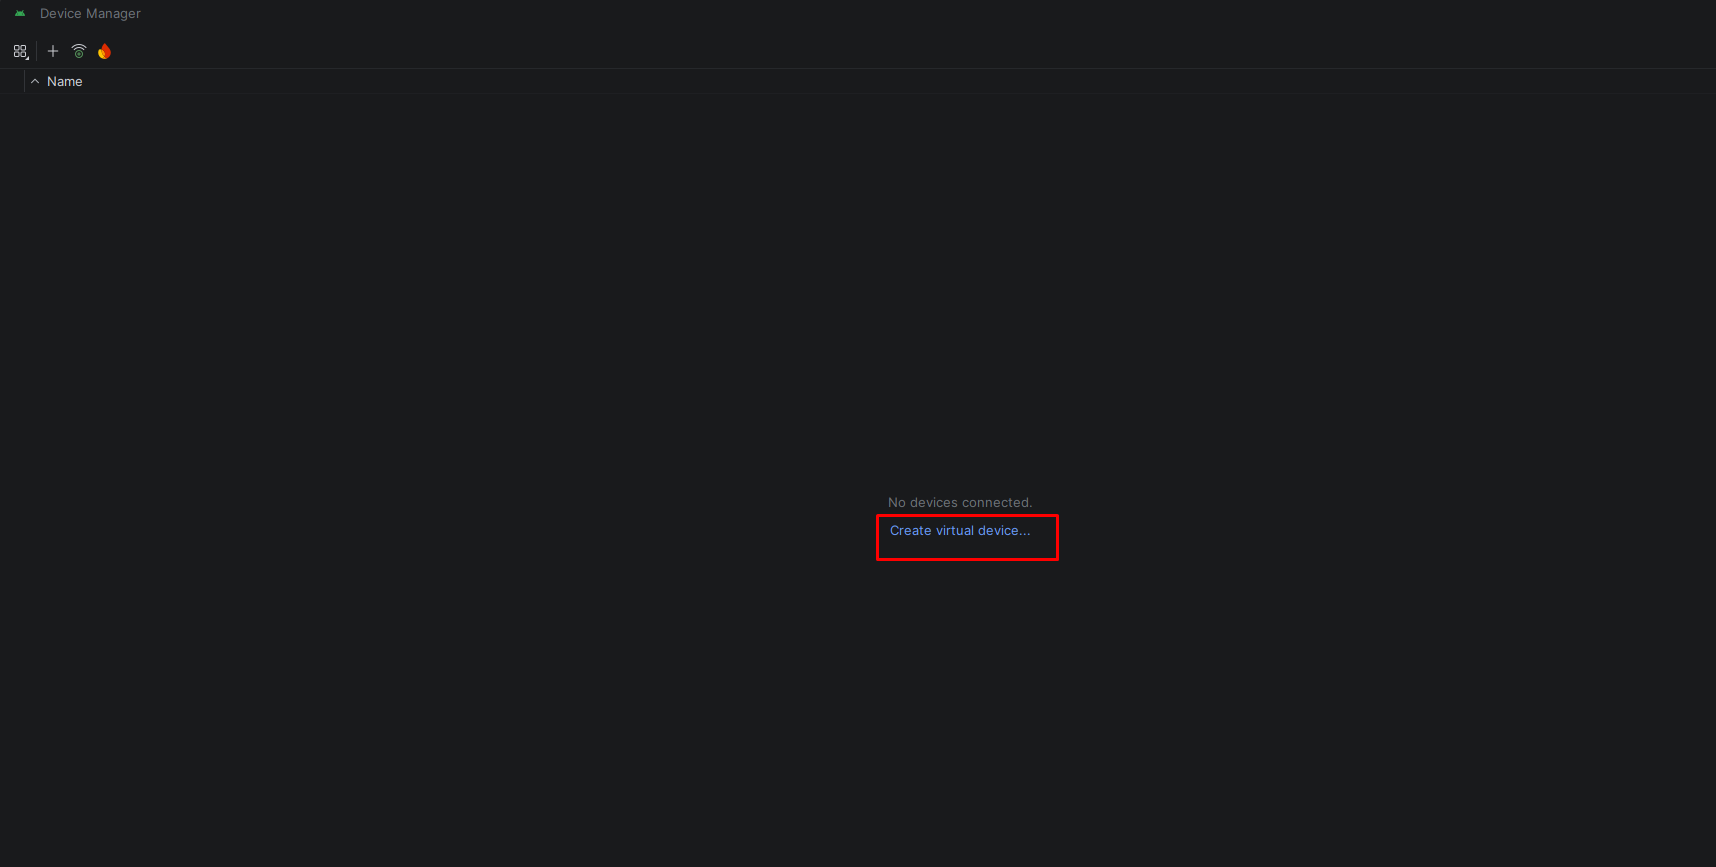
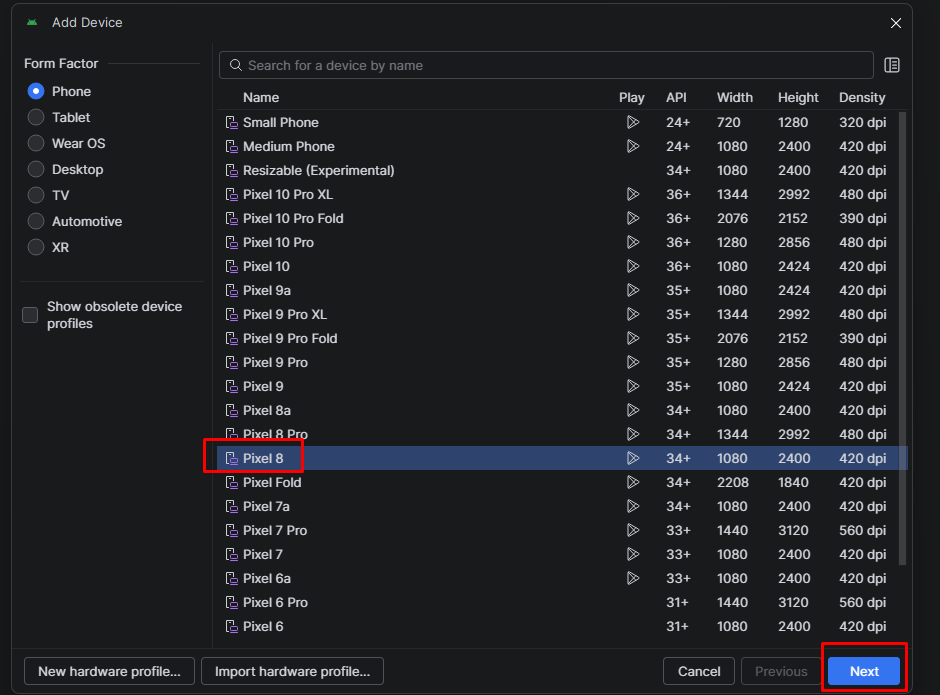
- Select a hardware profile (e.g., Pixel 8) → Choose a system image (API 34+) → Click Finish
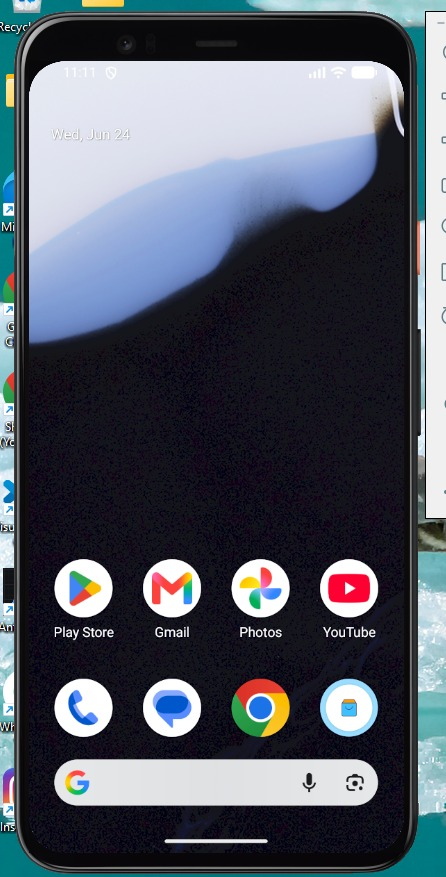
- Click the ▶ Play button to launch the emulator
# List available simulators
xcrun simctl list devices

# Open Simulator app
open -a Simulator
Select a device from File → Open Simulator within the Simulator app.
Android:
- On your phone, go to Settings → About Phone
- Tap Build Number 7 times to enable Developer Options
- Go to Settings → Developer Options and enable USB Debugging
- Connect your phone via USB and accept the trust prompt on your device
iOS:
- Connect your iPhone via USB
- Tap Trust on your device when prompted
- Open Xcode once to register the device
Step 7 — Install VS Code + Extensions
VS Code is the recommended editor for Flutter development.
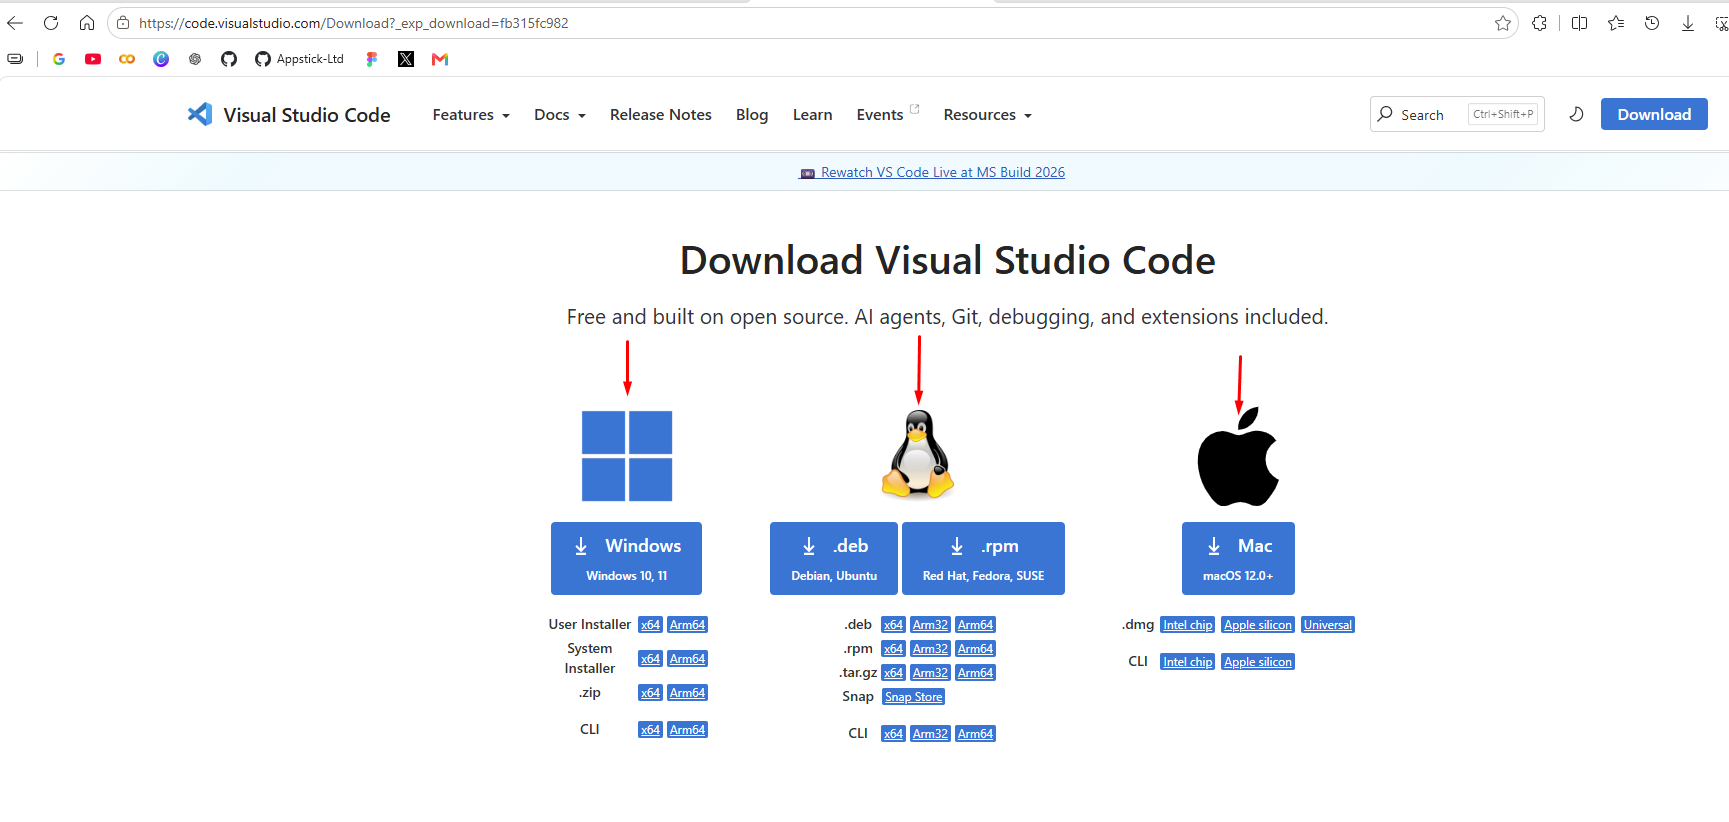
- Download VS Code from code.visualstudio.com
-
Install and launch VS Code.
-
Open Extensions (
Ctrl+Shift+X) and install the following:
| Extension | Purpose |
|---|---|
| Flutter | Core Flutter support (debugging, run, hot reload) |
| Dart | Dart language support |
| Flutter Widget Snippets | Code snippets for common widgets |
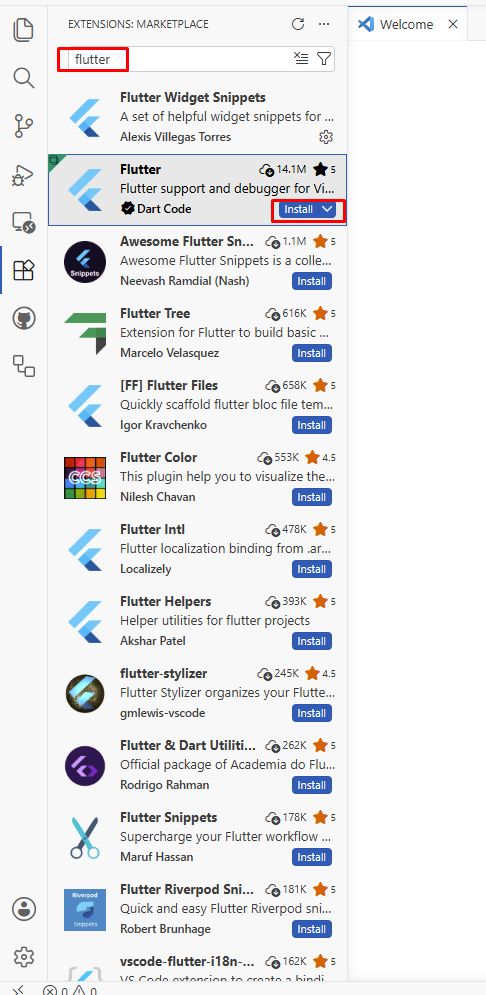
Flutter Extension
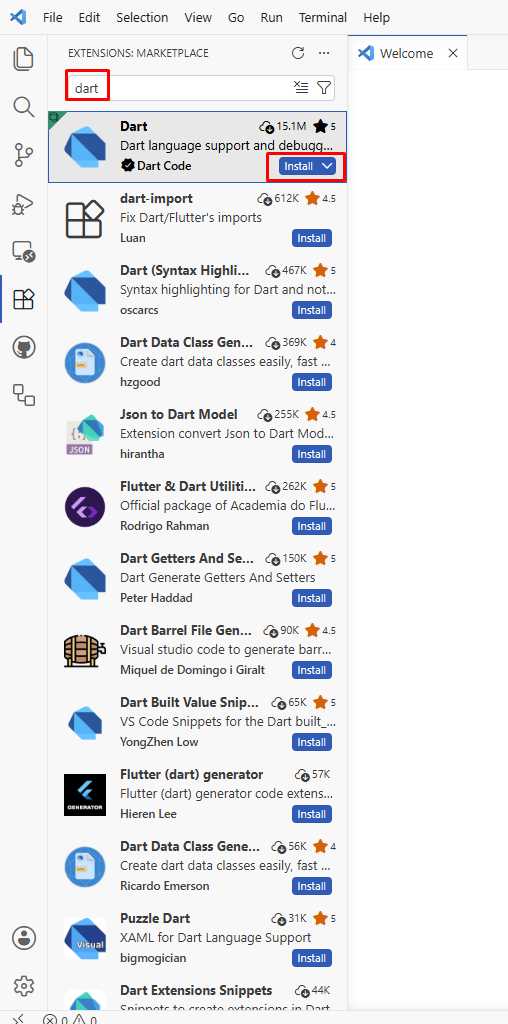
Dart Extension
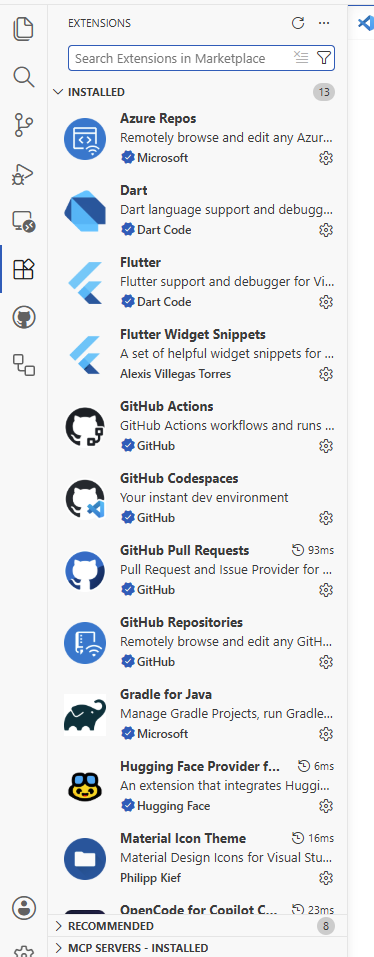
All Extensions Installed