Screens & Code
Every screen in GreenCart paired with its source code. Add your code screenshots to static/img/screenshots/code/ and app screenshots to static/img/screenshots/.
Splash & Onboarding
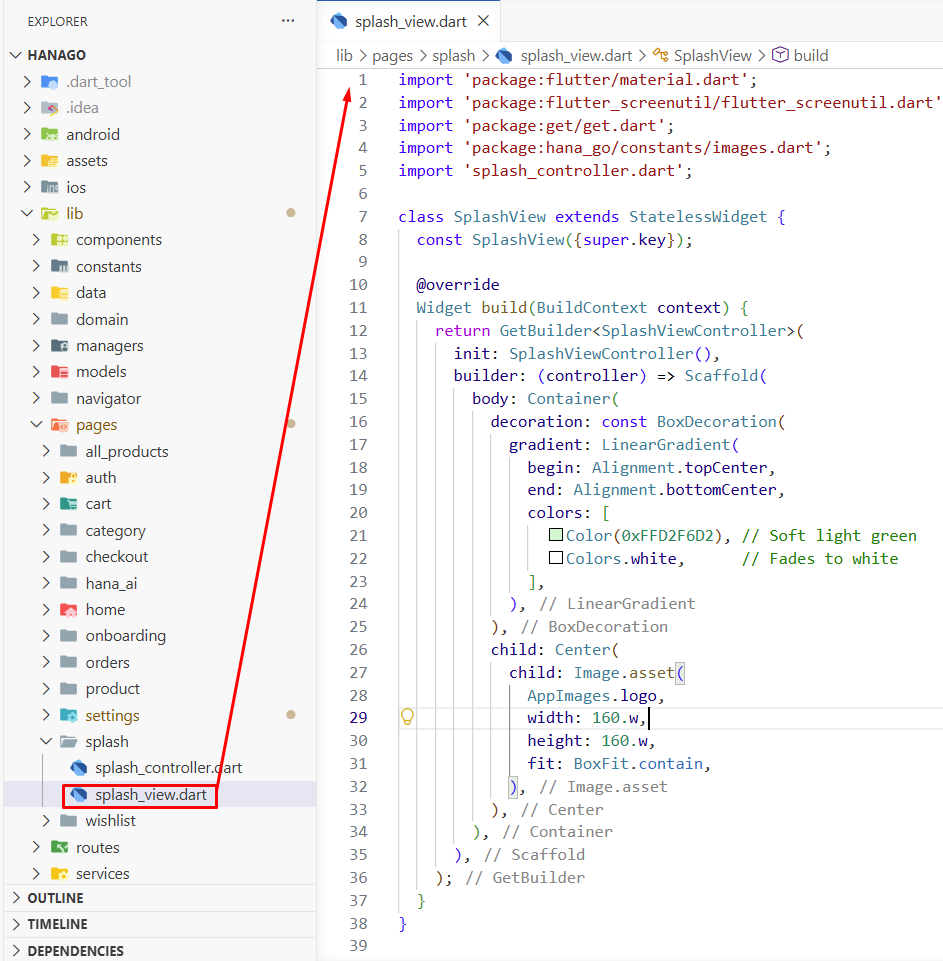
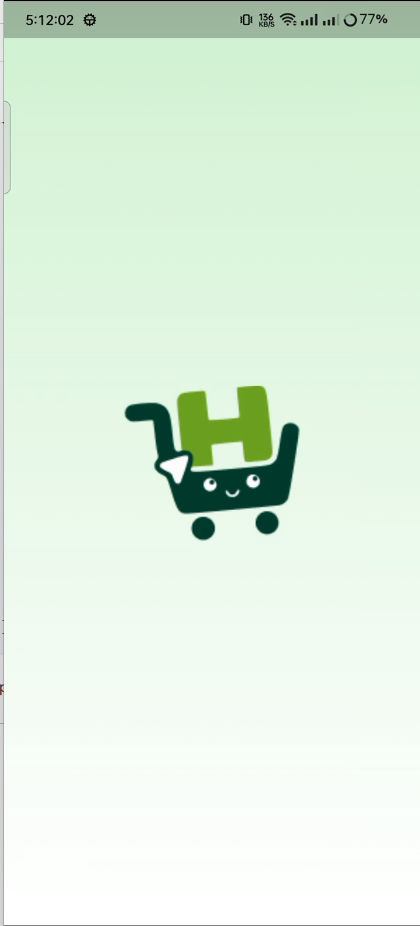
1. Splash Screen
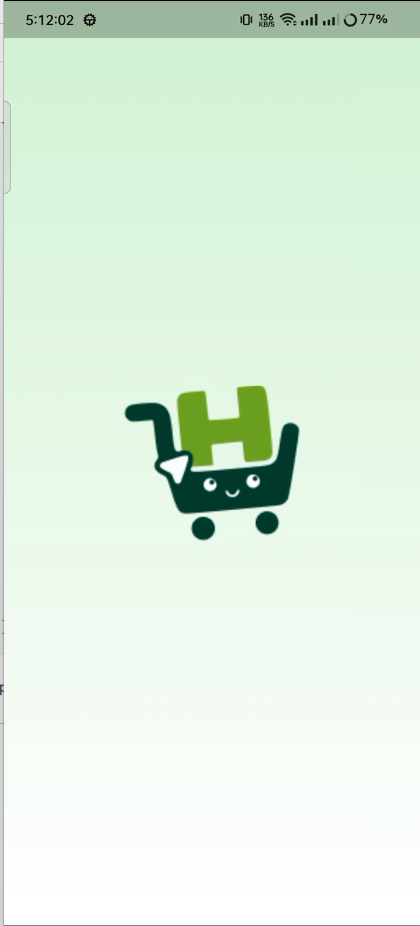
This is the first screen users see. It has a green gradient background with the GreenCart logo in the center. The app loads for about 2 seconds, then moves to the onboarding screen.
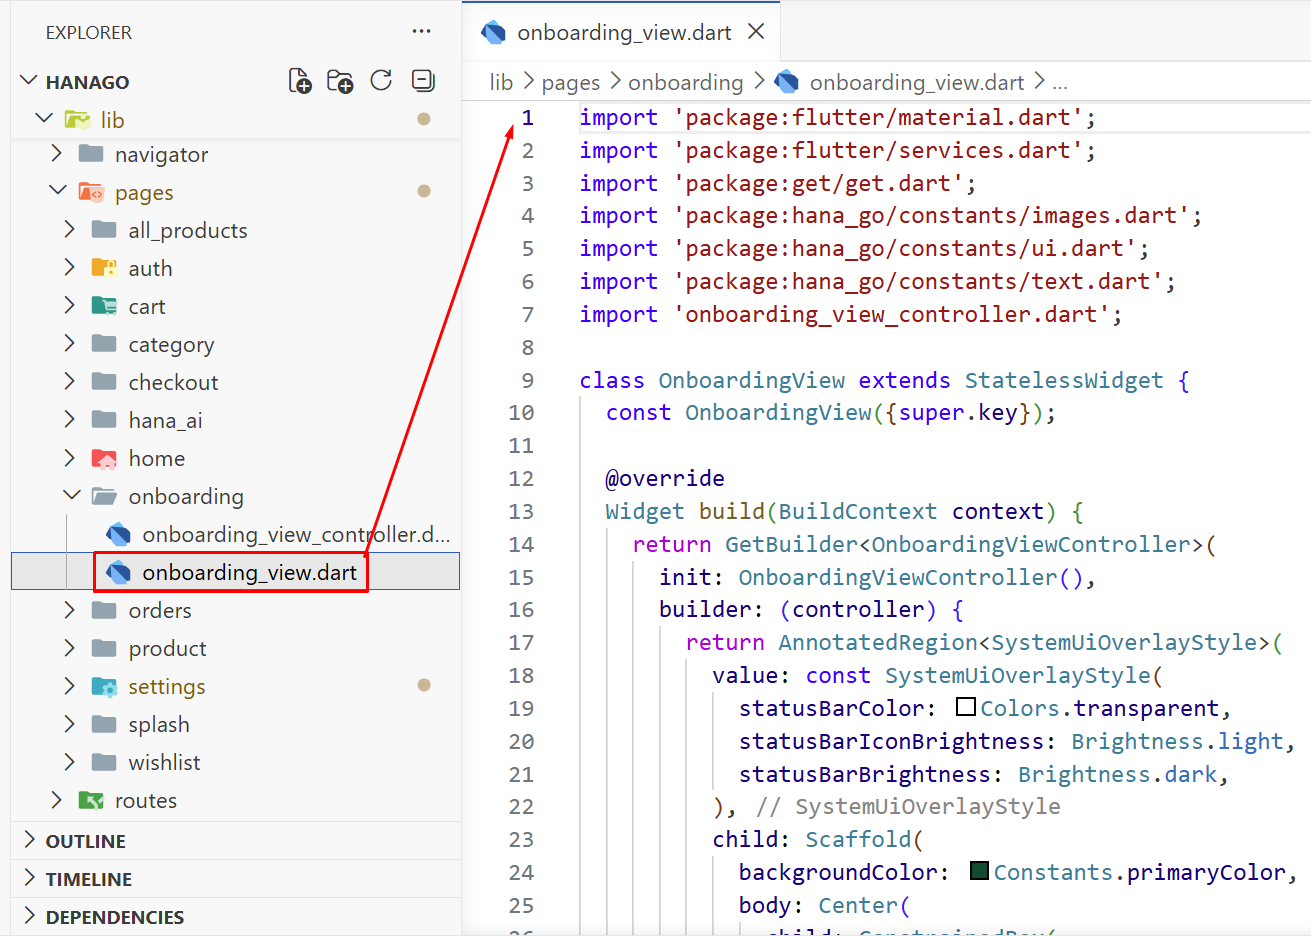
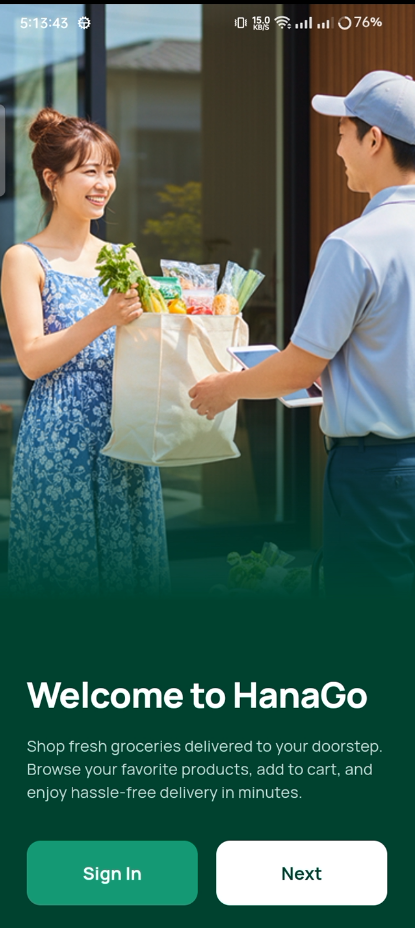
2. Onboarding Page 1
New users see this after the splash. It shows a big image with a fade effect, the text "Welcome to GreenCart," and two buttons. One goes to login, the other continues to the next onboarding slide.
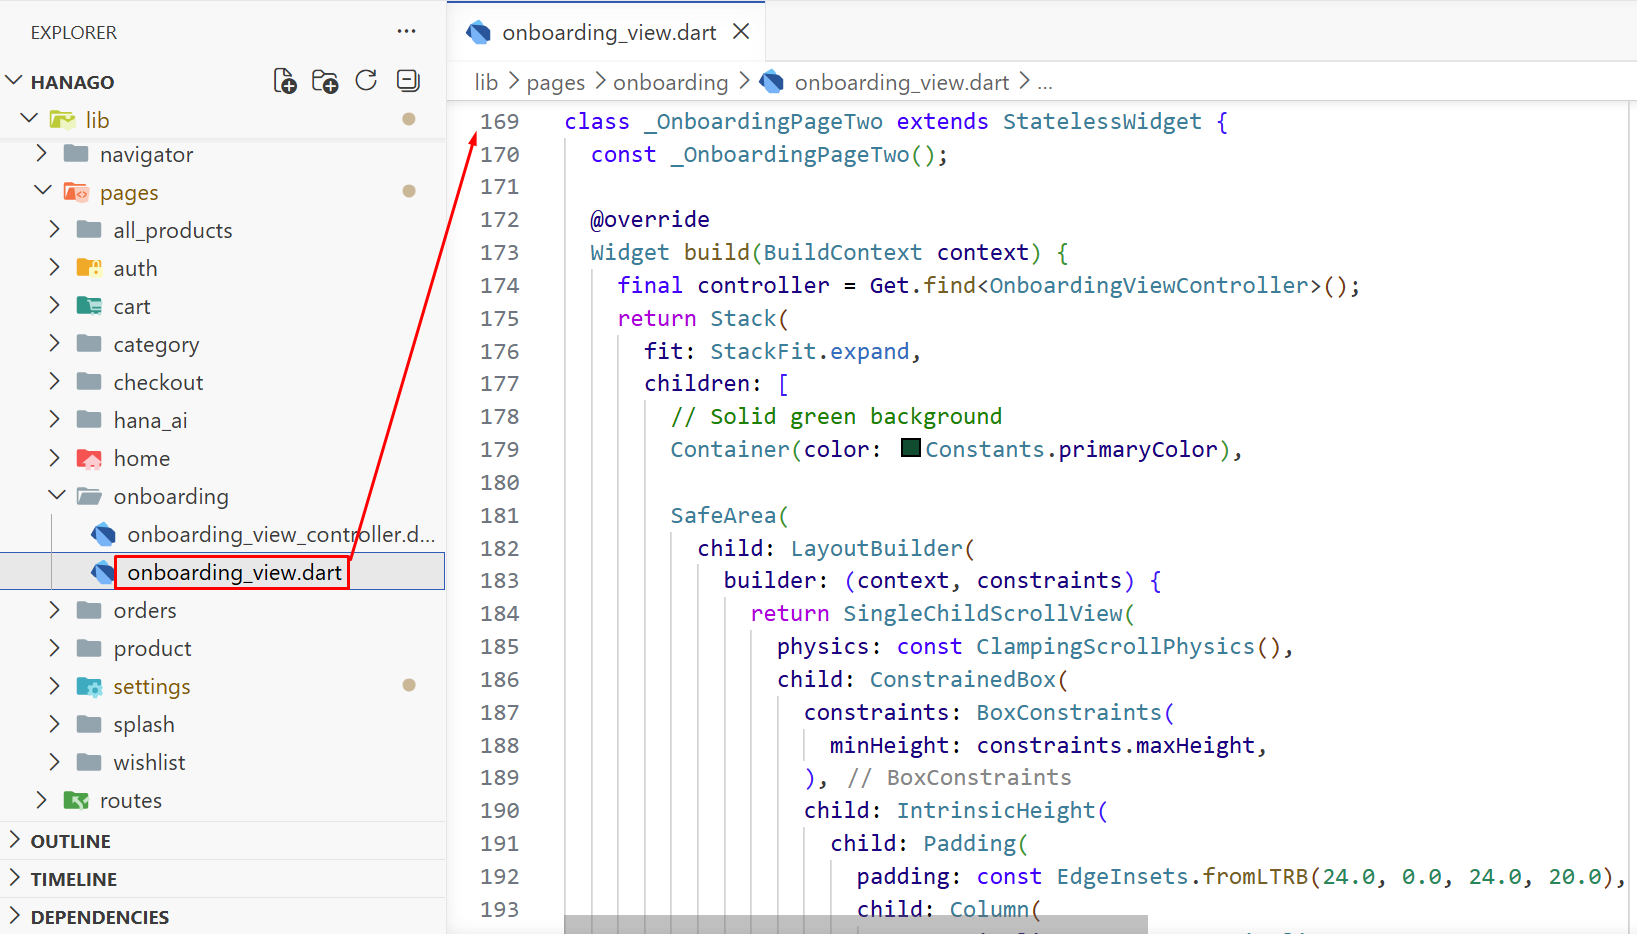
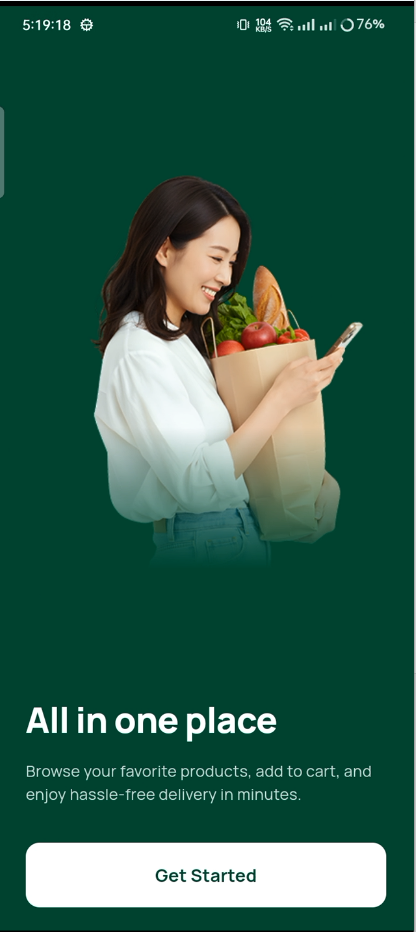
3. Onboarding Page 2
The second onboarding slide has a green background with an illustration and the text "All in one place." A Get Started button takes users to the Welcome screen to sign up or log in.
Authentication
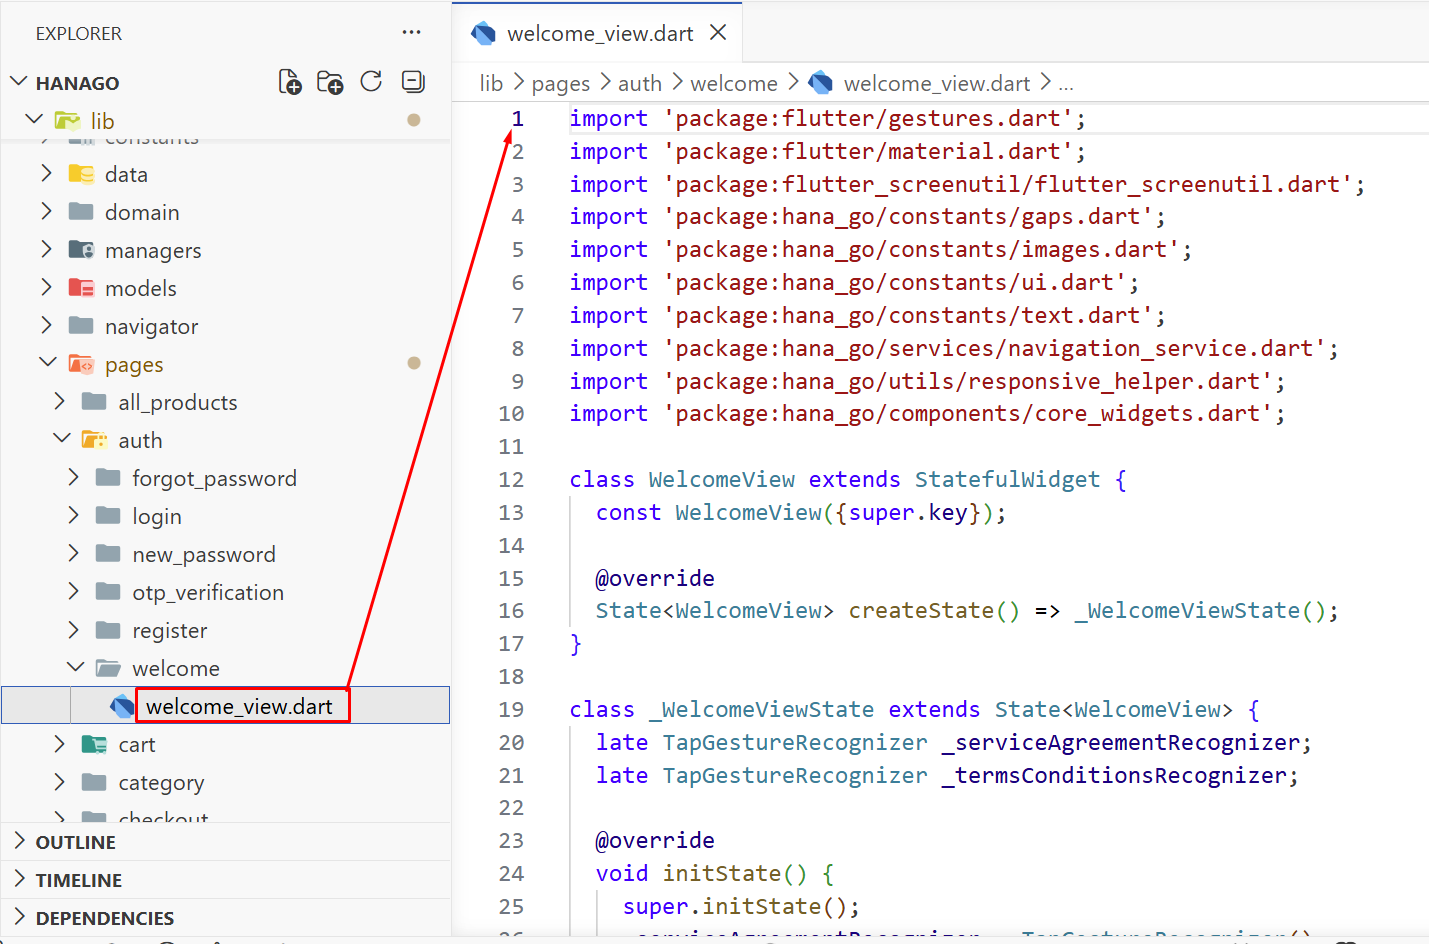
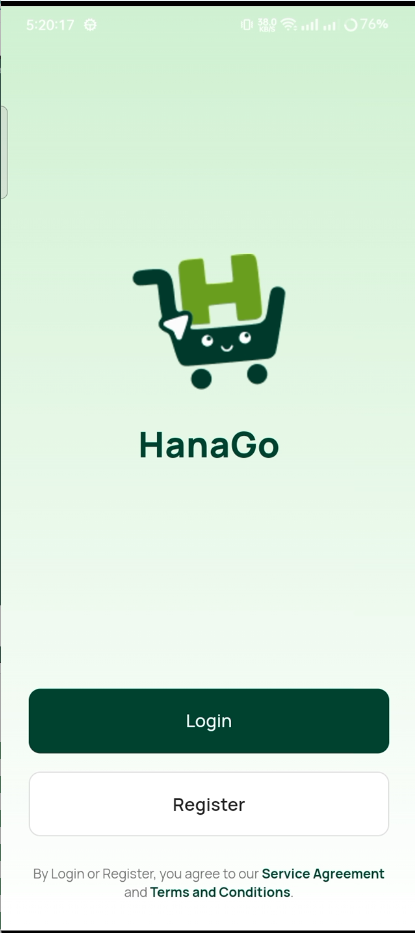
4. Welcome Screen
After onboarding, users see this welcome screen with the GreenCart logo and two big buttons. Login for returning users and Register for new users. Small text at the bottom about terms and conditions.
5. Login
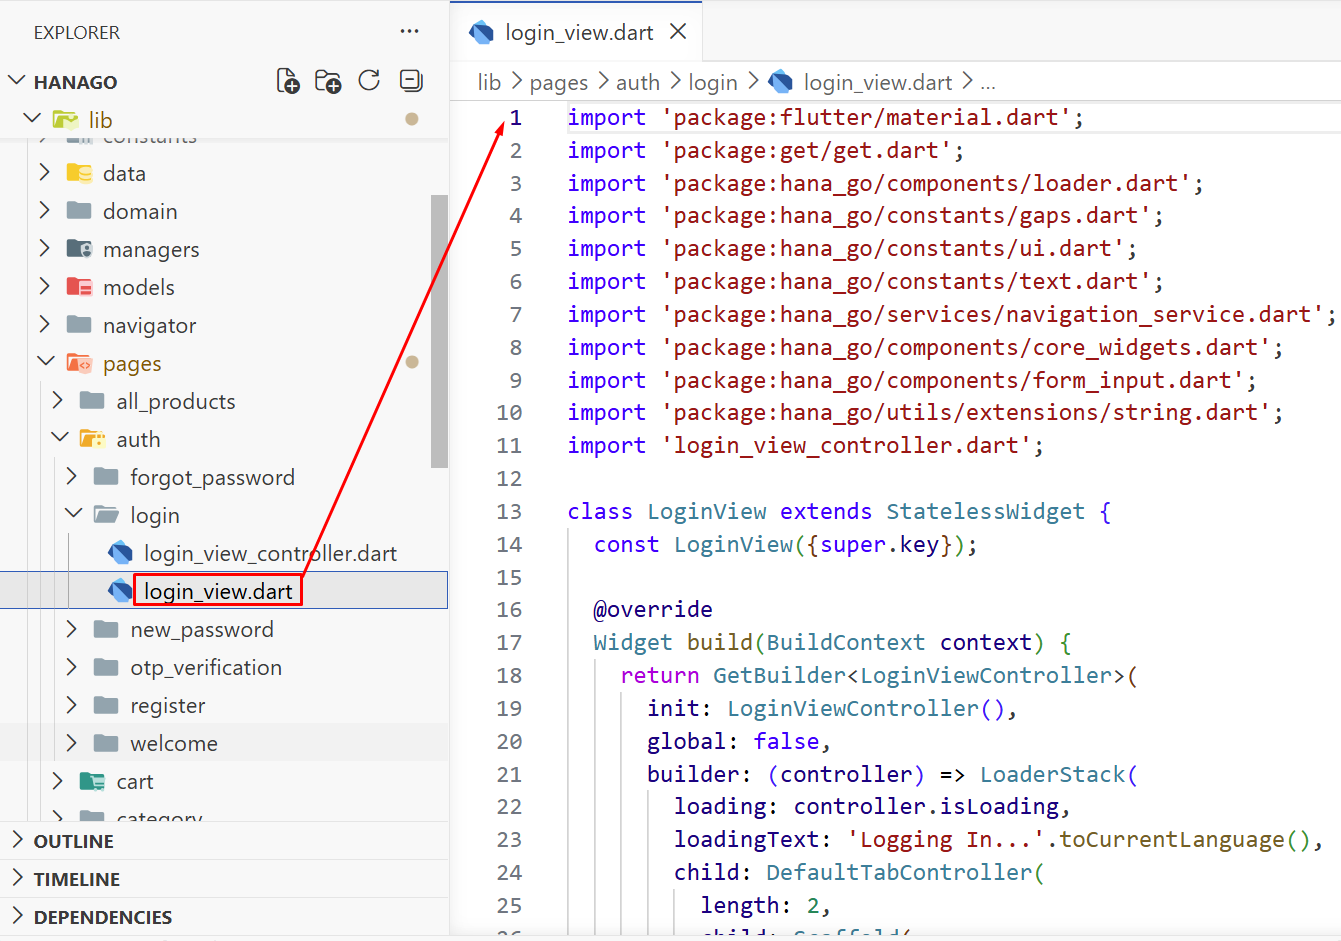
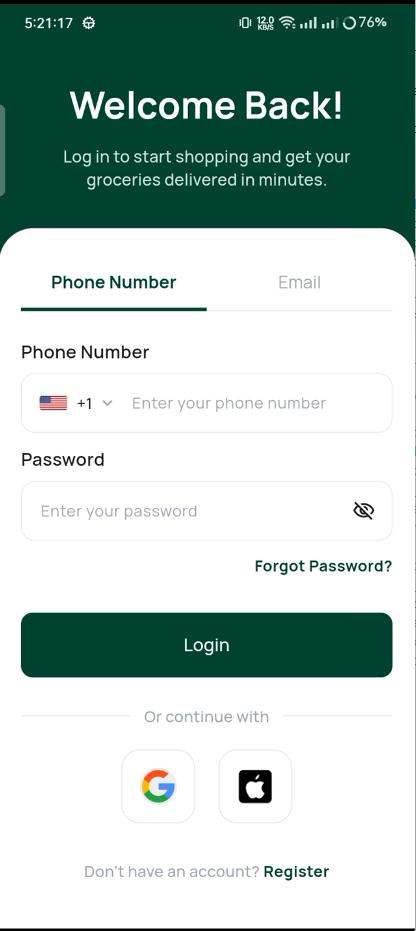
This is where users enter their credentials. It has a green header that says "Welcome Back!" and a white card below with tabs for Phone Number or Email login. Users can also log in with Google or Apple.
6. Register
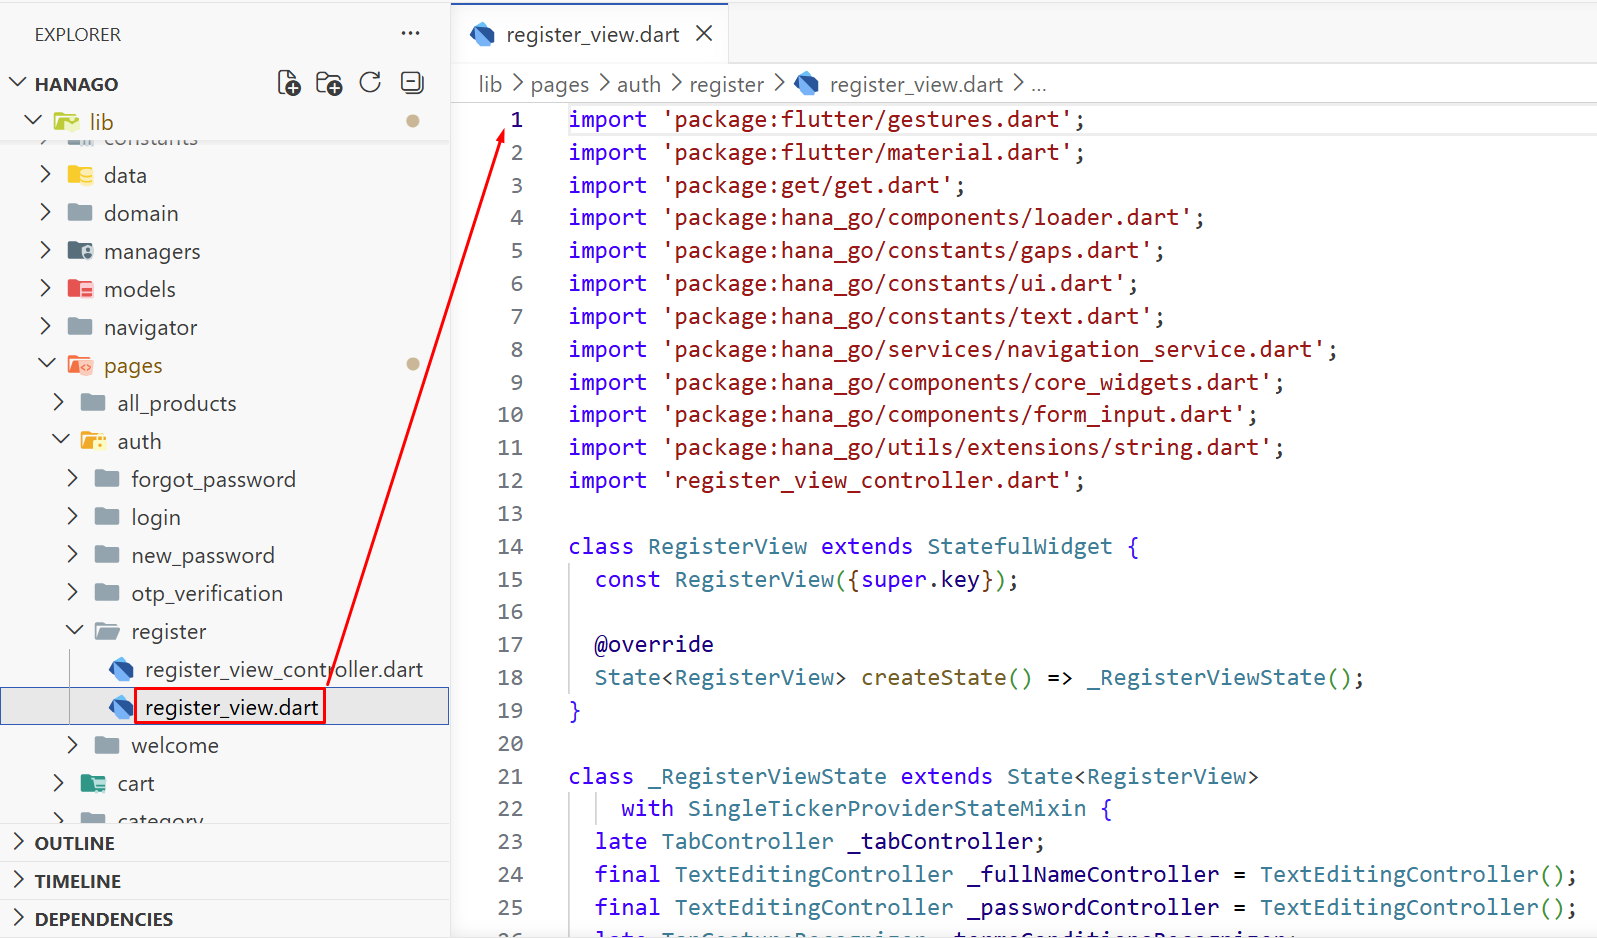
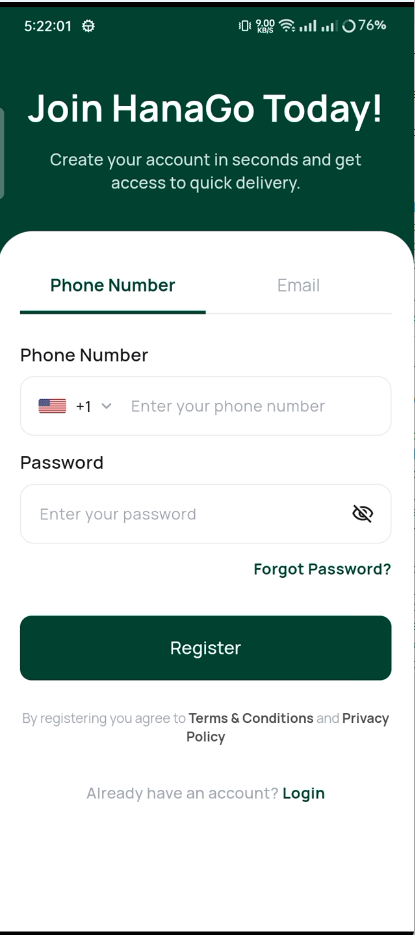
New users fill out this form to create their account. It has the same layout as login but with extra fields for full name, phone number, and password. A link at the bottom goes to the login page for existing users.
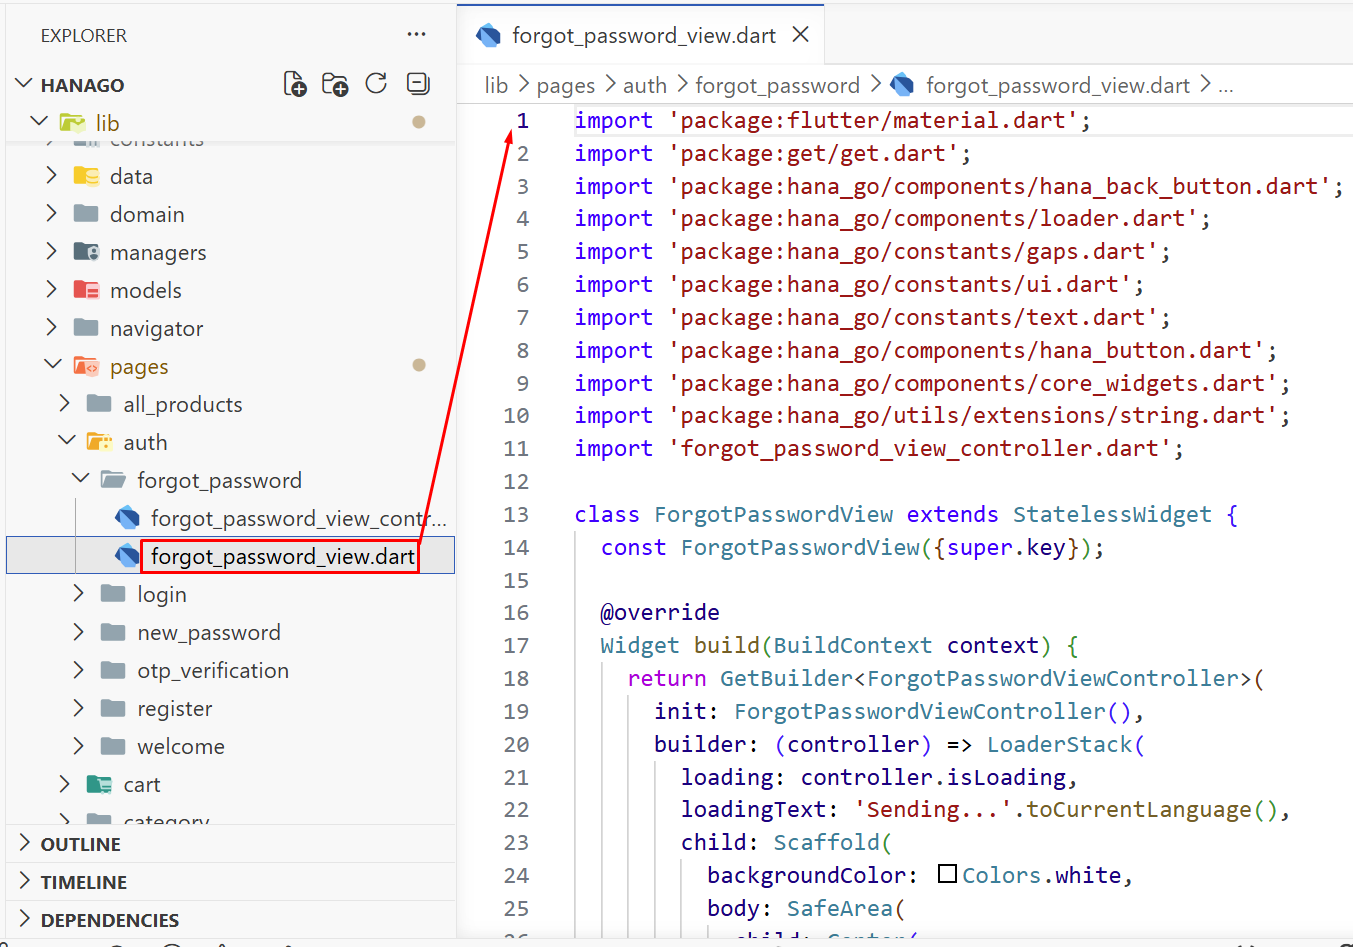
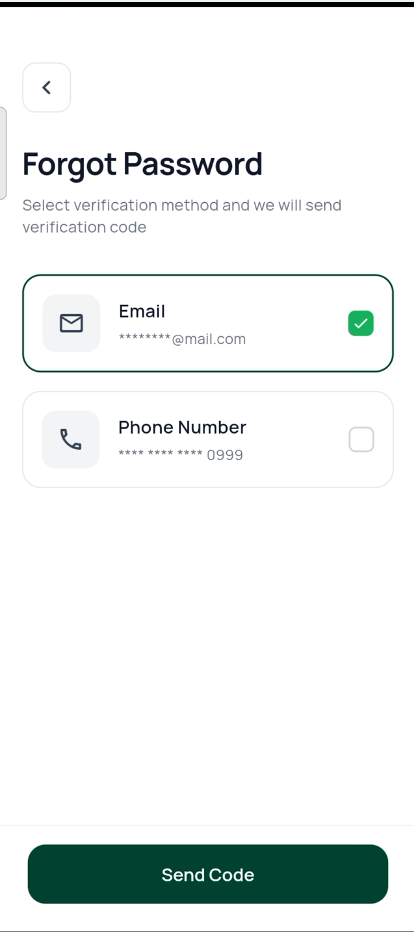
7. Forgot Password
When users forget their password, they land here. They pick whether to receive the reset code via Email or Phone Number, then tap Send Code. Simple and quick.
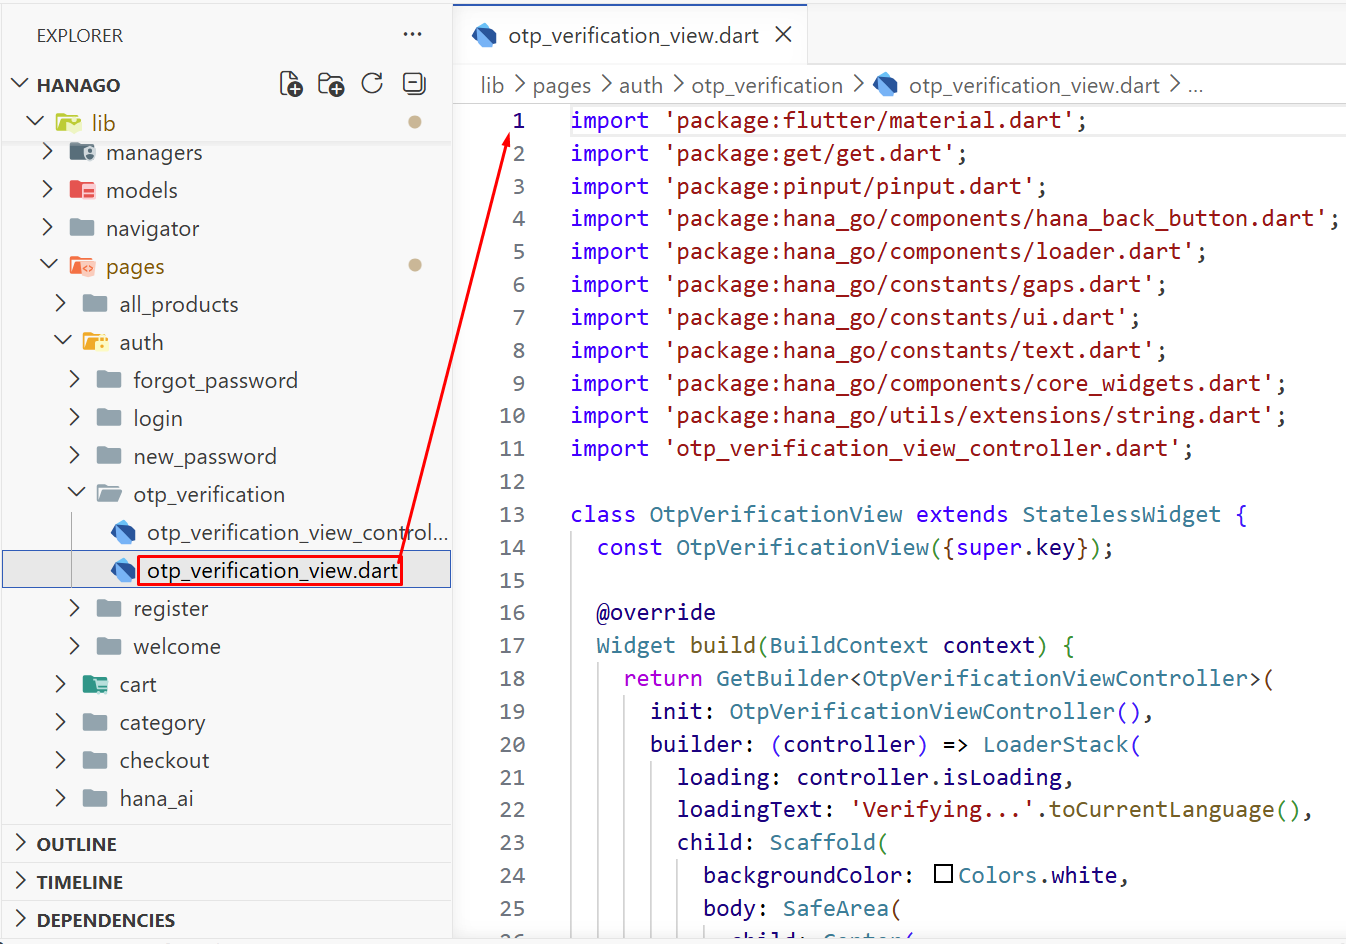
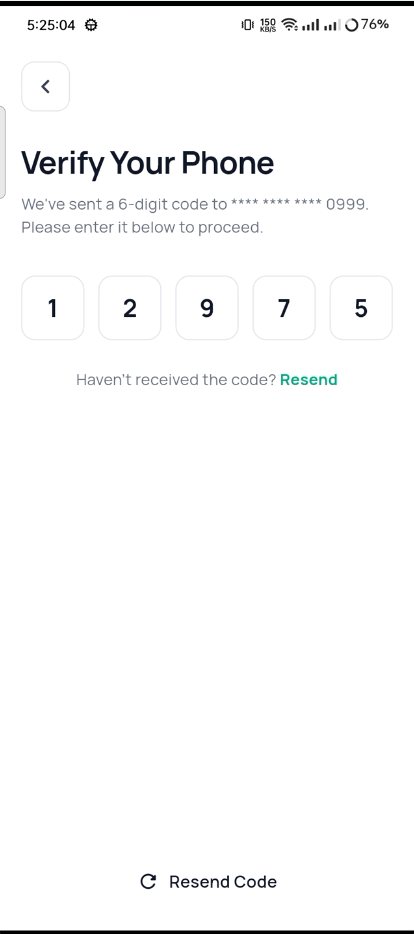
8. OTP Verification
After requesting a password reset, users enter the 6-digit code they received. Individual boxes for each digit with a countdown timer and a Resend button if the code doesn't arrive.
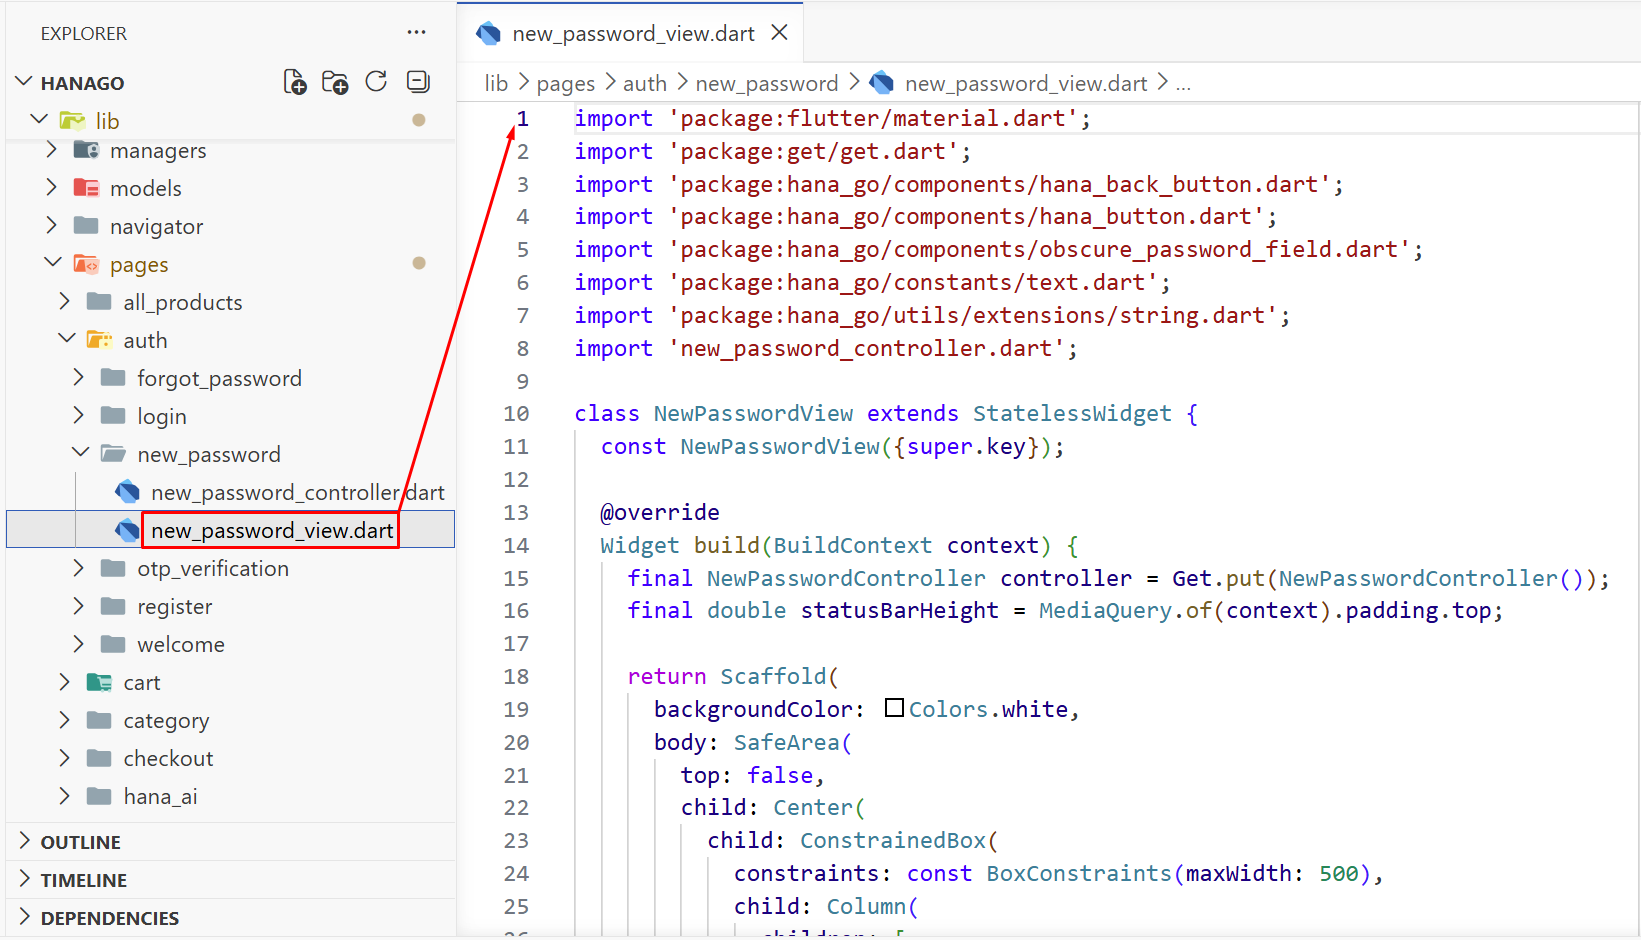
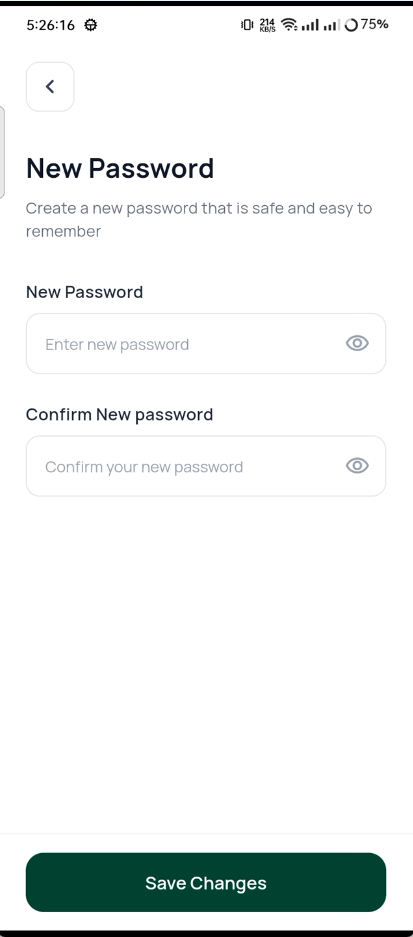
9. New Password
The last step in password recovery. Users type their new password twice. Once in the New Password field and once in the Confirm field. Then tap Save Changes to update it.
Home Screen
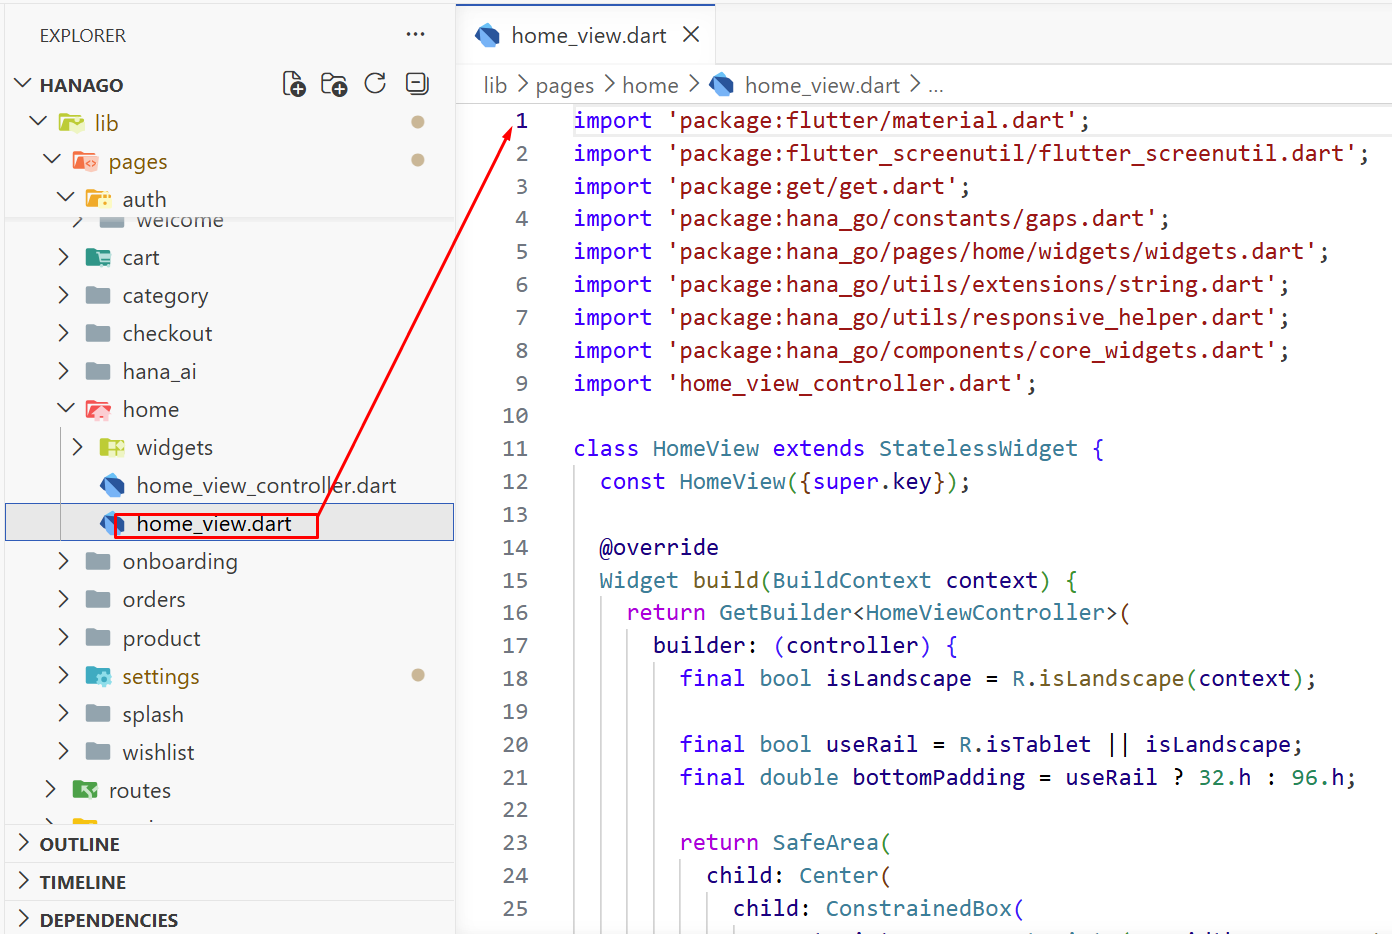
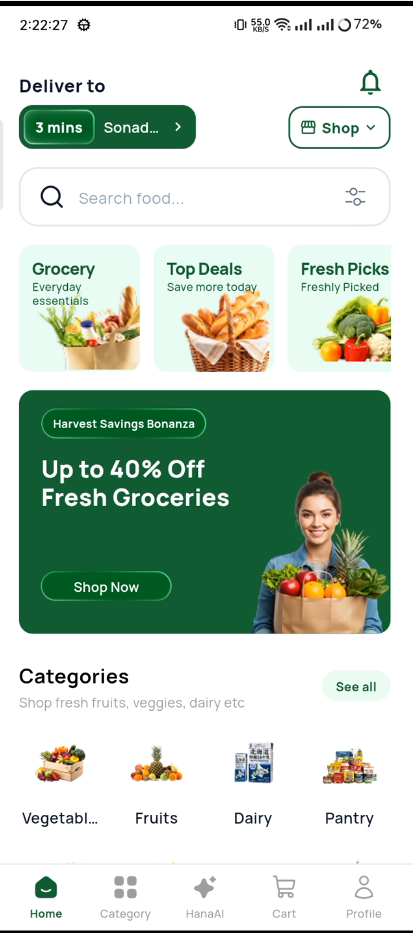
10. Home (Full)
This is the main screen users see every time they open the app. It has a search bar at the top, category chips, a big hero banner with deals, limited time offers, product lists by category, and AI recommendations. All in one scrollable page.
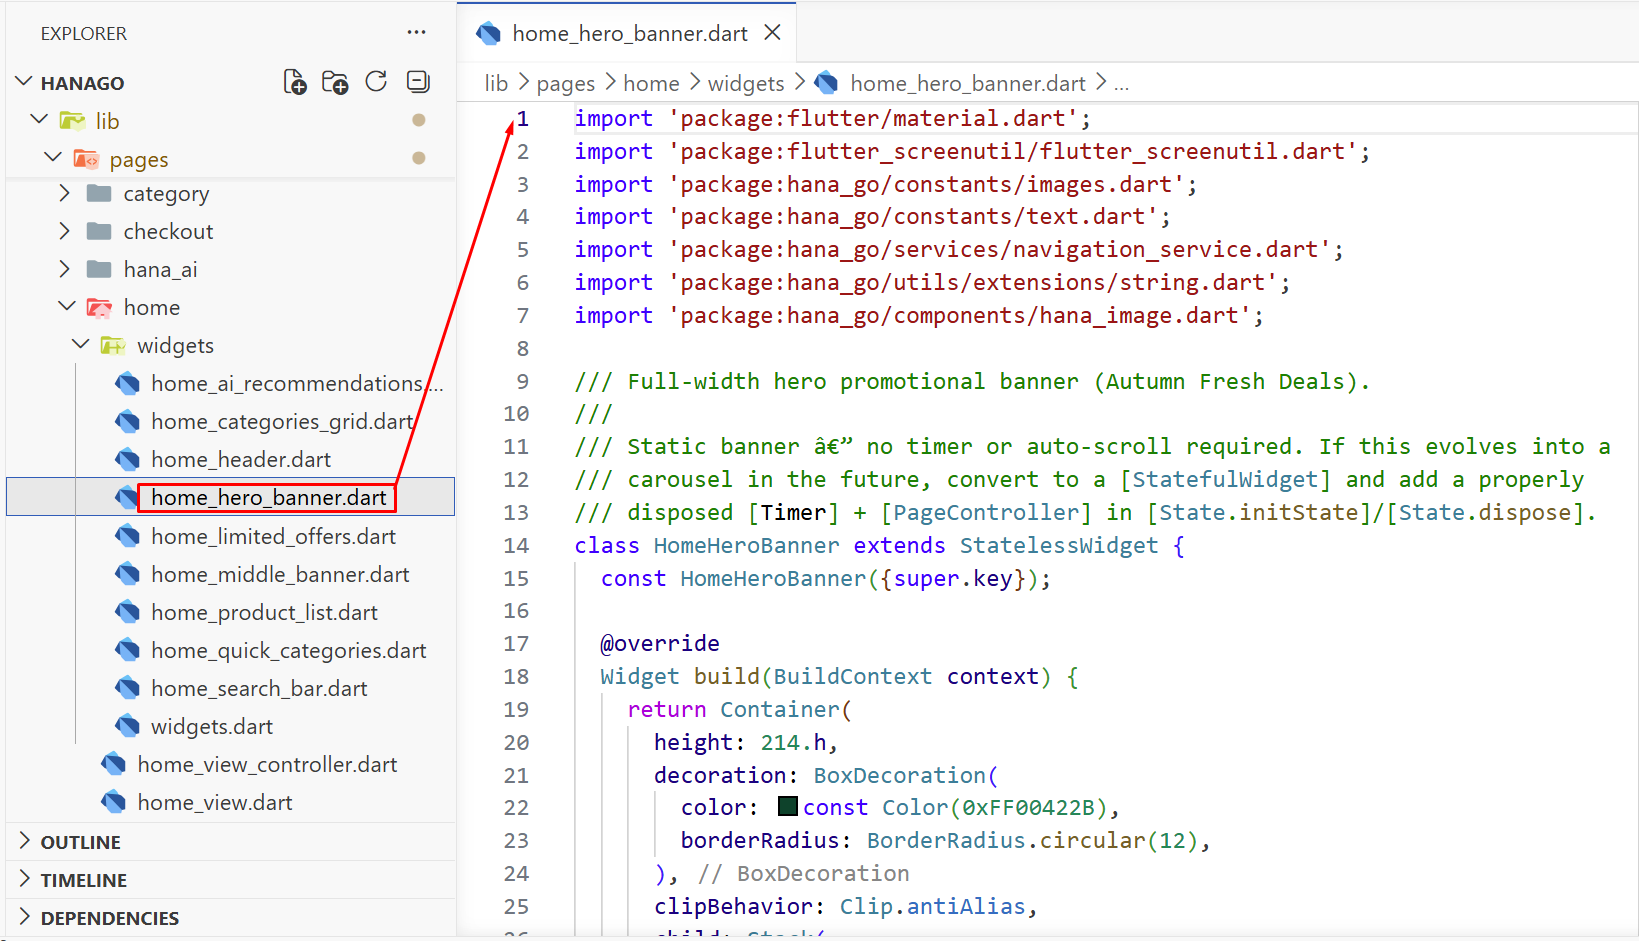
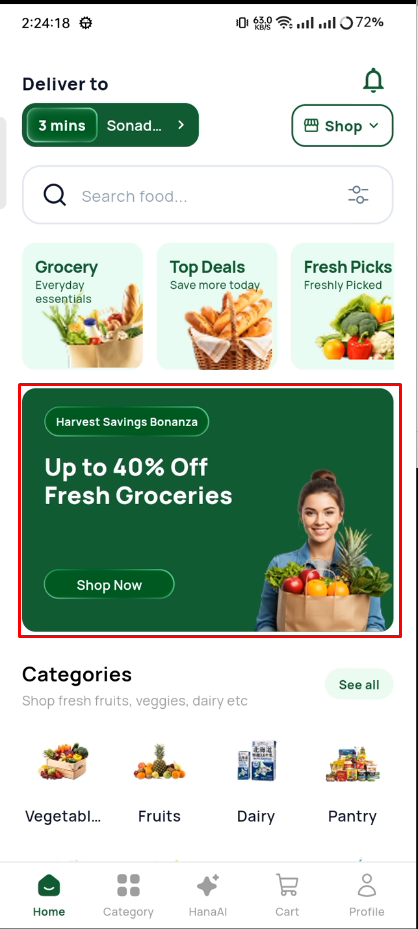
11. Home - Hero Banner
The big banner at the top of the home screen that rotates through promotional offers. It shows seasonal deals with a gradient overlay and page indicators so users know there are more slides.
12. Home - Categories
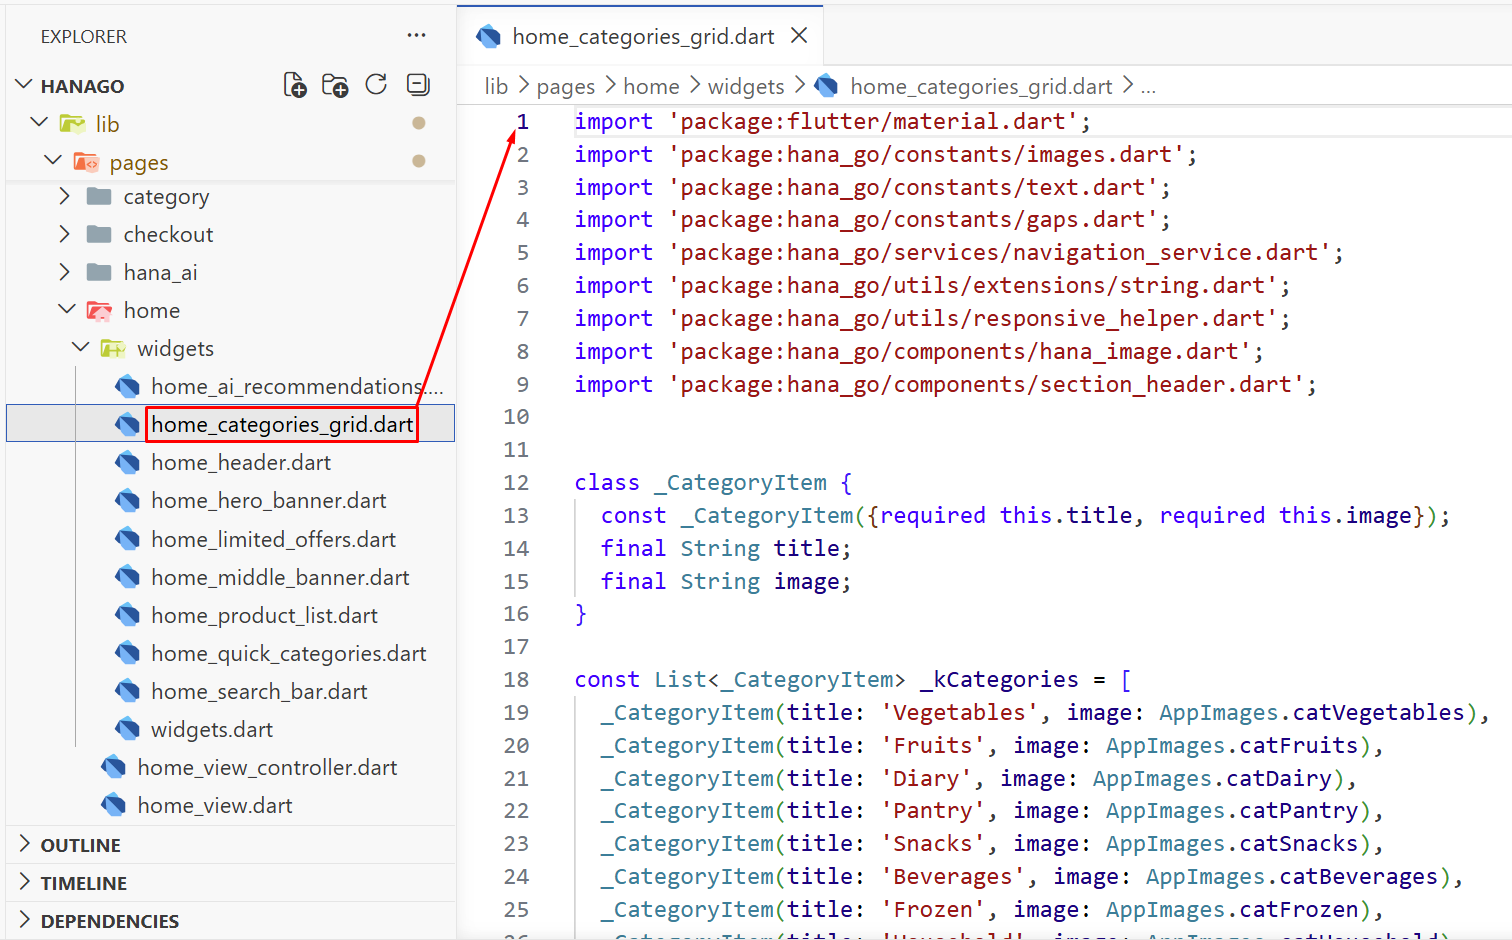
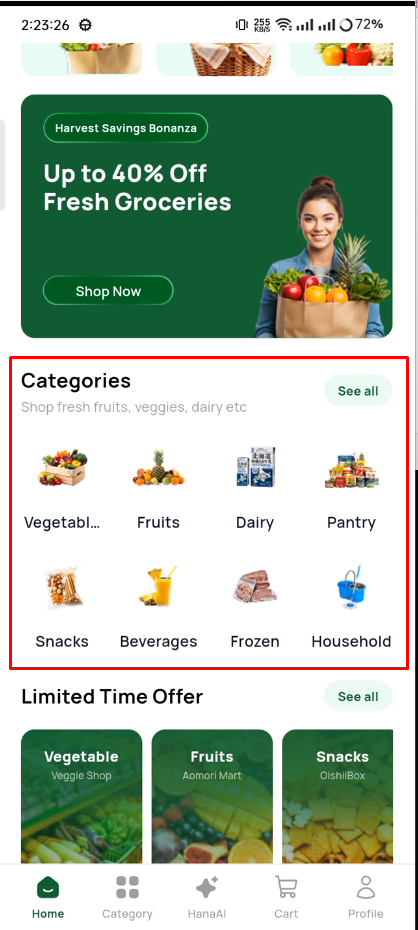
A horizontal row of category chips right below the hero banner. Users can tap on Vegetables, Fruits, Dairy, or any other category to jump straight to that product list.
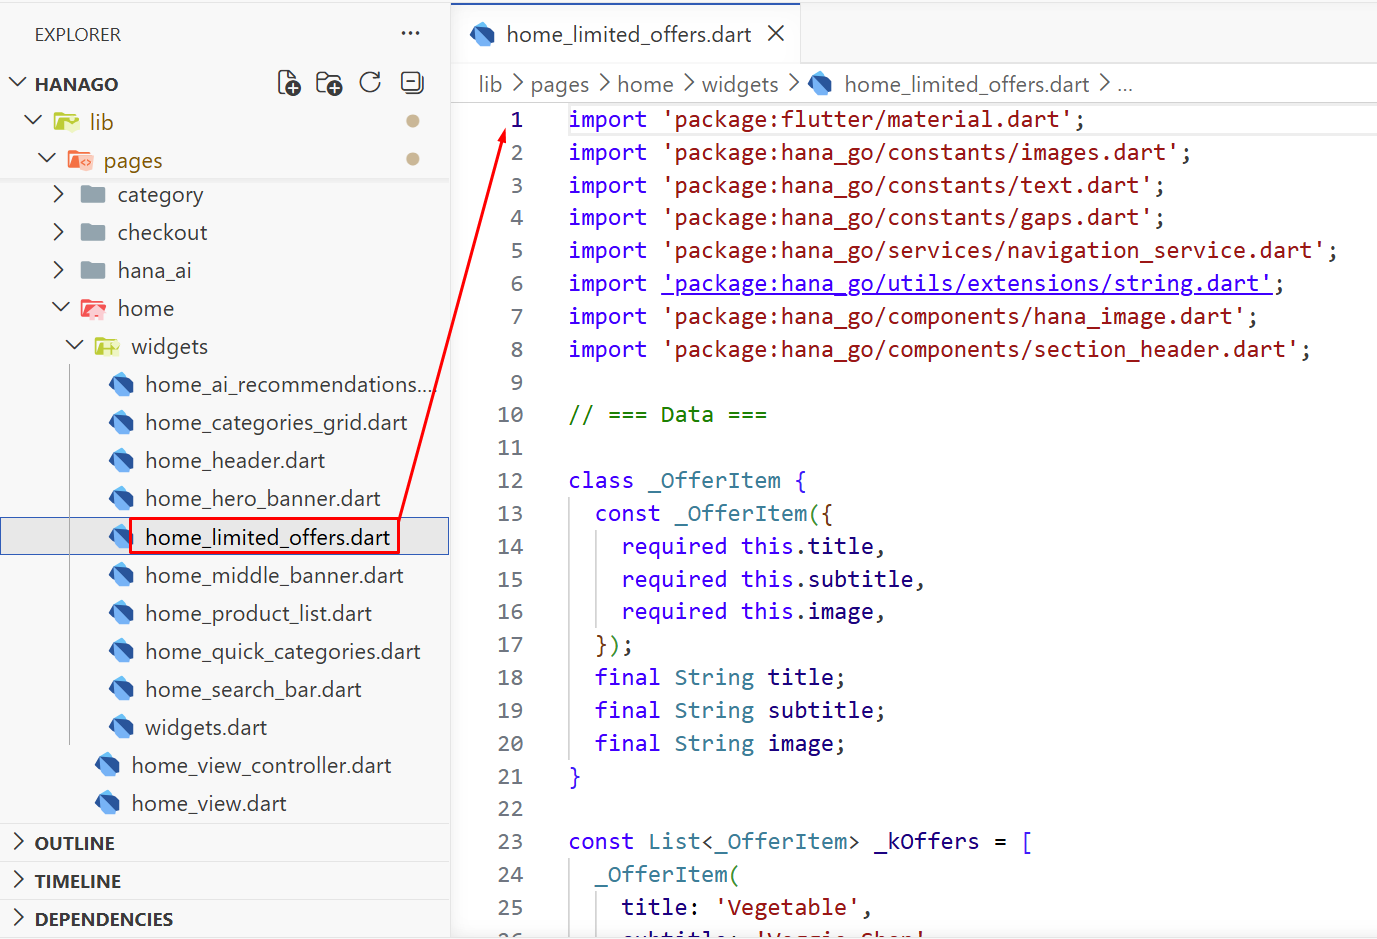
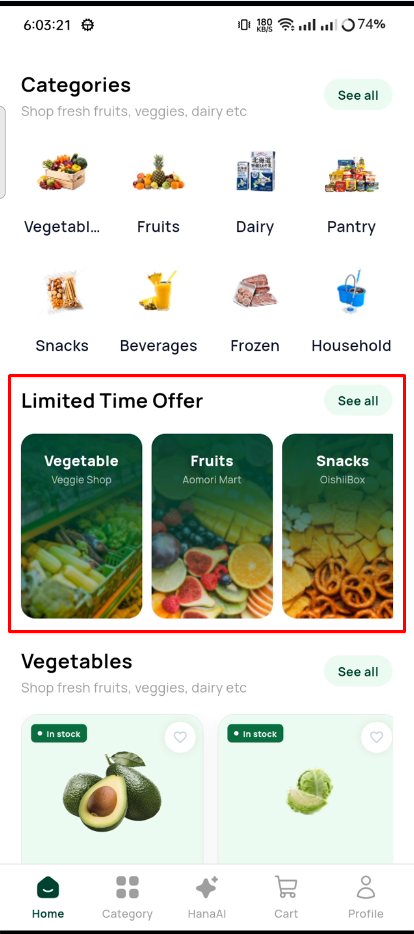
13. Home - Offers
Limited time offer cards that scroll horizontally with discount badges. Each card shows a product image with a dark gradient overlay and text. Designed to catch the eye and create urgency.
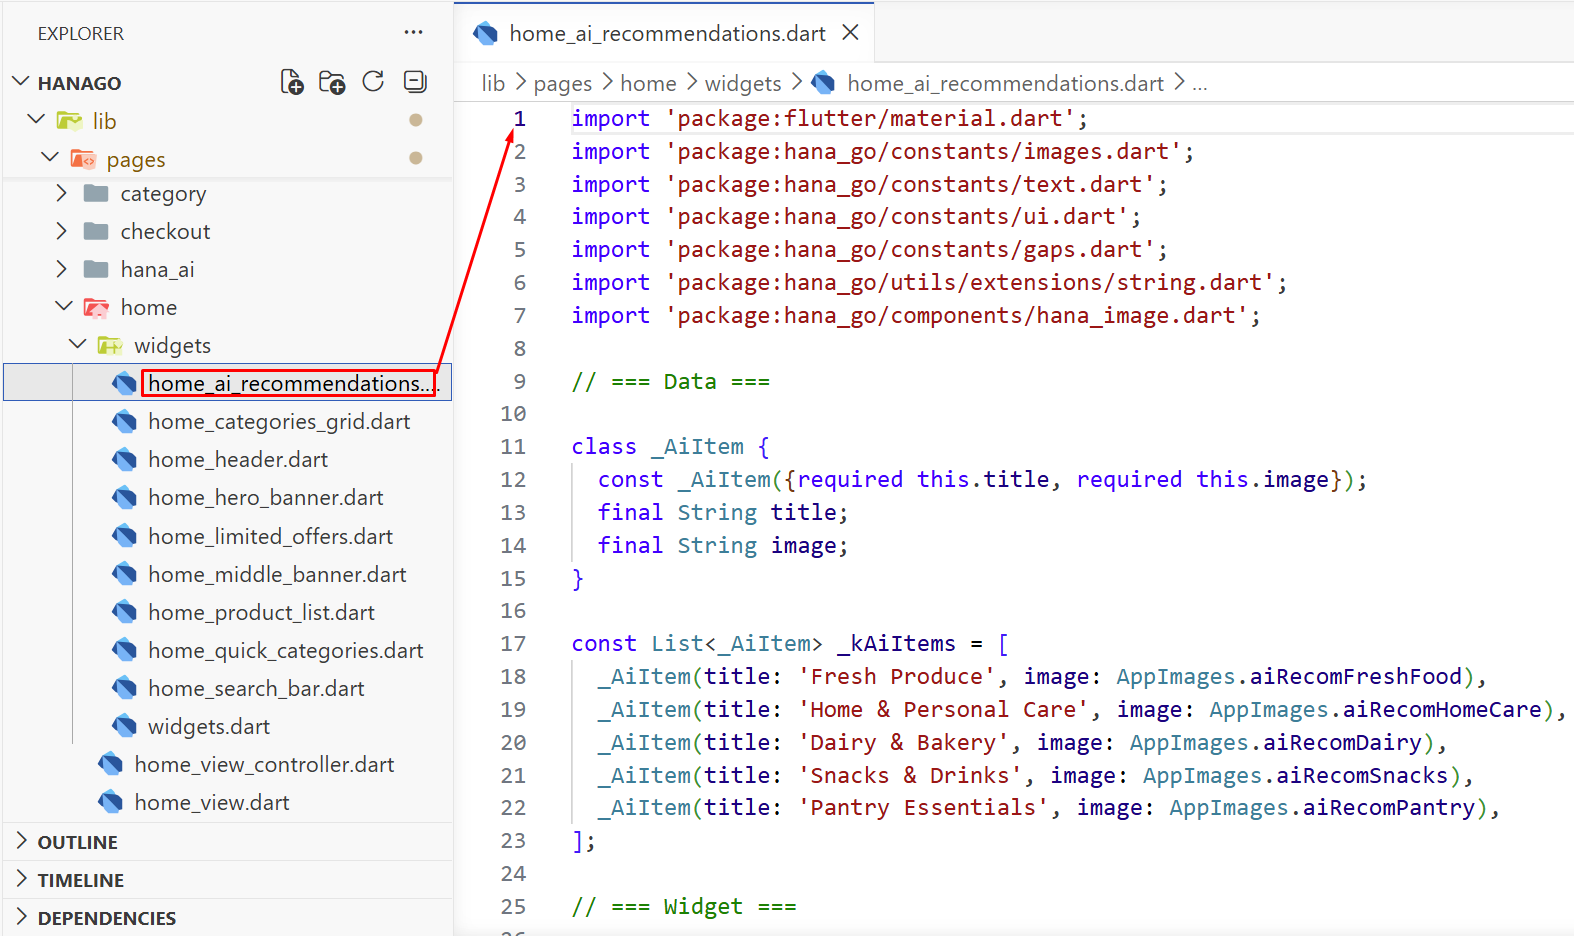
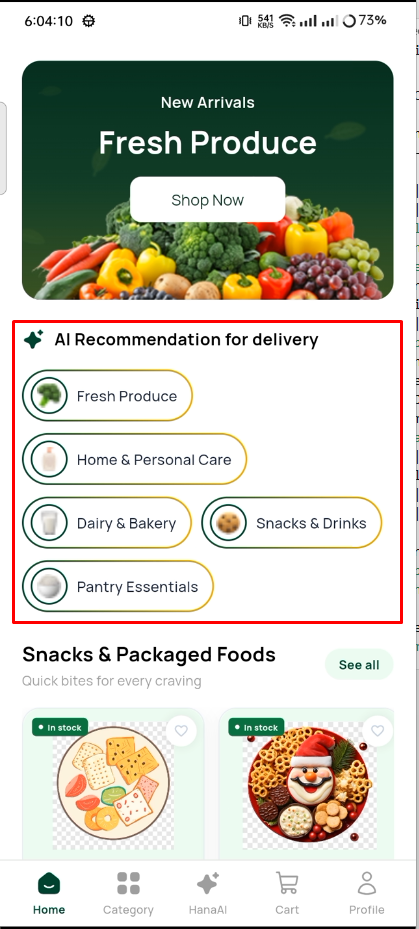
14. Home - AI Strip
A row of AI-powered recommendation chips on the home screen. Hana AI suggests products based on what the user usually buys. This makes the shopping experience feel personal.
Product Catalog
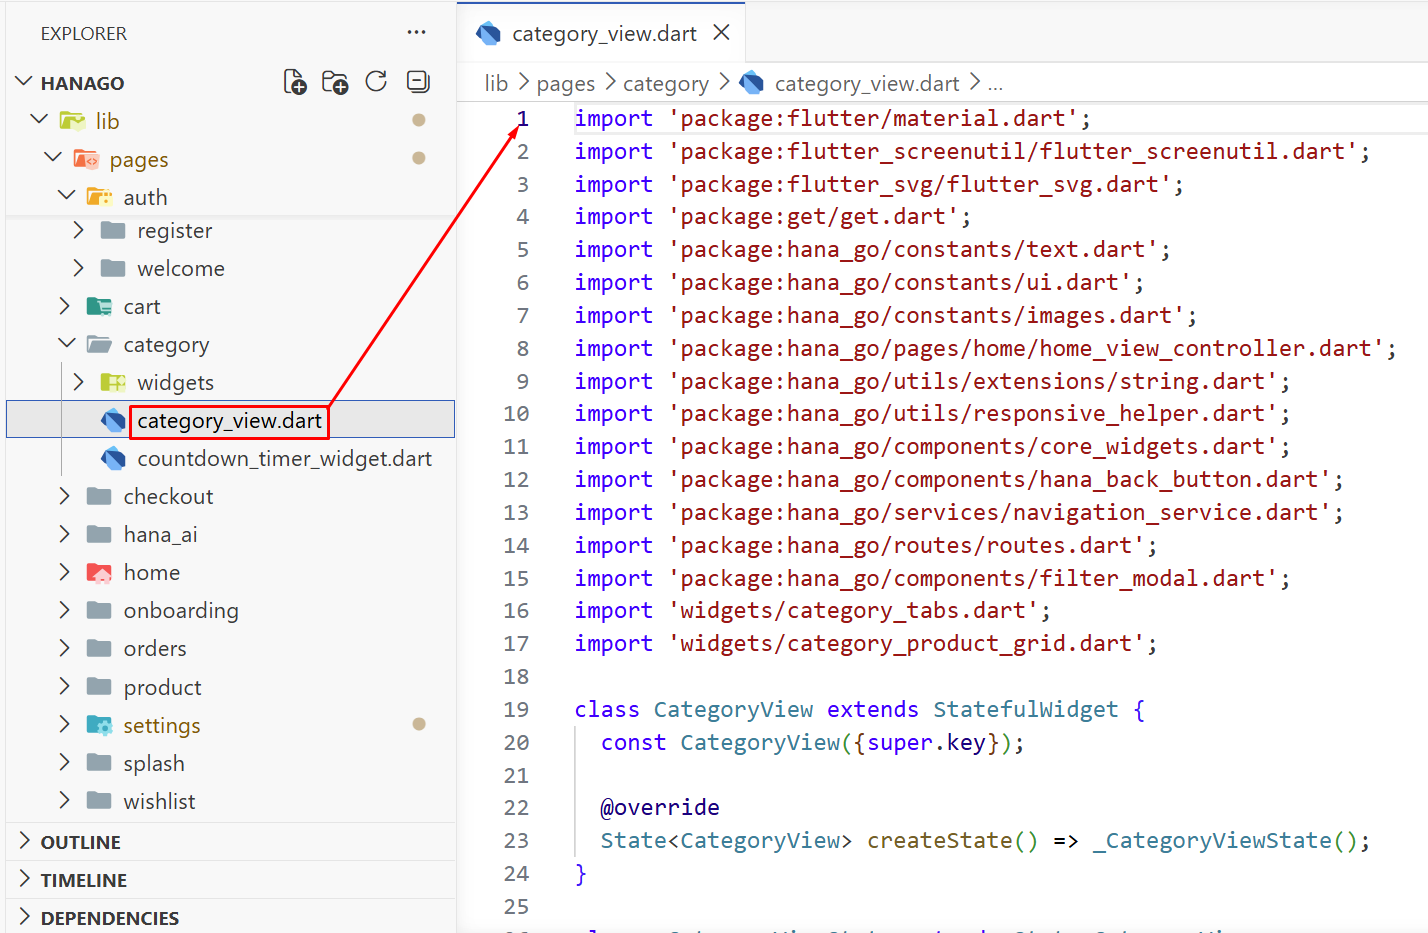
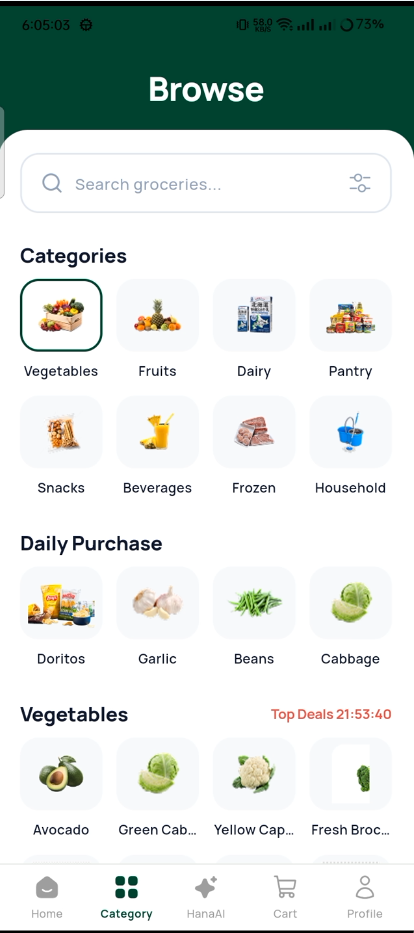
15. Category View
Users tap on a category from the home screen and land here. It has a search bar, category tabs to switch between subcategories, and a grid of products that match the selected category.
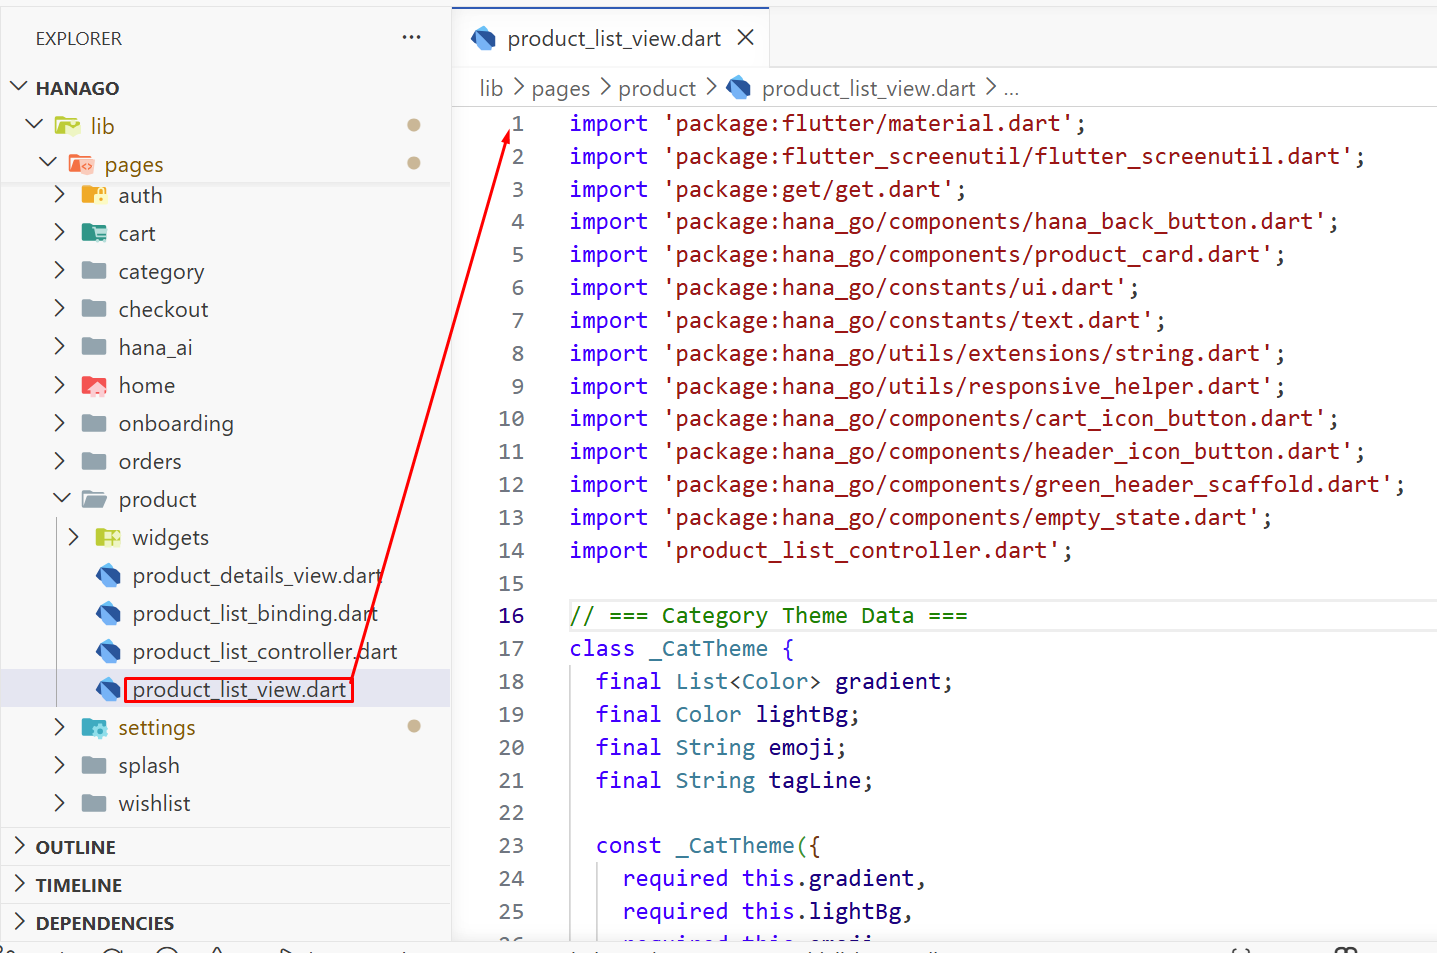
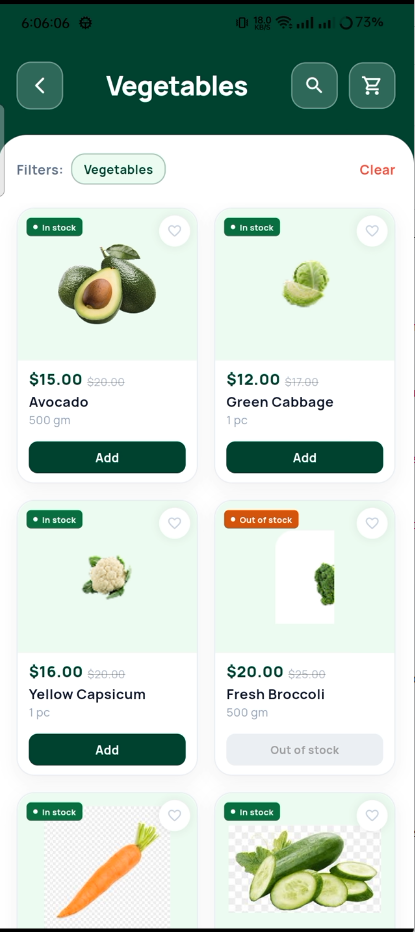
16. Product List
This is where all products in a category are displayed. Users can filter by price, sort by popularity, and switch between grid and list views. The header changes color based on the category. Green for vegetables, orange for fruits, and so on.
17. Product Details
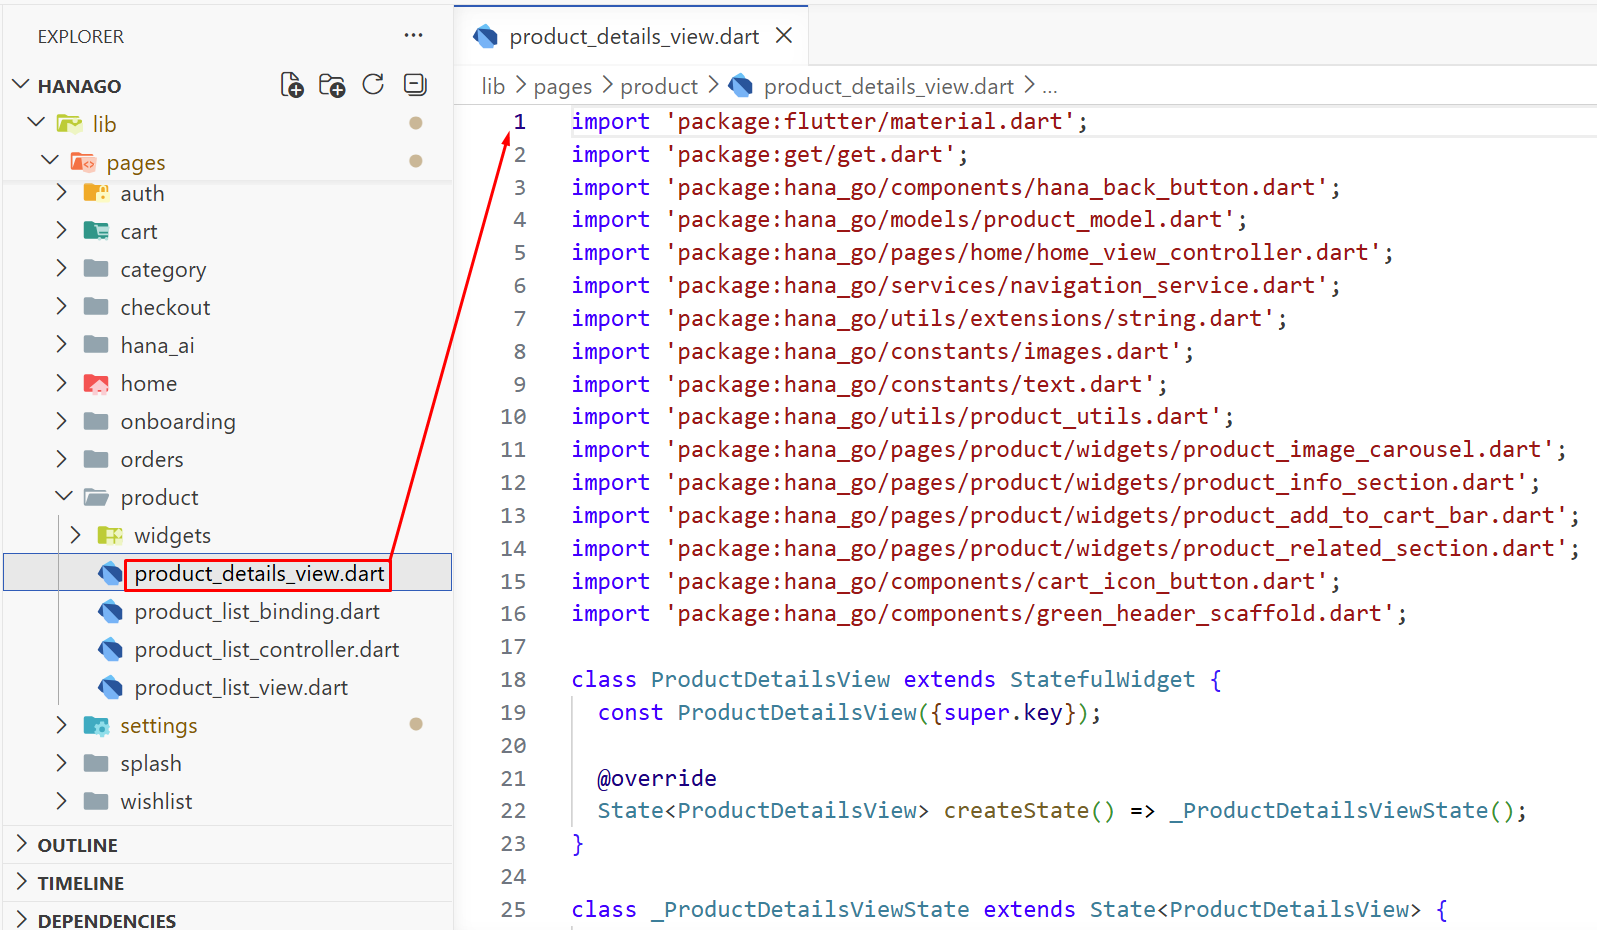
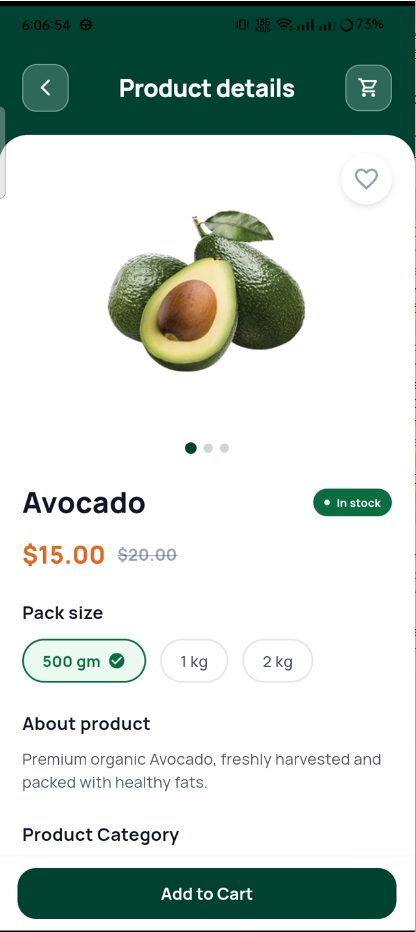
When a user taps on any product, this screen opens with a full image carousel, product name and price, pack size options, related products, and a sticky Add to Cart bar at the bottom.
18. All Products
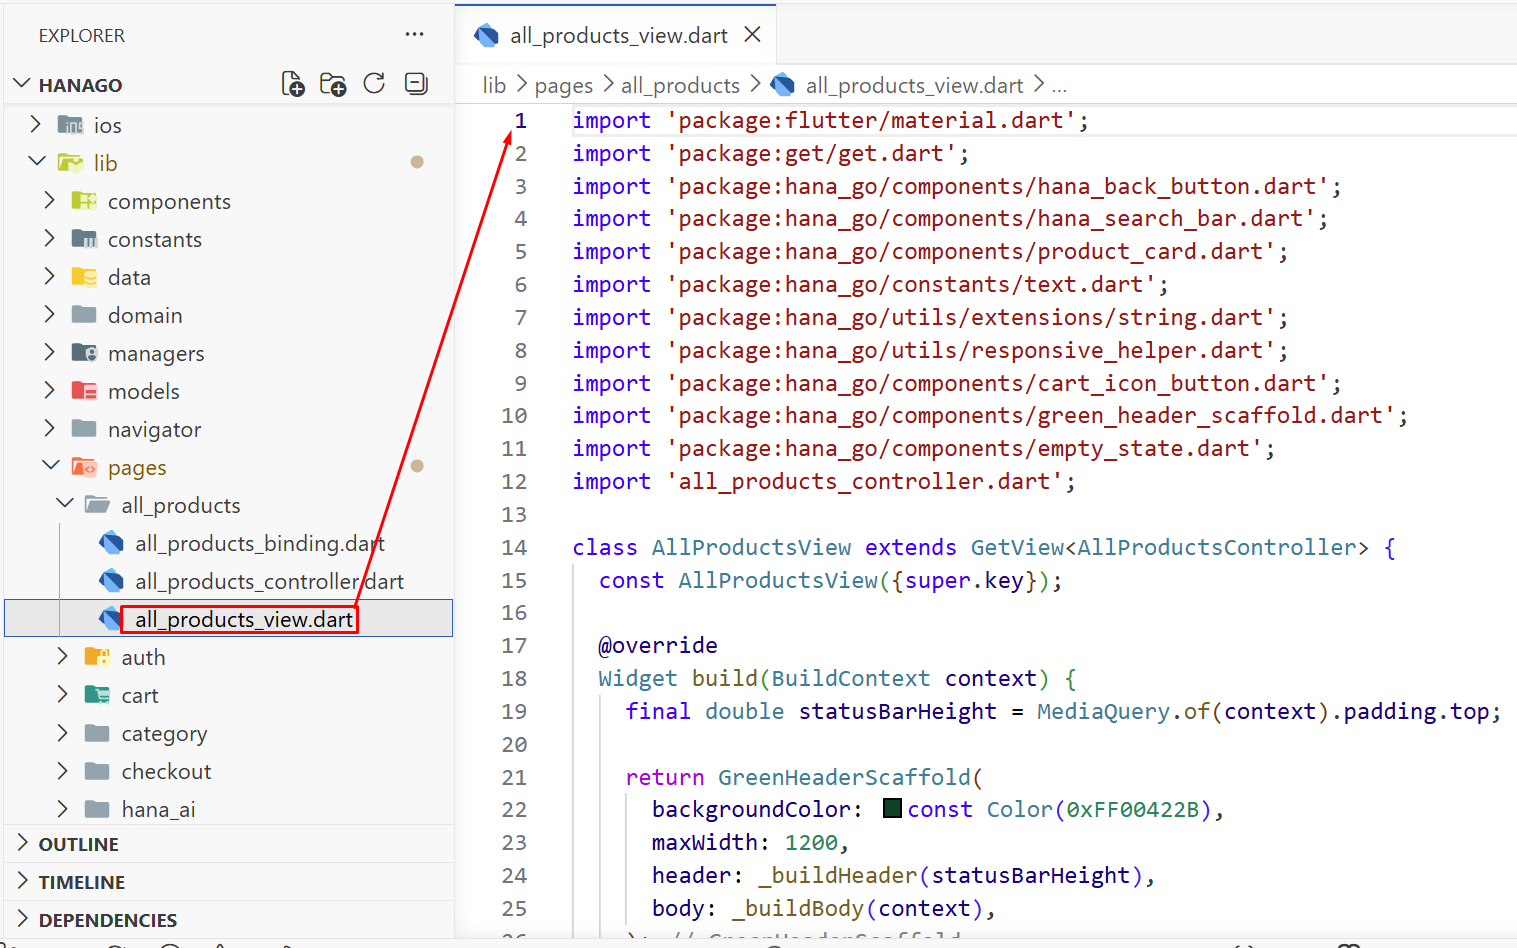
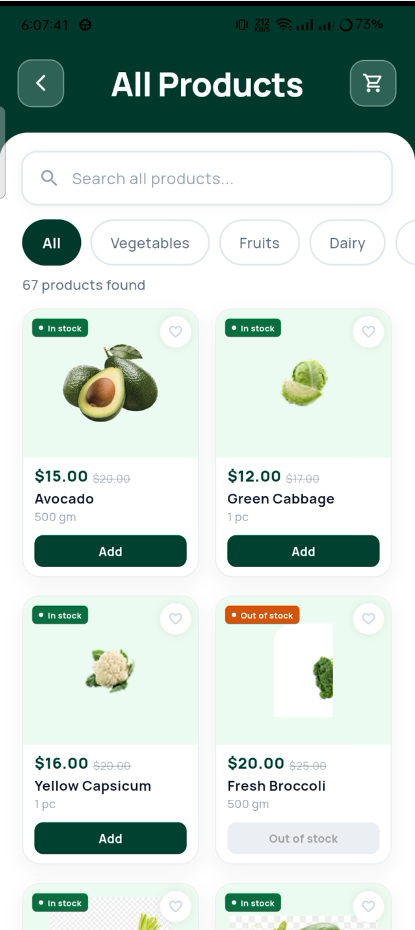
A complete list of everything in the store with a search bar and category filter chips. Users can browse the entire catalog and see how many products match their search.
Hana AI
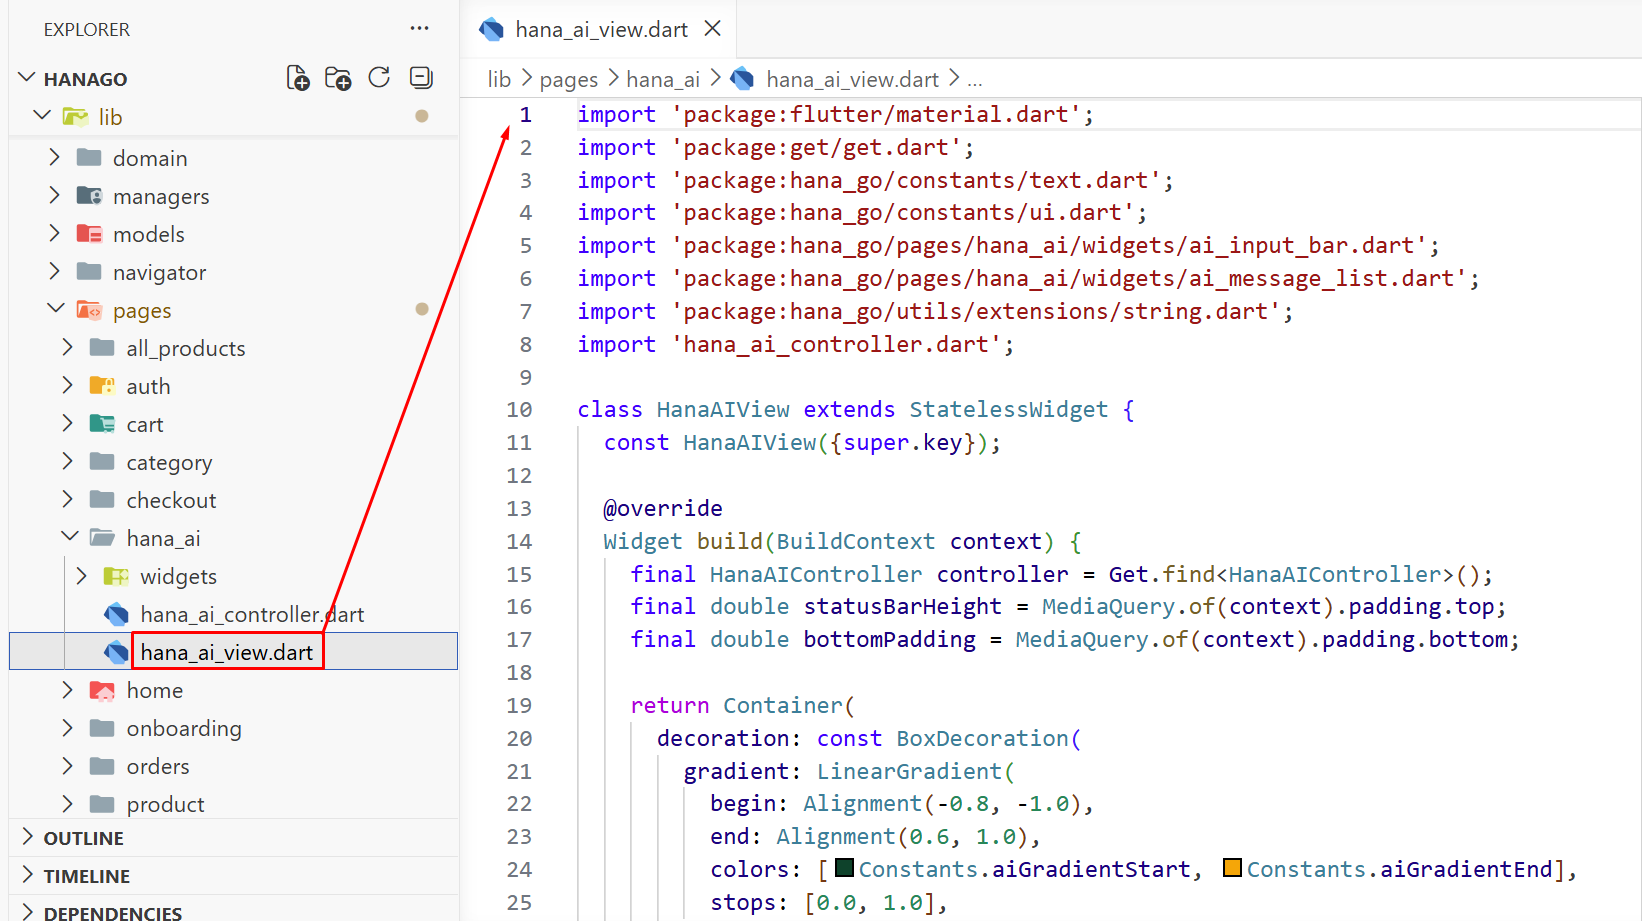
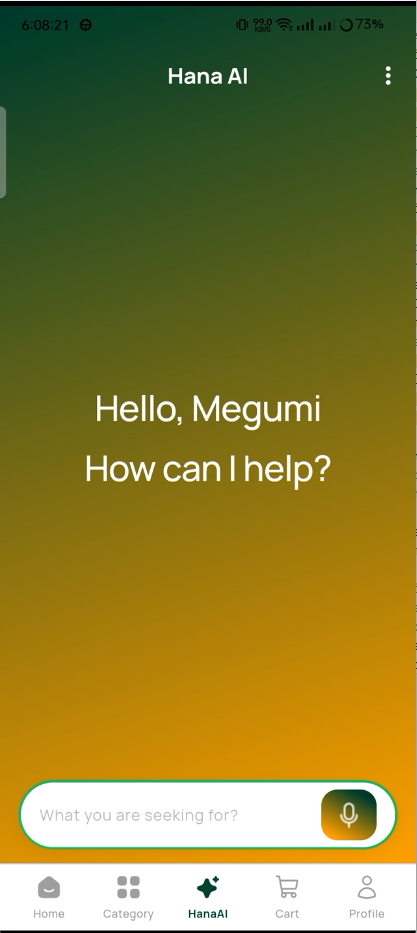
19. AI Chat (Text)
Hana AI's main chat screen where users can type questions and get instant answers. The screen has a gradient background, chat bubbles for conversation history, and a text input bar at the bottom.
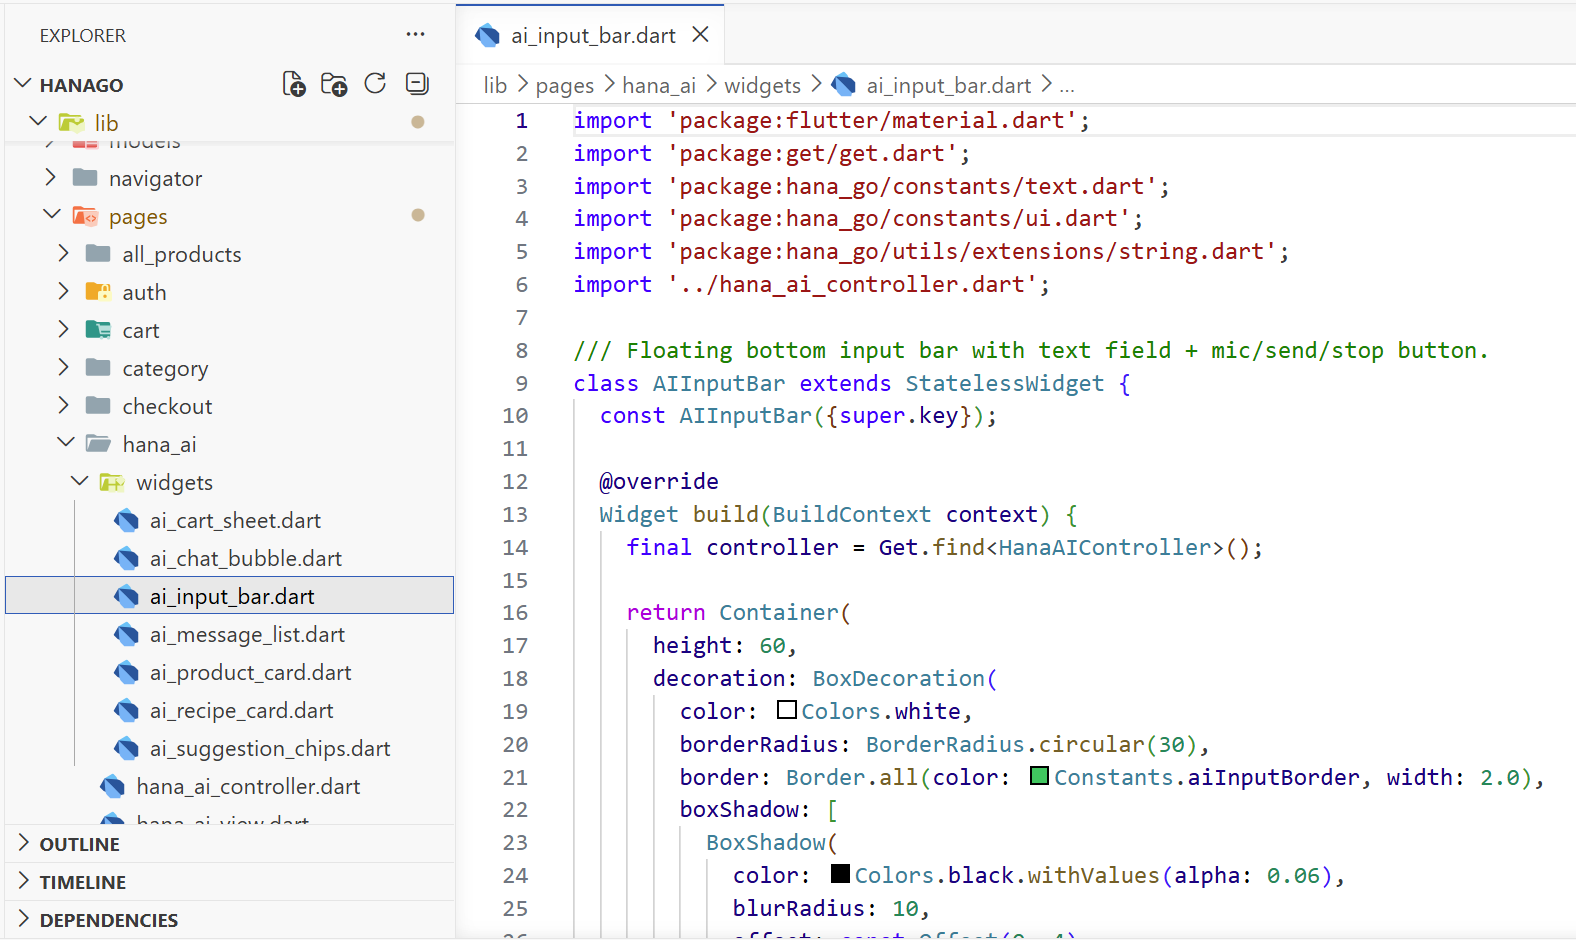
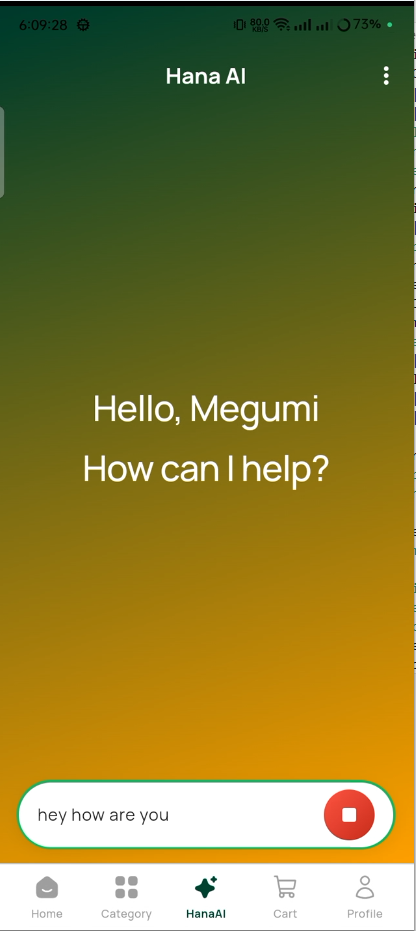
20. AI Voice Input
Instead of typing, users can tap the mic button and speak to Hana AI. The app uses speech recognition to convert the voice into text, so users can ask for product recommendations hands-free.
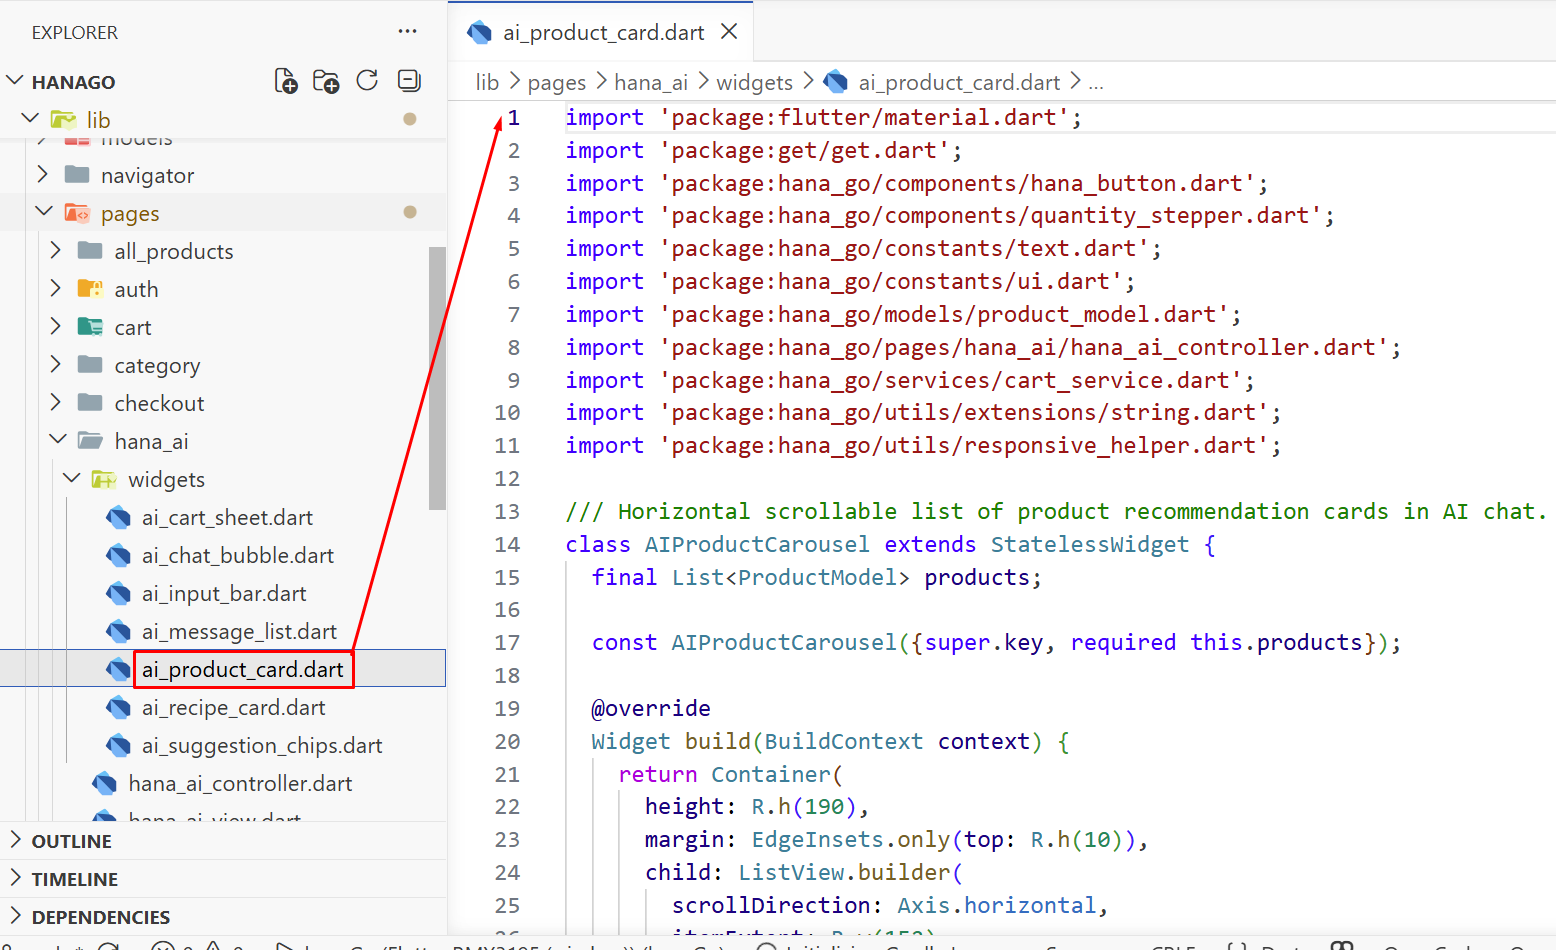
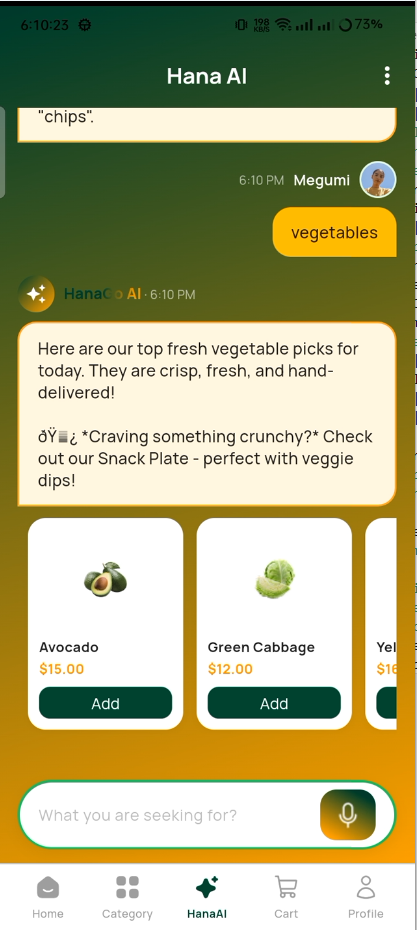
21. AI Product Card
When Hana AI recommends a product, it shows up as a small card inside the chat. The card has the product image, name, price, and an Add button. Users can add items to their cart without leaving the chat.
Cart & Checkout
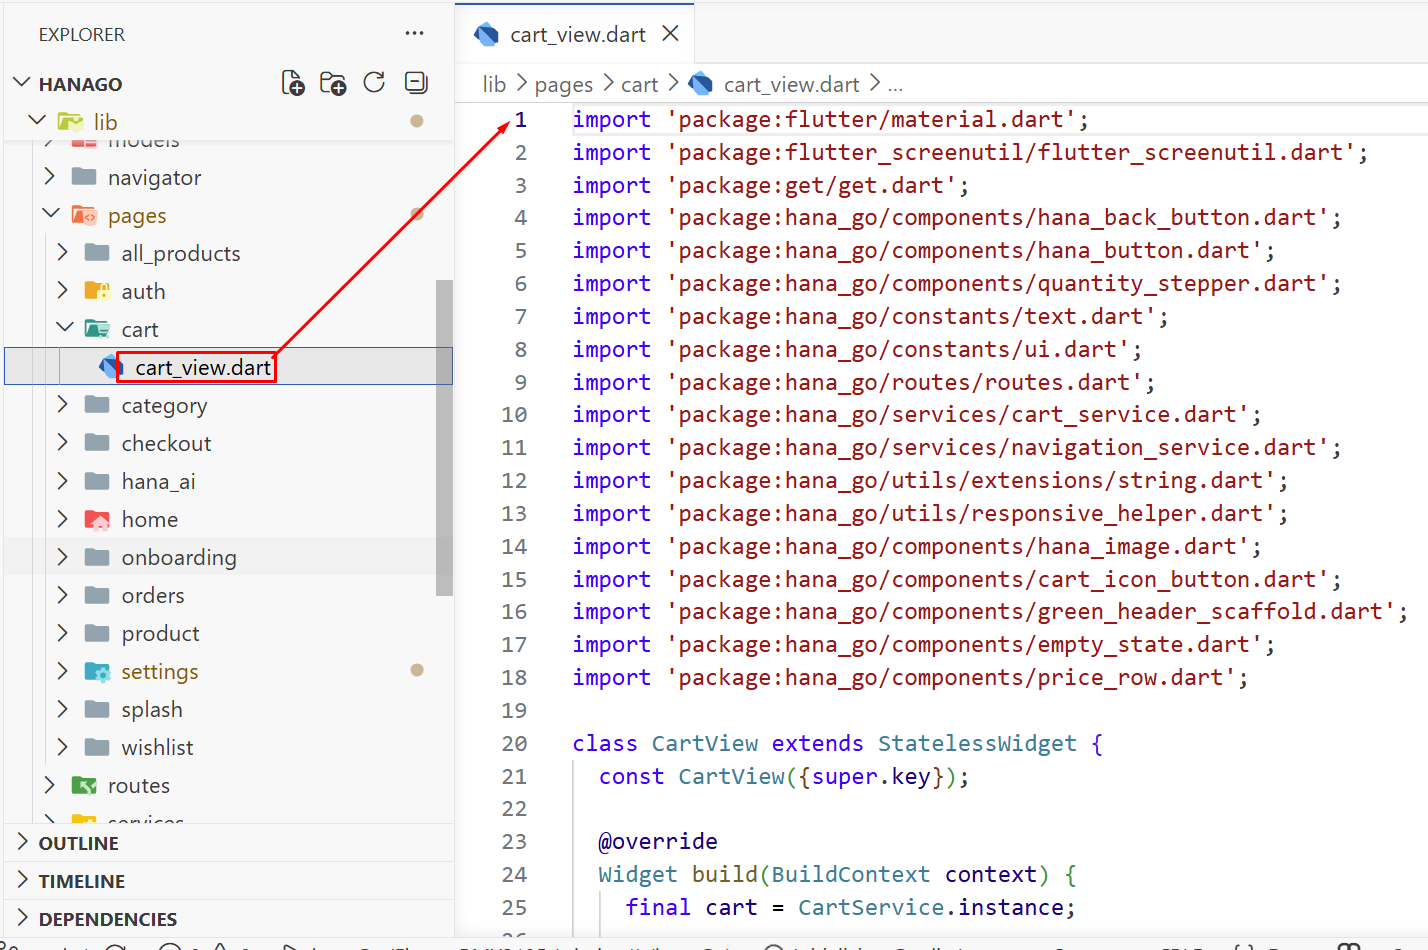
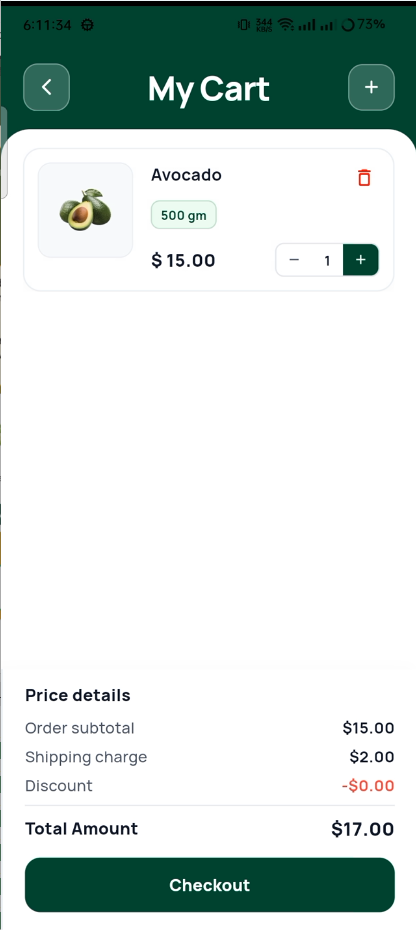
22. Cart View
The shopping cart shows all items the user has added. Each item has a quantity stepper to increase or decrease the count. The bottom shows a price breakdown with subtotal, delivery fee, and total. A Proceed to Checkout button moves forward.
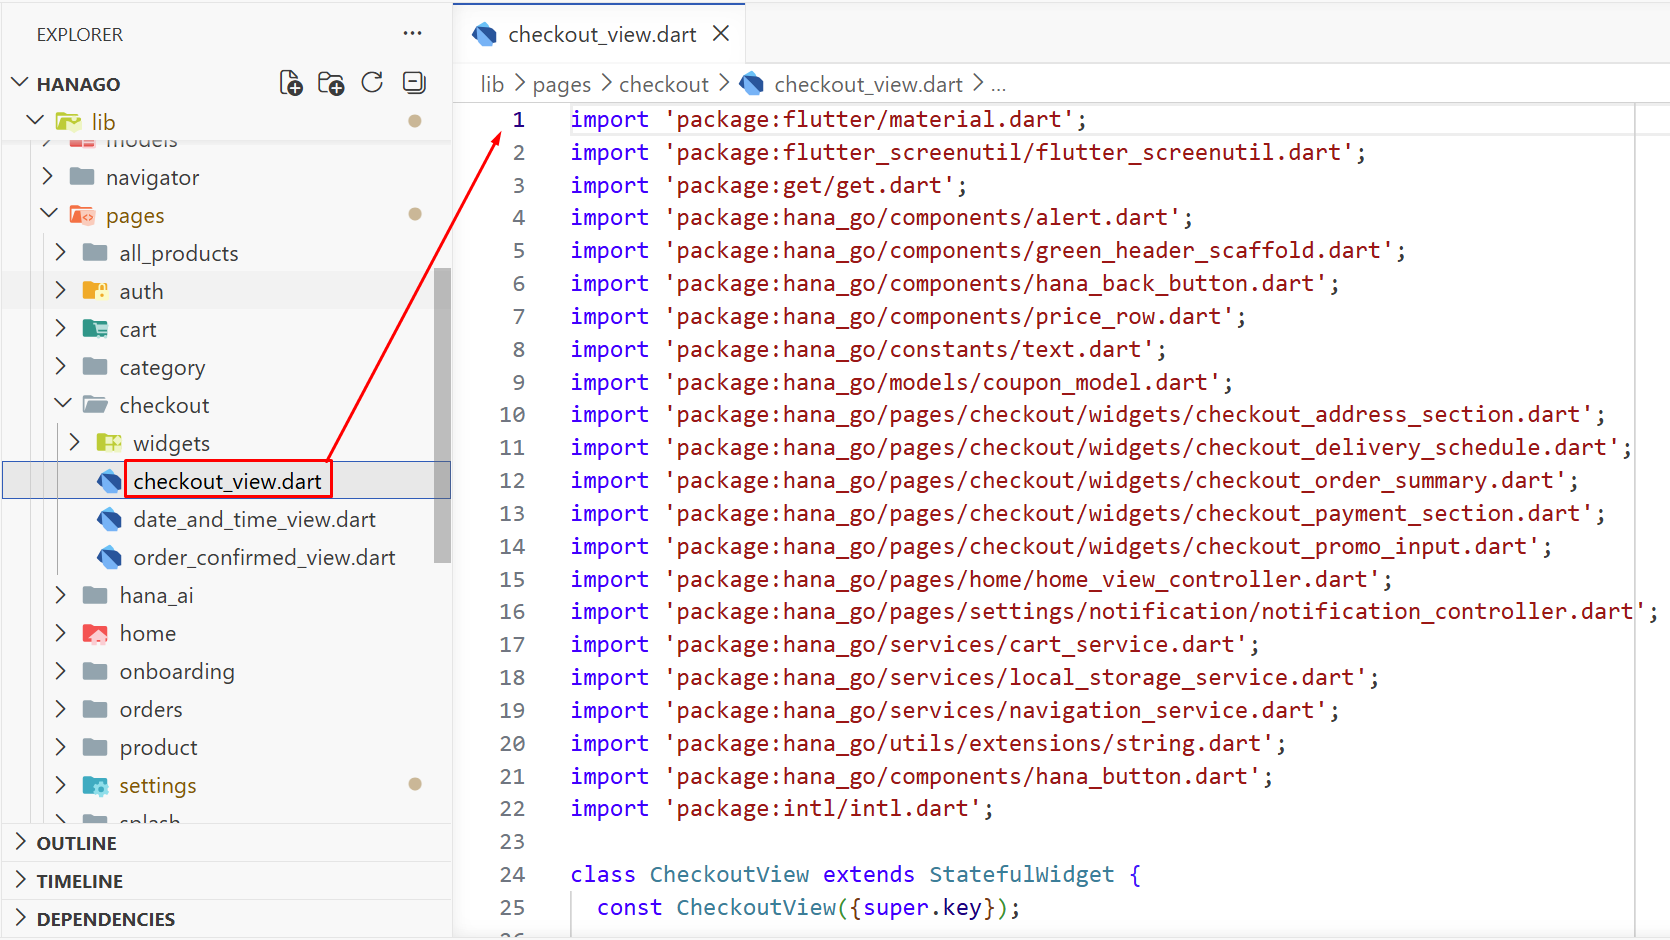
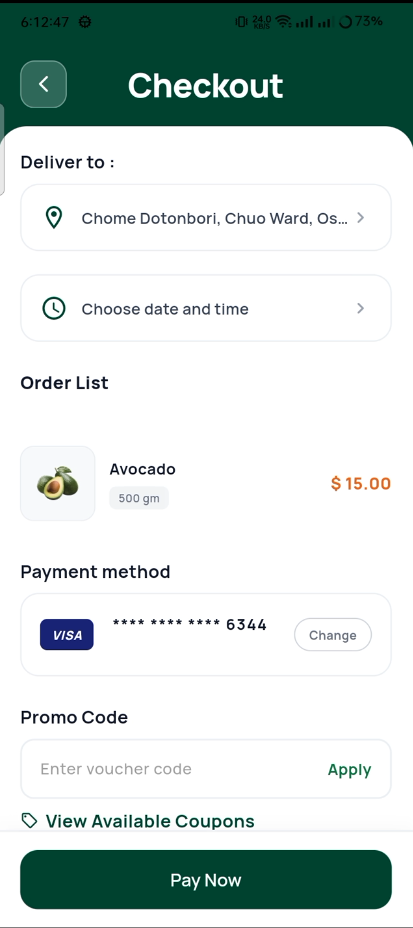
23. Checkout
The final step before placing an order. Users review their delivery address, pick a date and time, choose a payment method, apply a promo code if they have one, and tap Place Order to confirm.
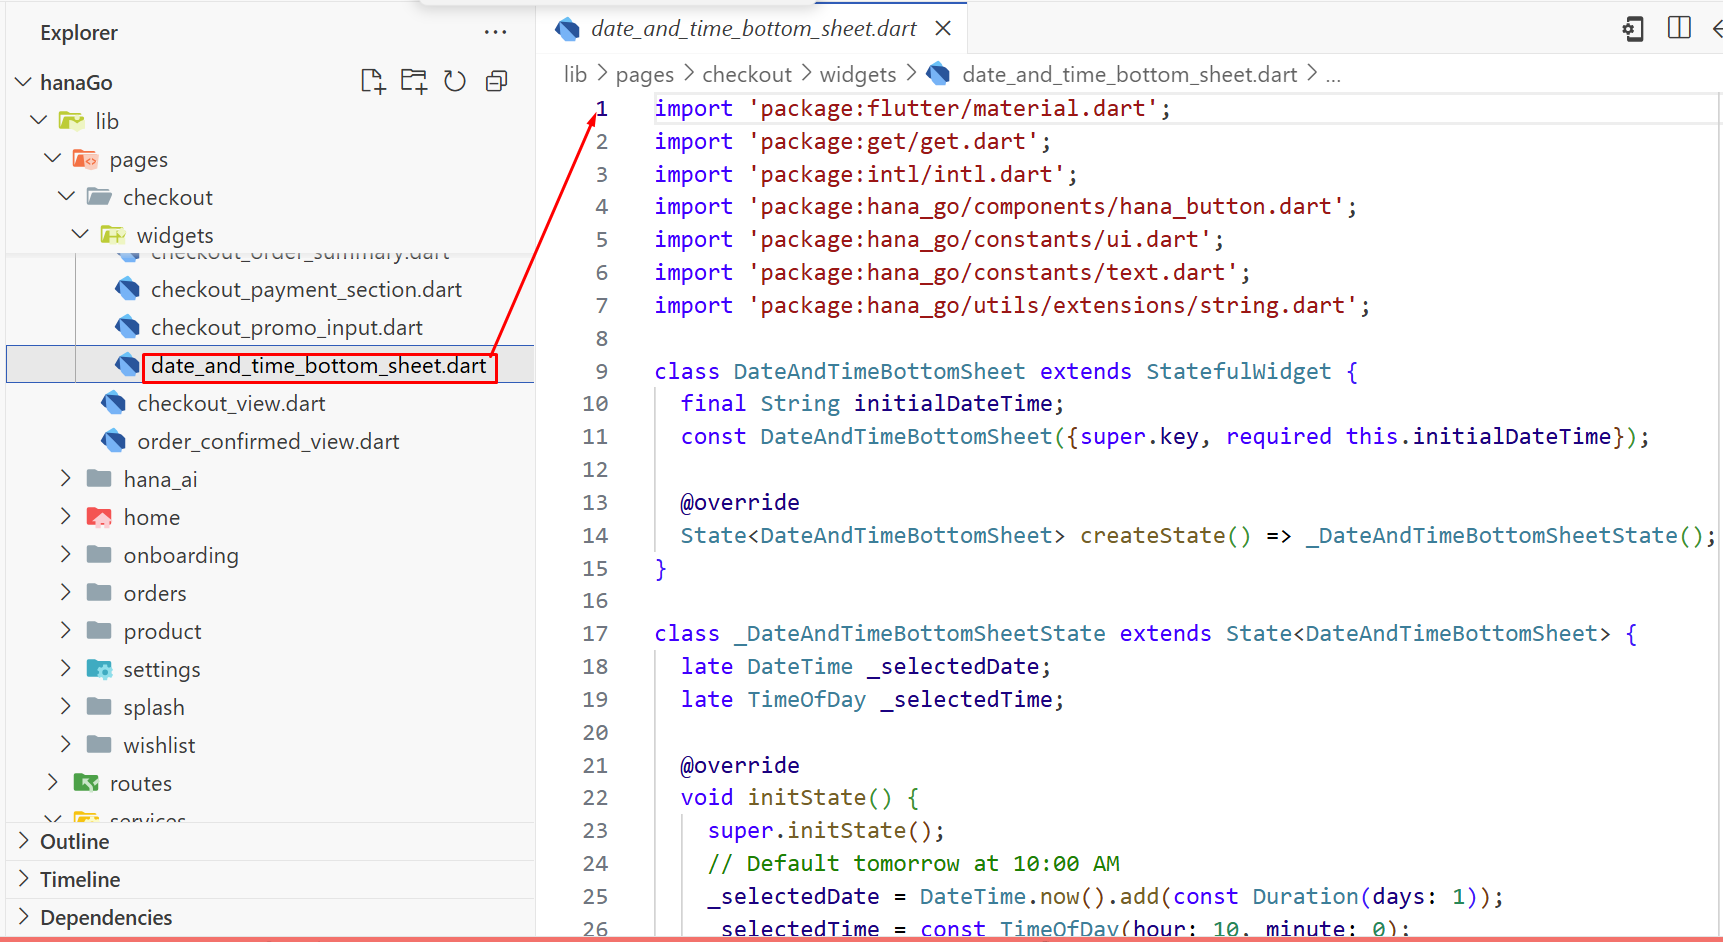
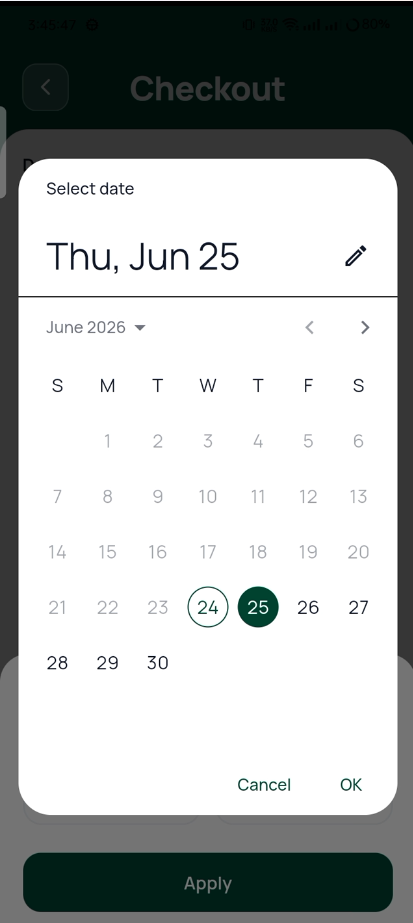
24. Date & Time Picker
A dedicated screen for choosing when the order should arrive. Users pick a date from a calendar and a time from a scroll wheel. The app only shows available slots so there's no confusion.
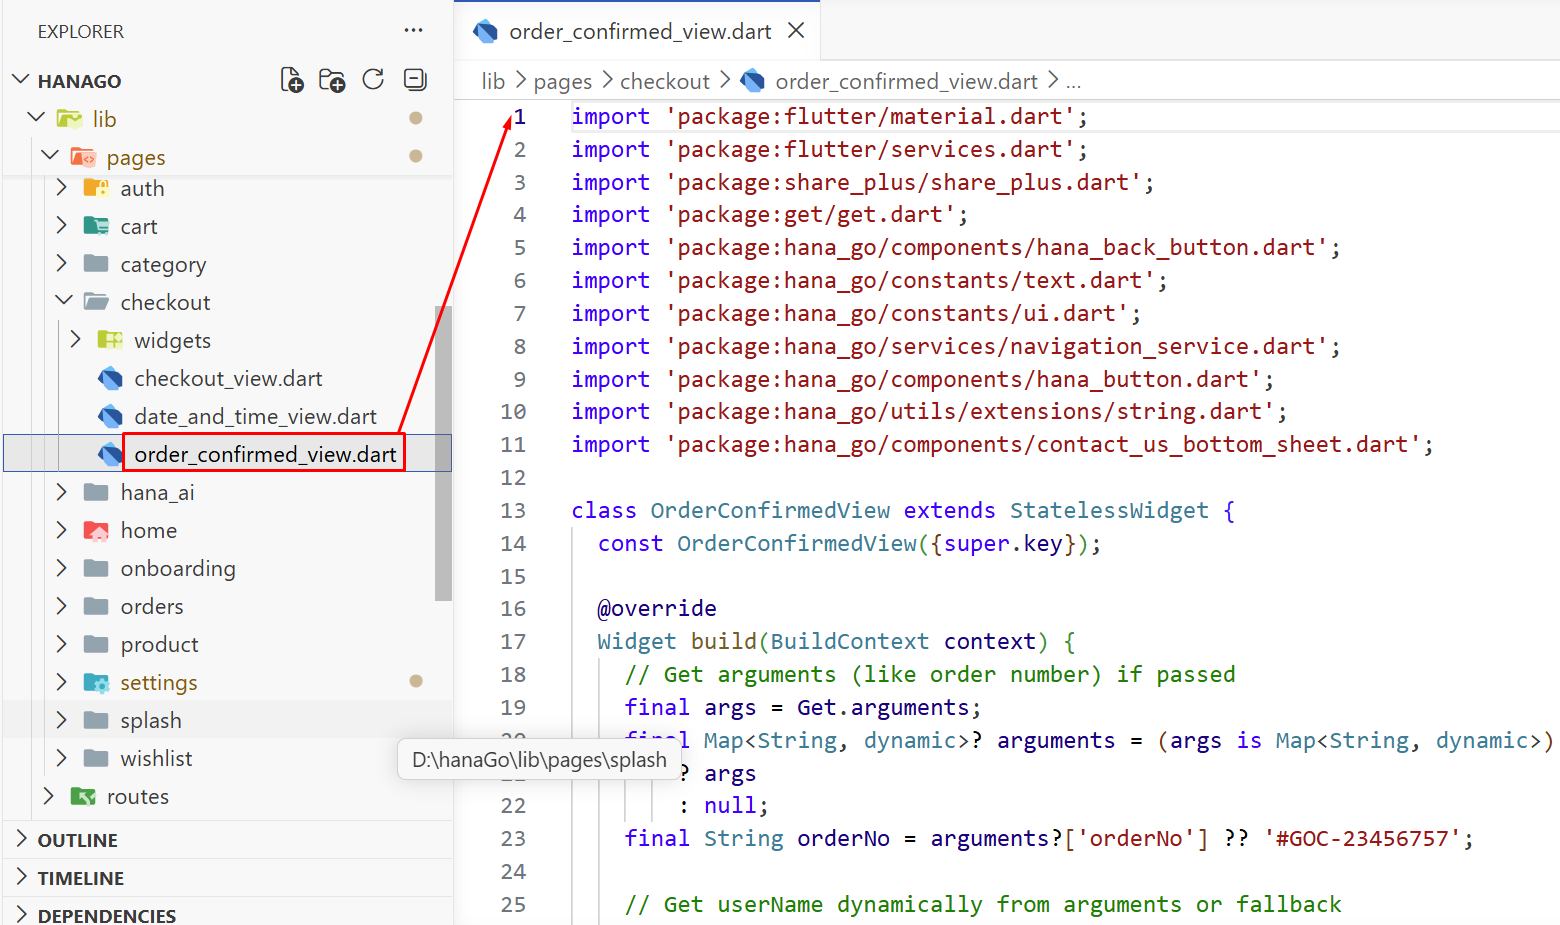
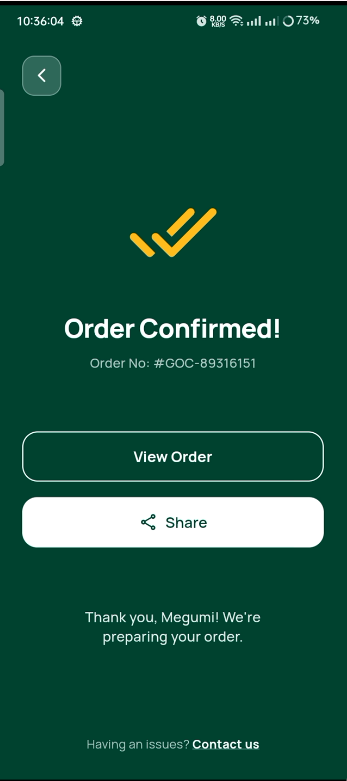
25. Order Confirmed
The success screen after an order is placed. It shows a gold checkmark animation, the order number, and buttons to View Order or Share. Users feel confident their order went through.
Orders & Tracking
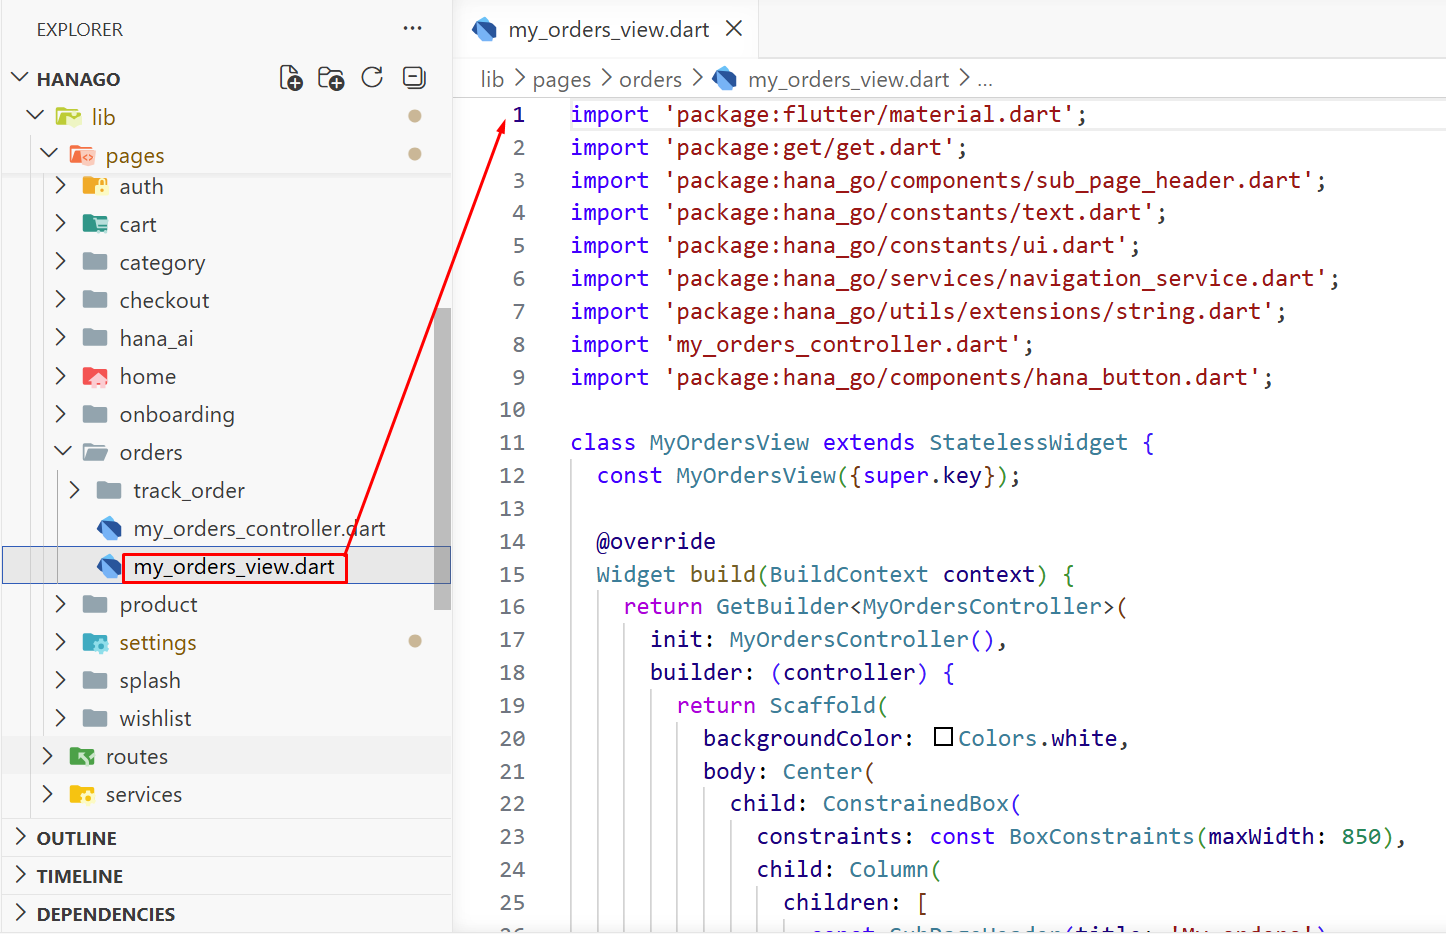
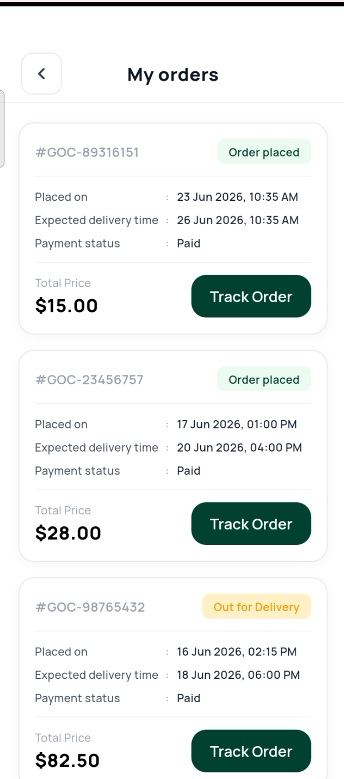
26. My Orders
A list of all past and current orders with status badges. Order Placed, Out for Delivery, Delivered, or Cancelled. Users tap on any order to see the full details and tracking information.
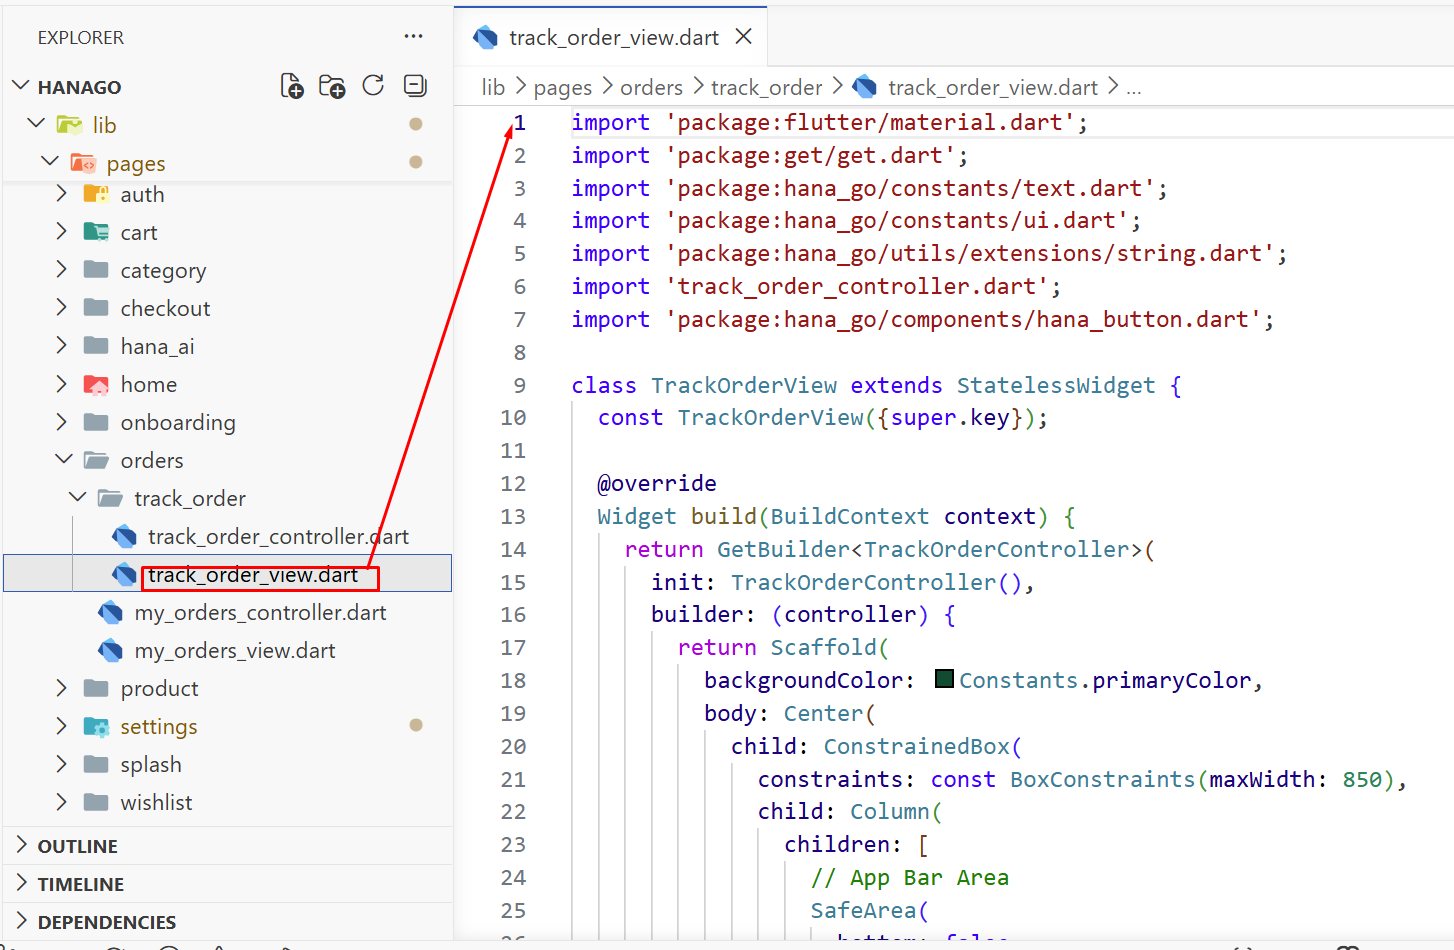
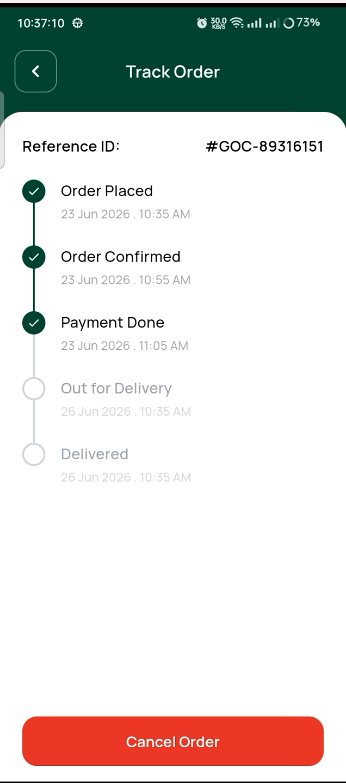
27. Track Order
Real-time order tracking with a vertical timeline showing each step. Order Placed, Processing, Packed, Shipped, and Delivered. The current step is highlighted in green so users know exactly where their order is.
Wishlist
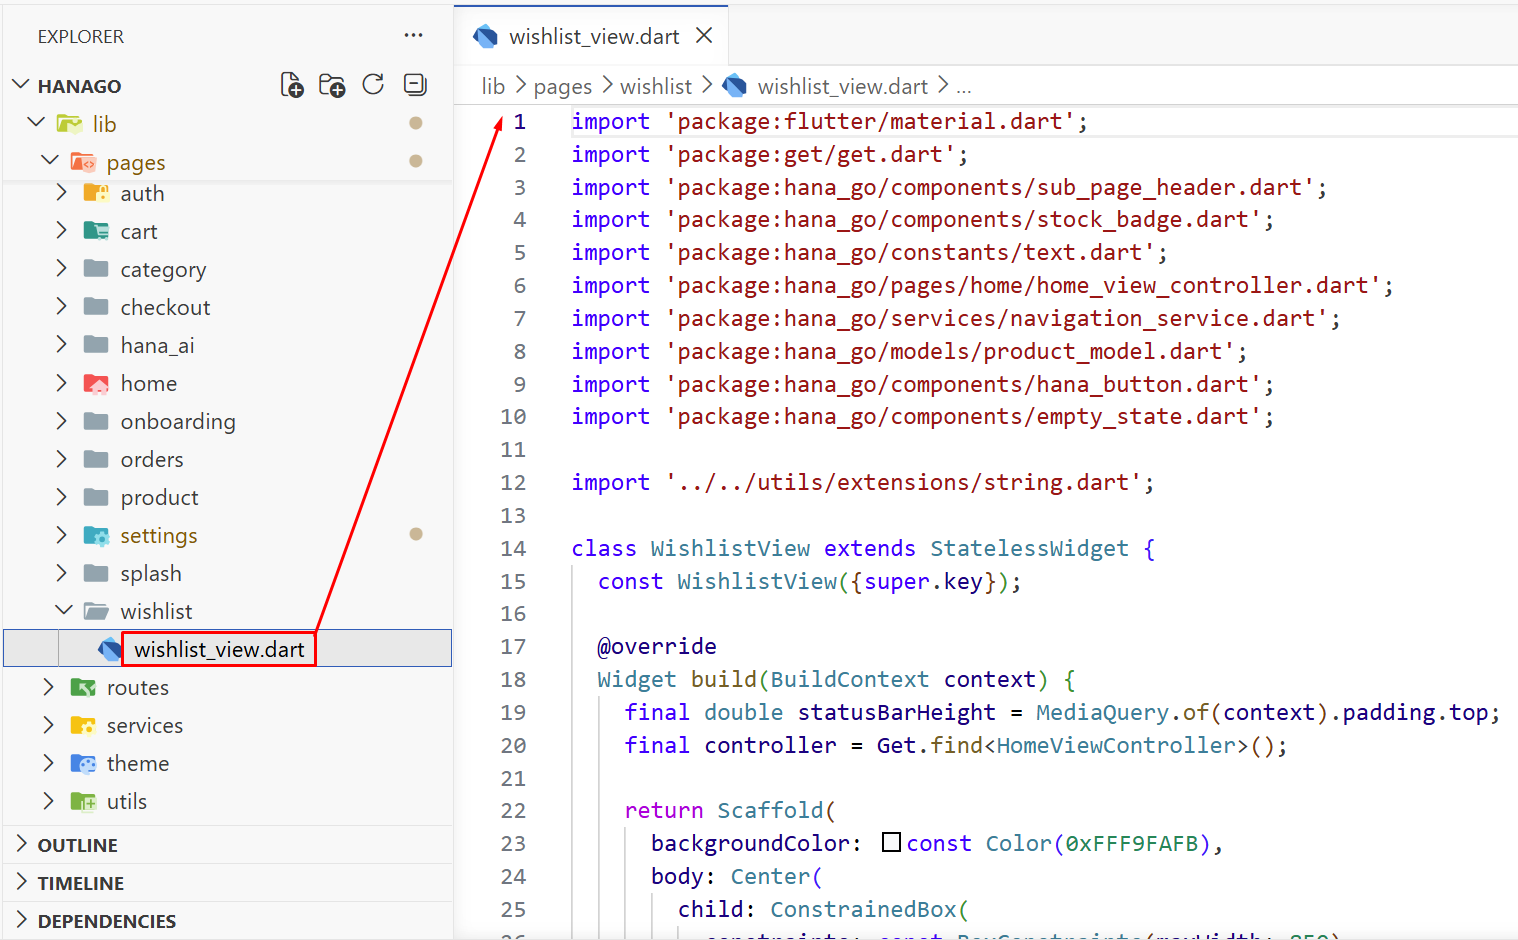
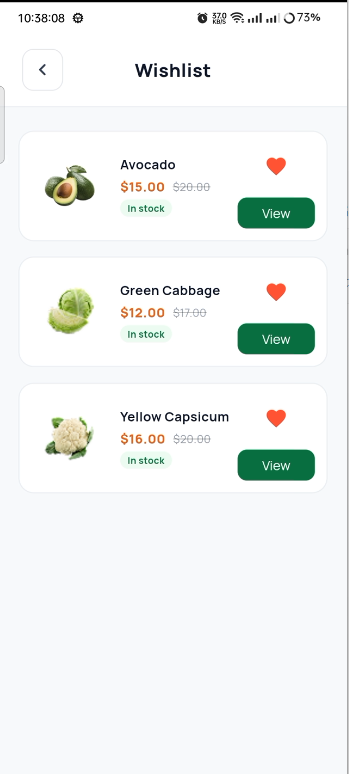
28. Wishlist
A grid of products the user has saved for later. Each product has a heart icon to remove it and a quick add-to-cart button. If the wishlist is empty, a friendly illustration encourages users to start browsing.
Settings
29. Settings Hub
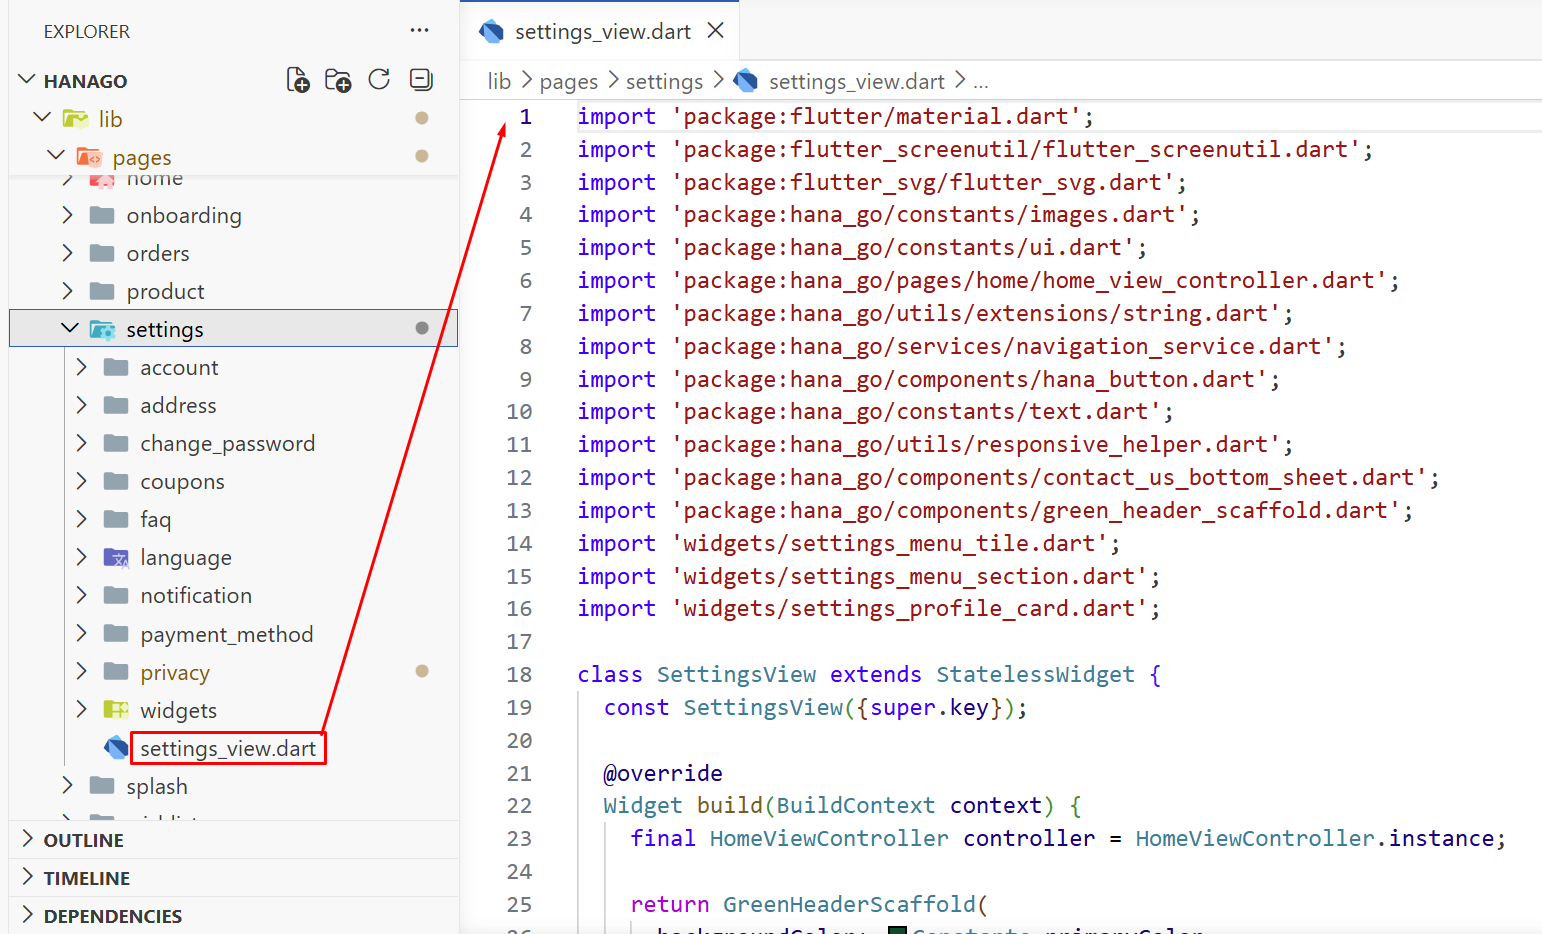
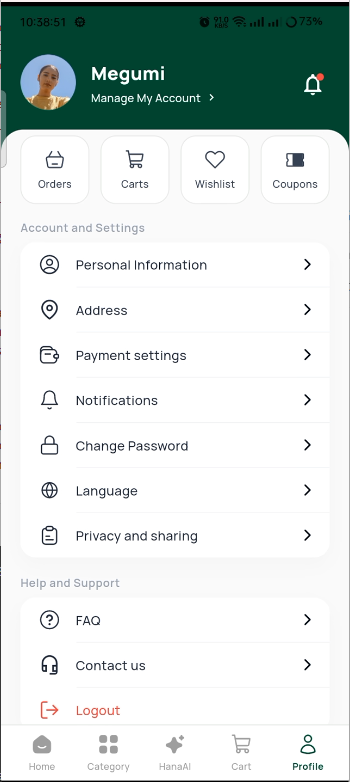
The main settings screen with the user's profile card at the top, quick action buttons for Orders and Cart, and a list of menu items like Account, Delivery Address, Payment Method, Notifications, and Language.
30. Account / Profile
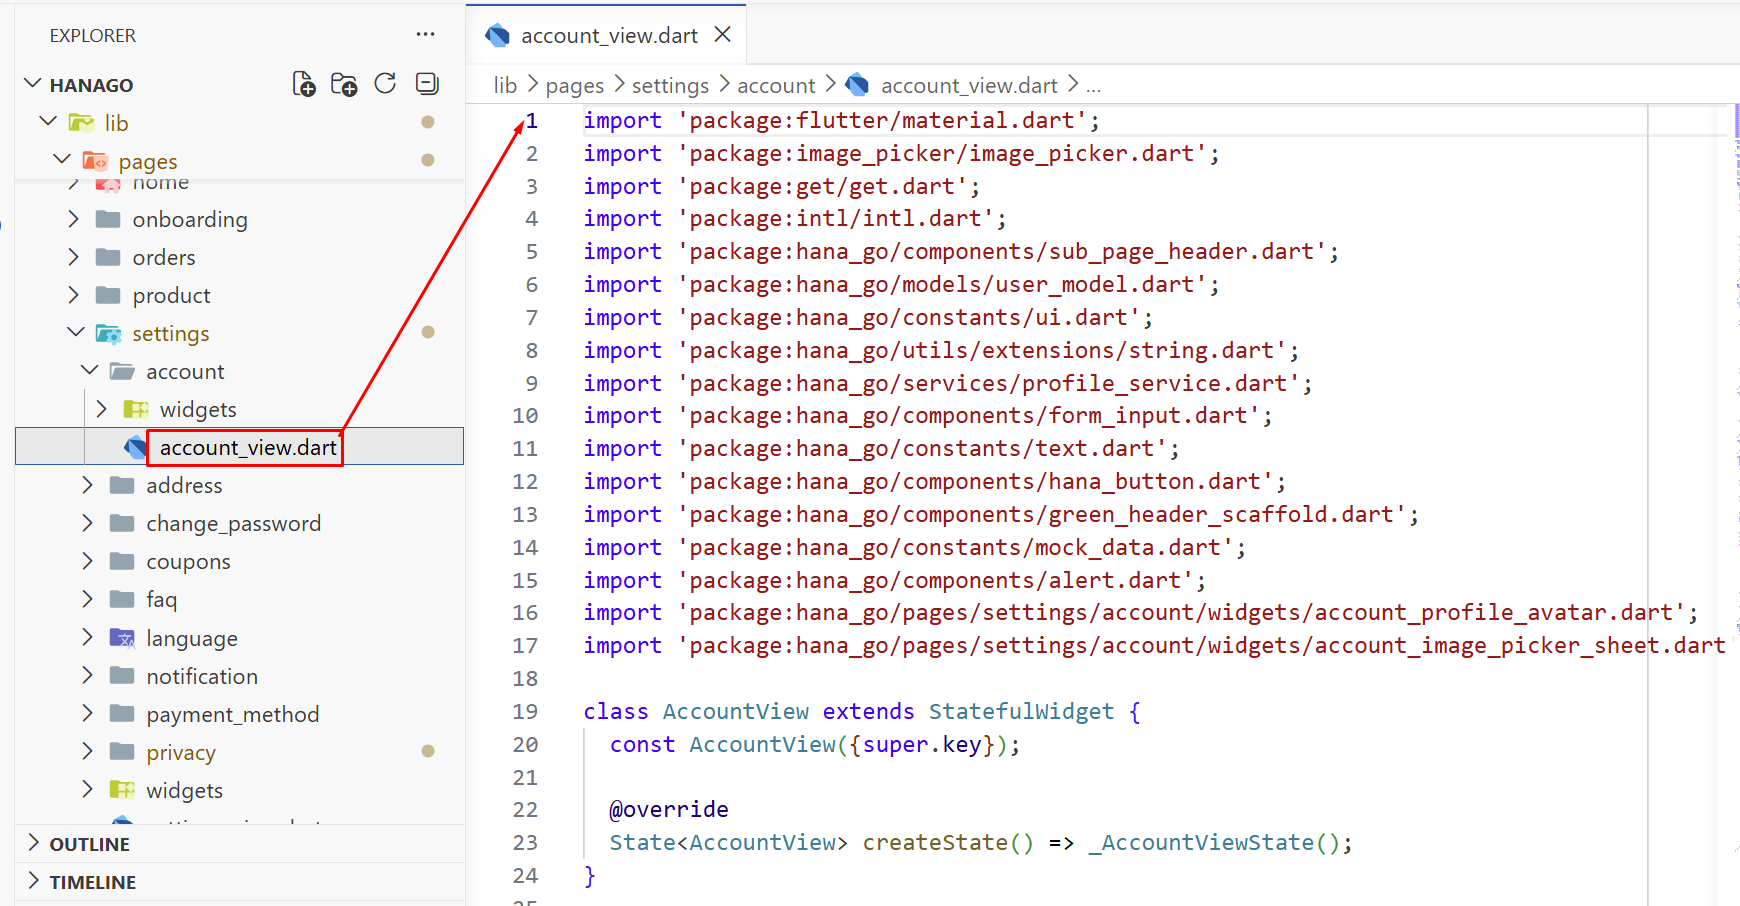
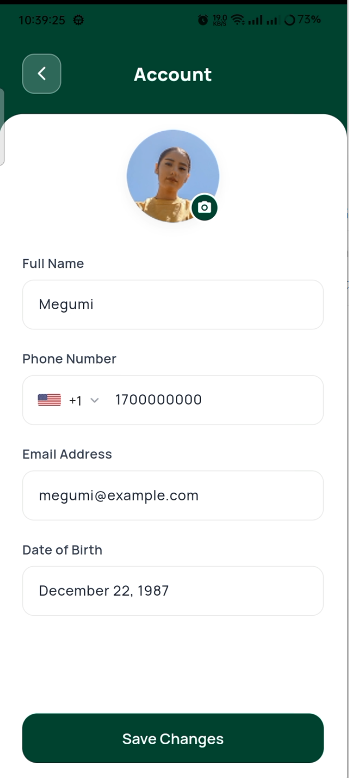
Where users manage their personal information. Name, phone number, email, date of birth, and profile photo. A Save Changes button at the bottom updates everything at once.
31. Delivery Address
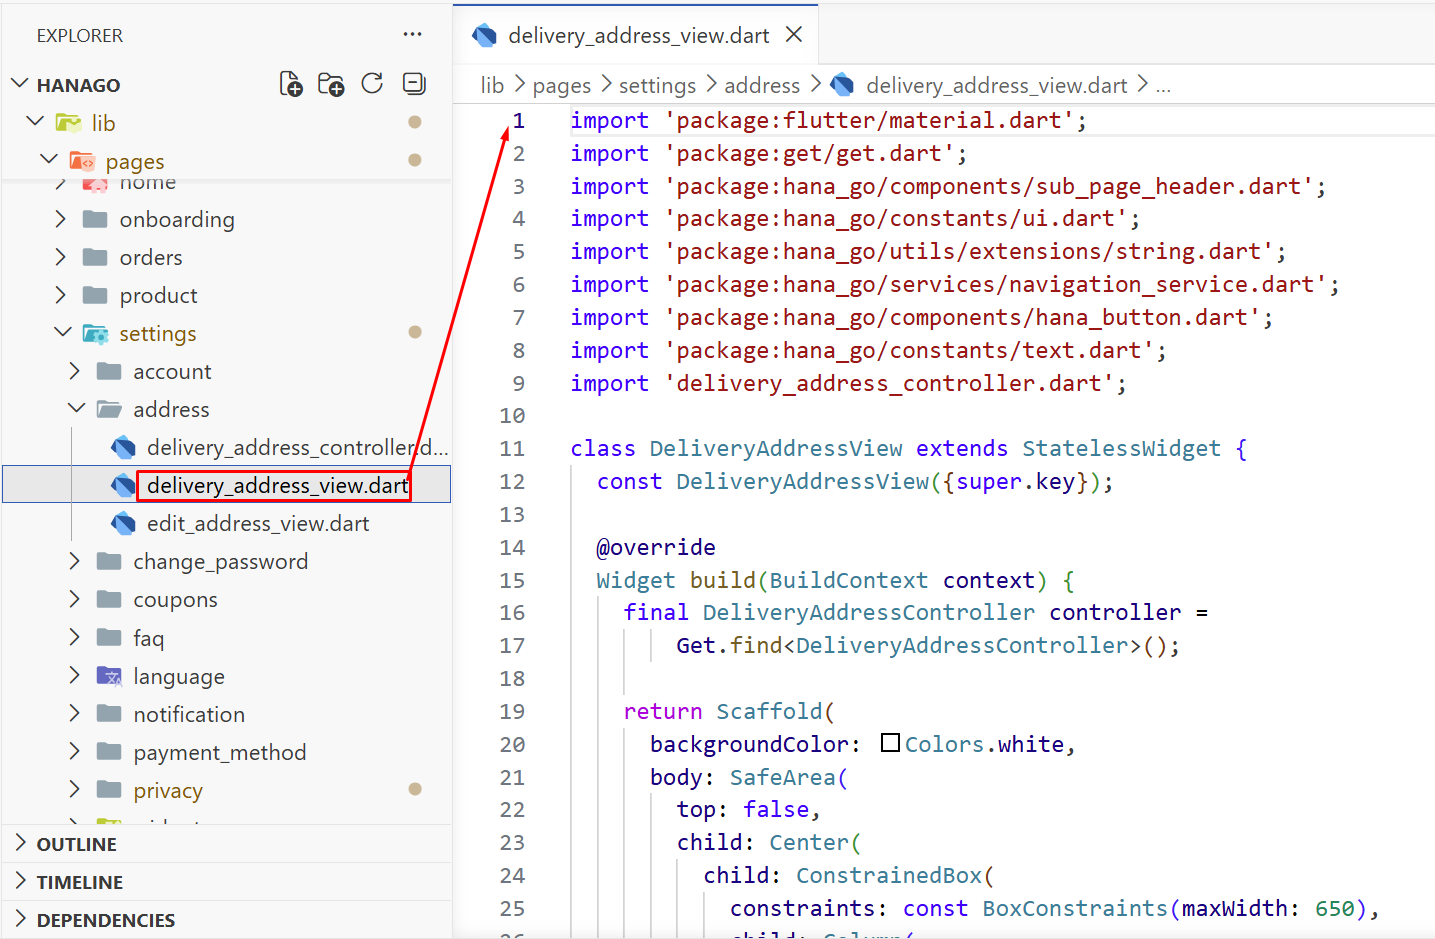
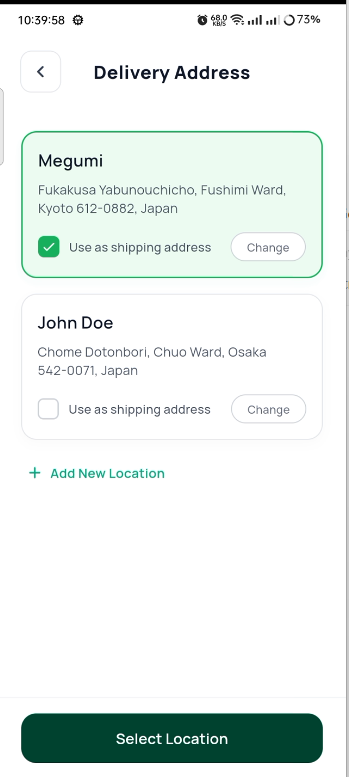
A list of saved delivery addresses with options to add, edit, or delete. Users can set a default address so the app remembers where to deliver their orders.
32. Payment Method
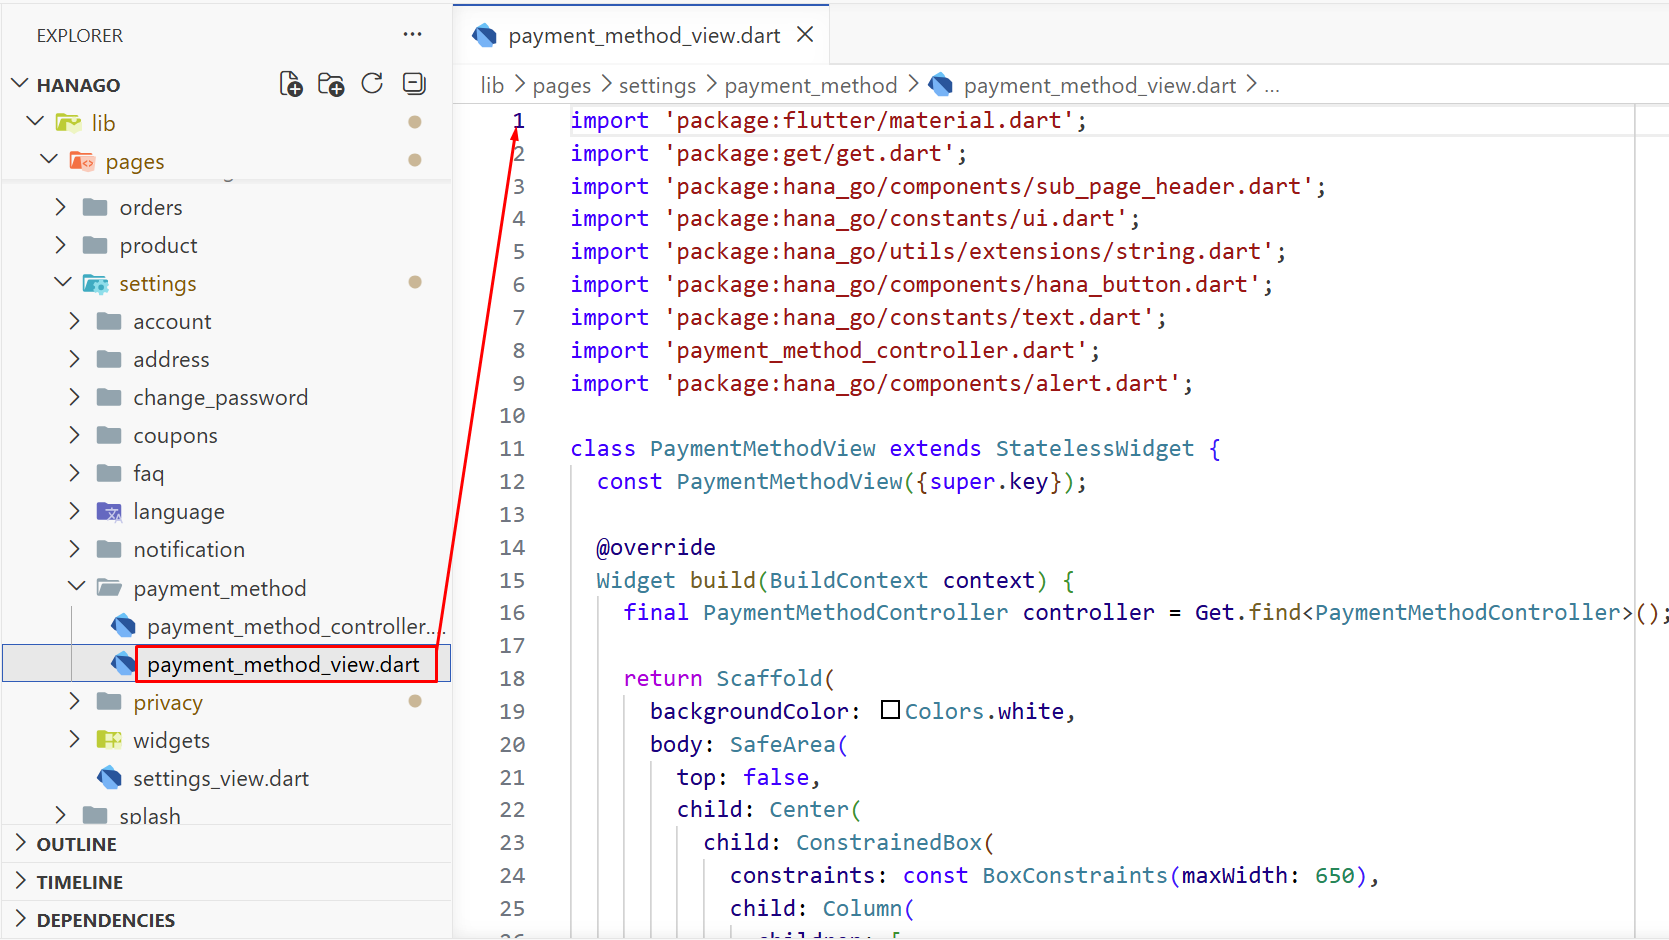
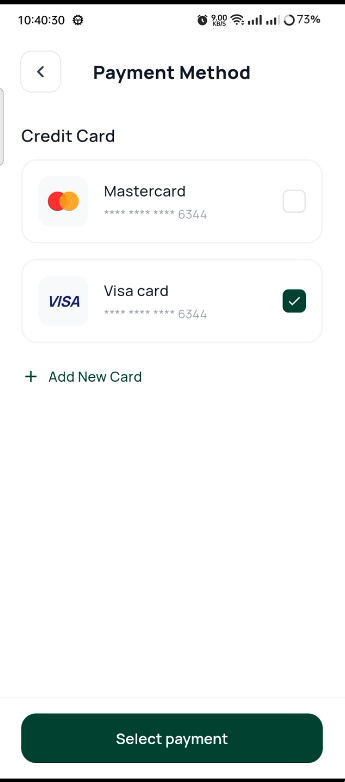
Where users manage their payment options. Saved Visa and Mastercard cards with logos, plus a Cash on Delivery option. Users can add new cards or switch between payment methods.
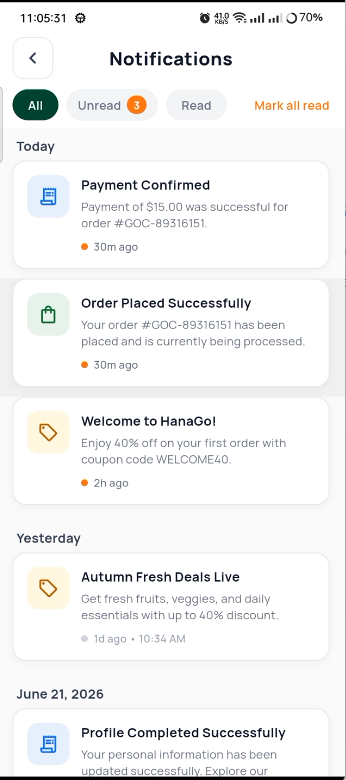
33. Notifications
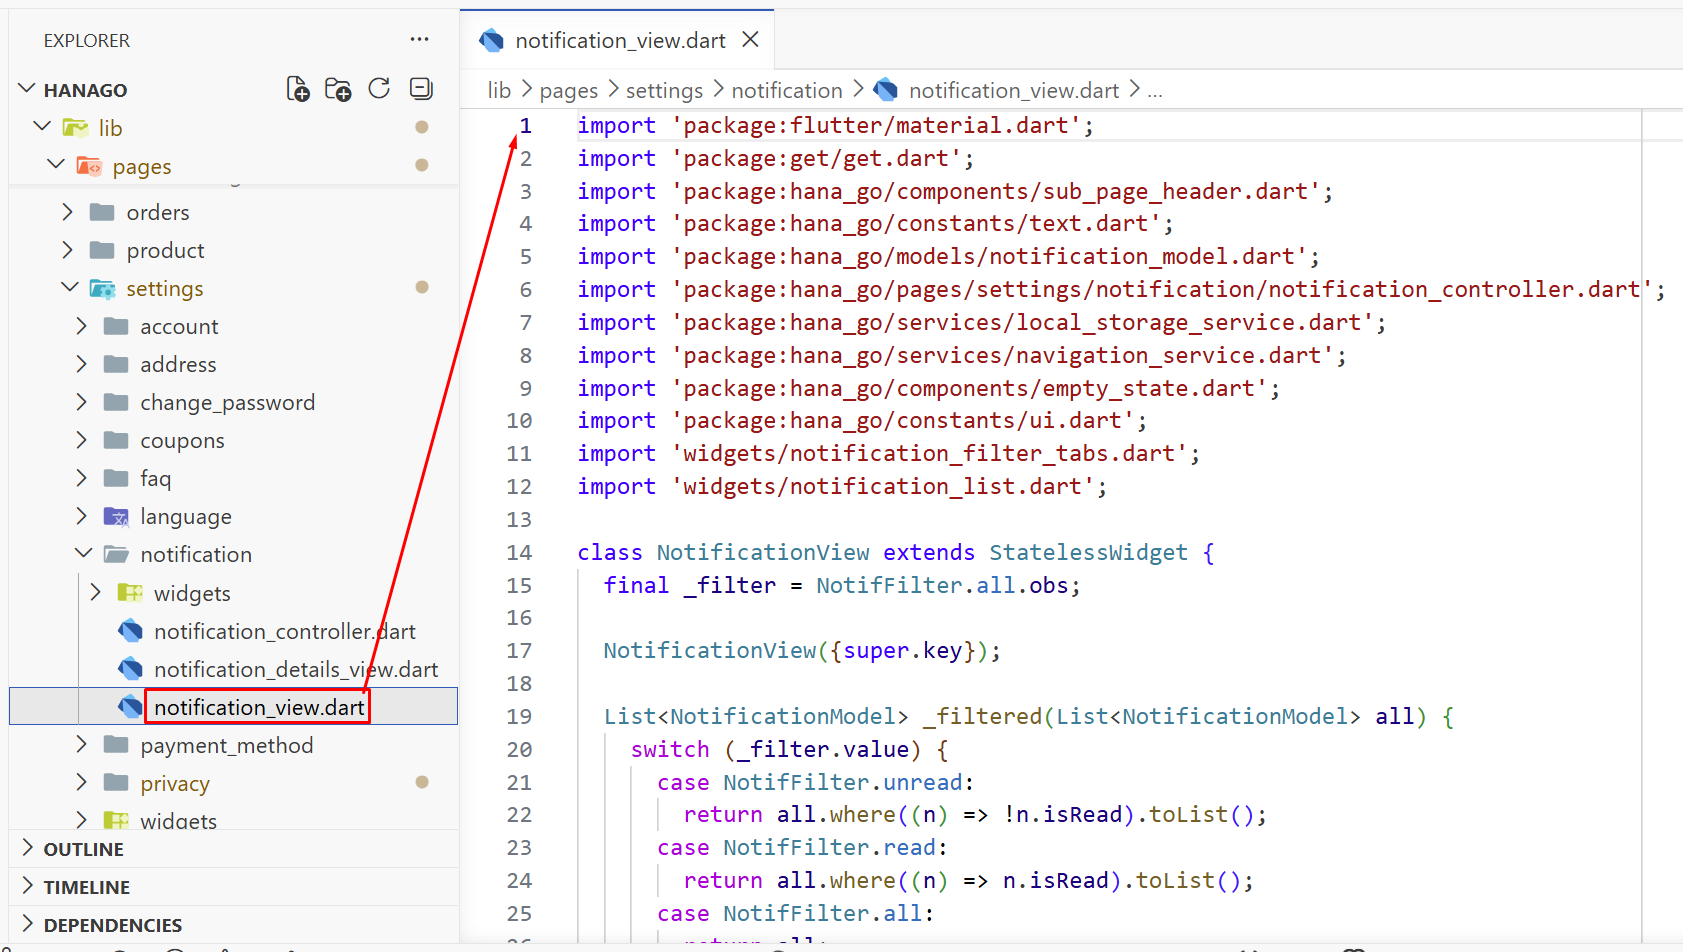
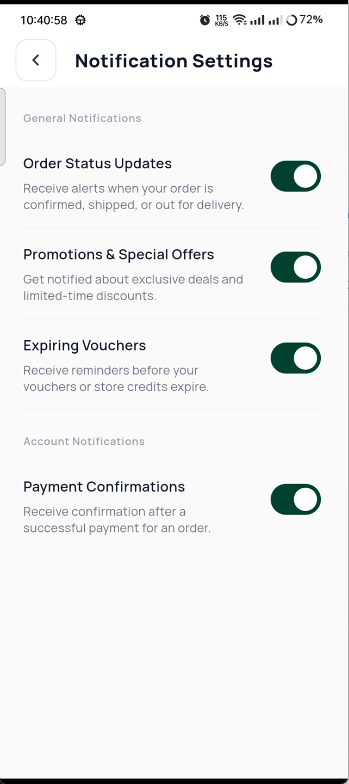
A list of all notifications with filter tabs for All, Unread, and Read. Users can tap on any notification to see the full details. Order updates, promotional offers, and app announcements.
34. Language
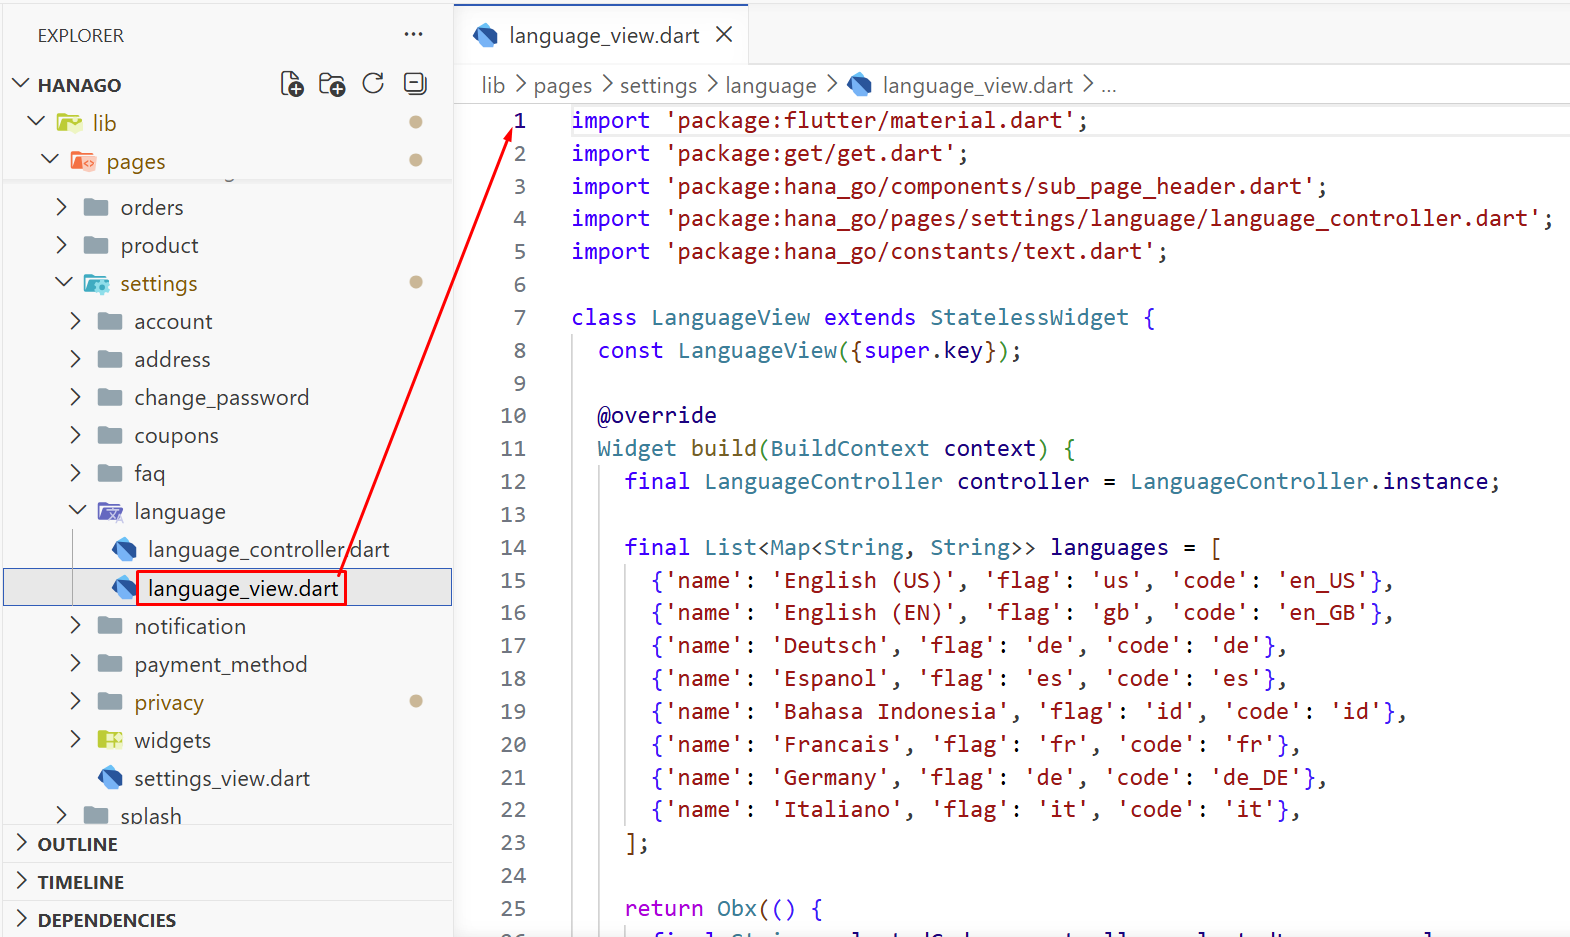
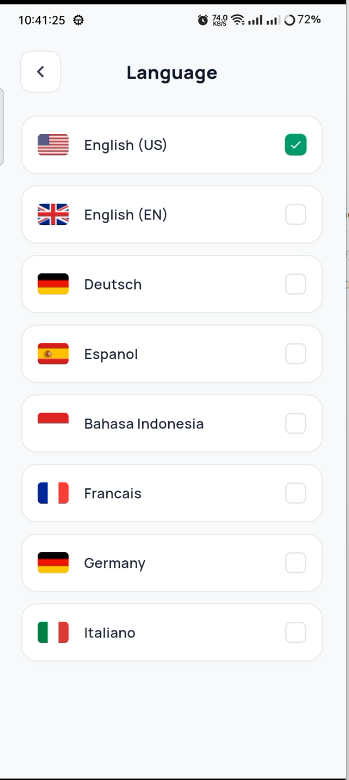
A list of supported languages with flag icons. Users tap on their preferred language and the entire app switches instantly. The choice is saved so it persists across sessions.
35. Coupons
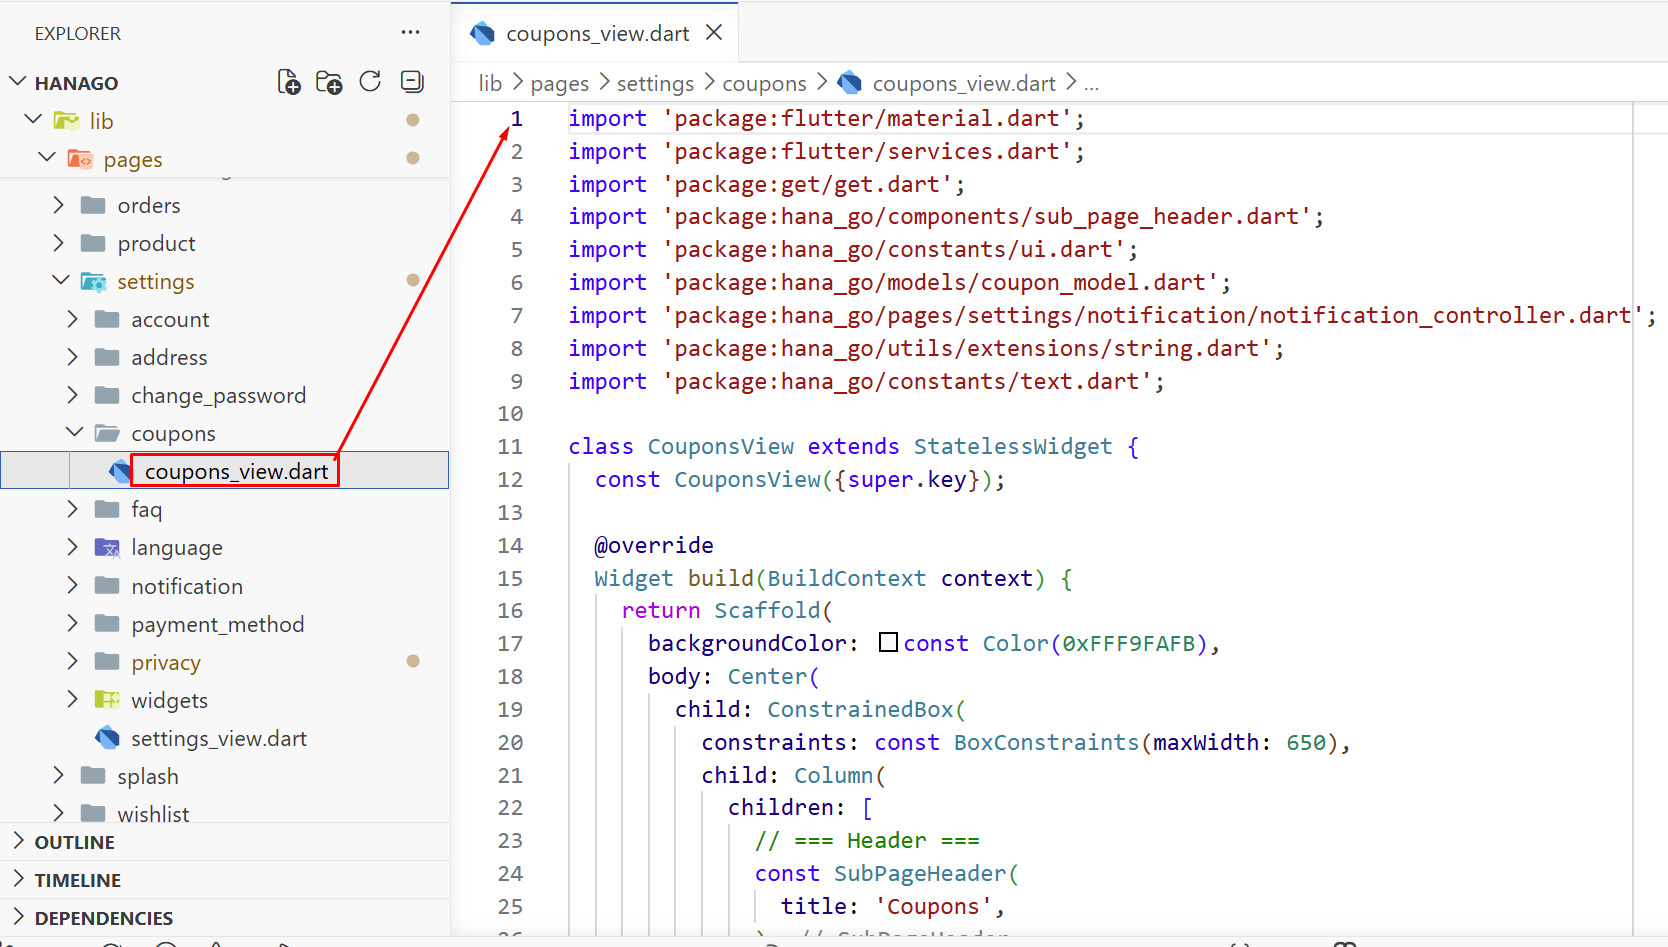
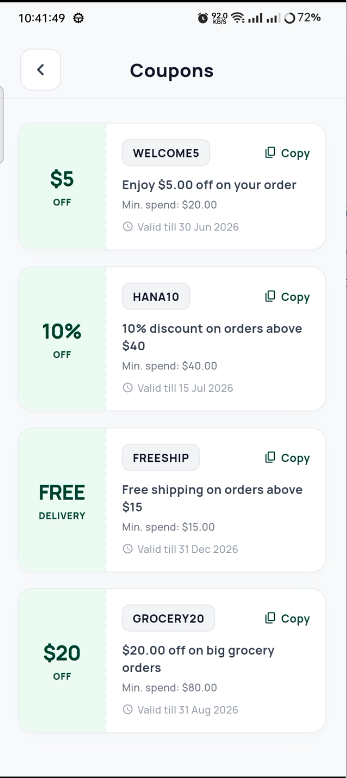
A wallet of available coupons showing discount amounts, coupon codes, minimum purchase requirements, and expiry dates. Users can copy a code or tap Apply to use it at checkout.
36. FAQ
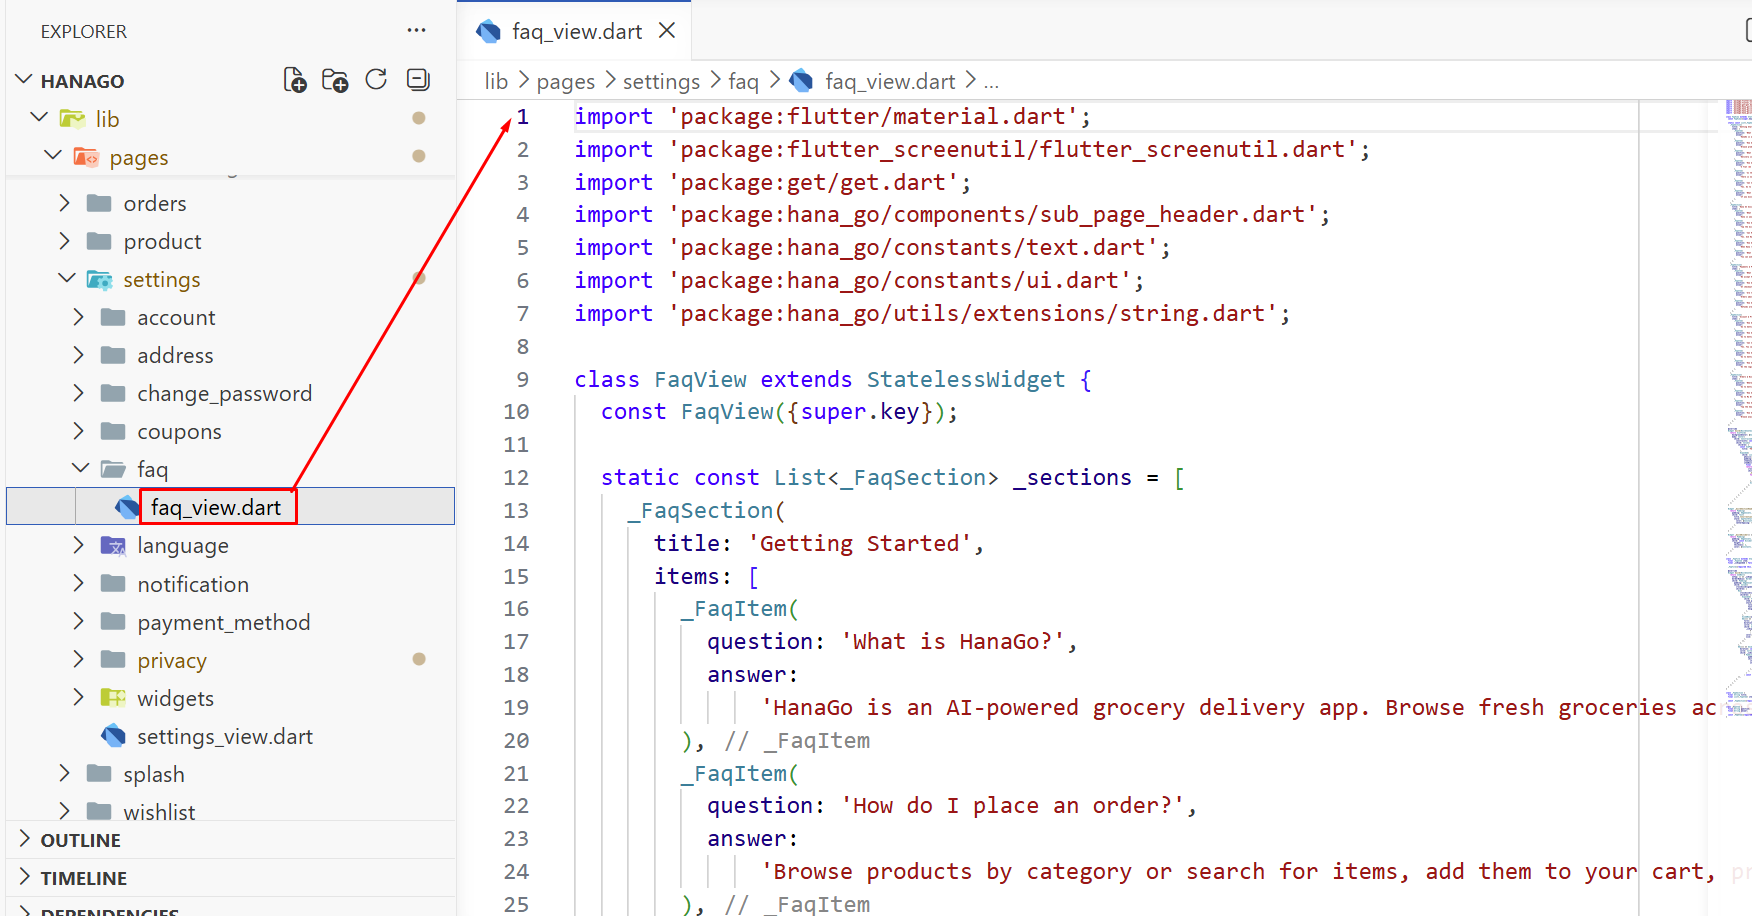
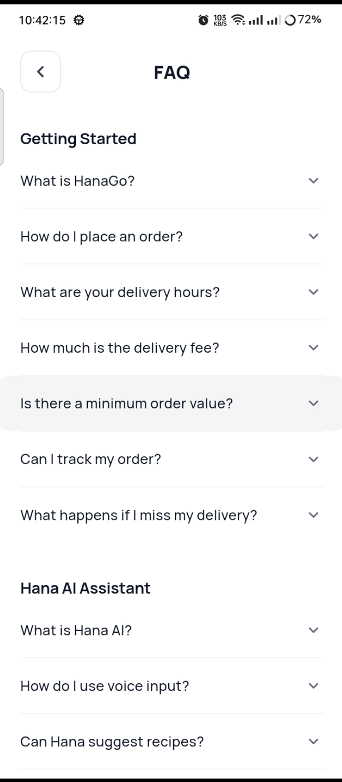
Frequently asked questions organized by topic. Getting Started, Orders, Delivery, Hana AI, and Account. Each question expands to show the answer, making it easy to find help.
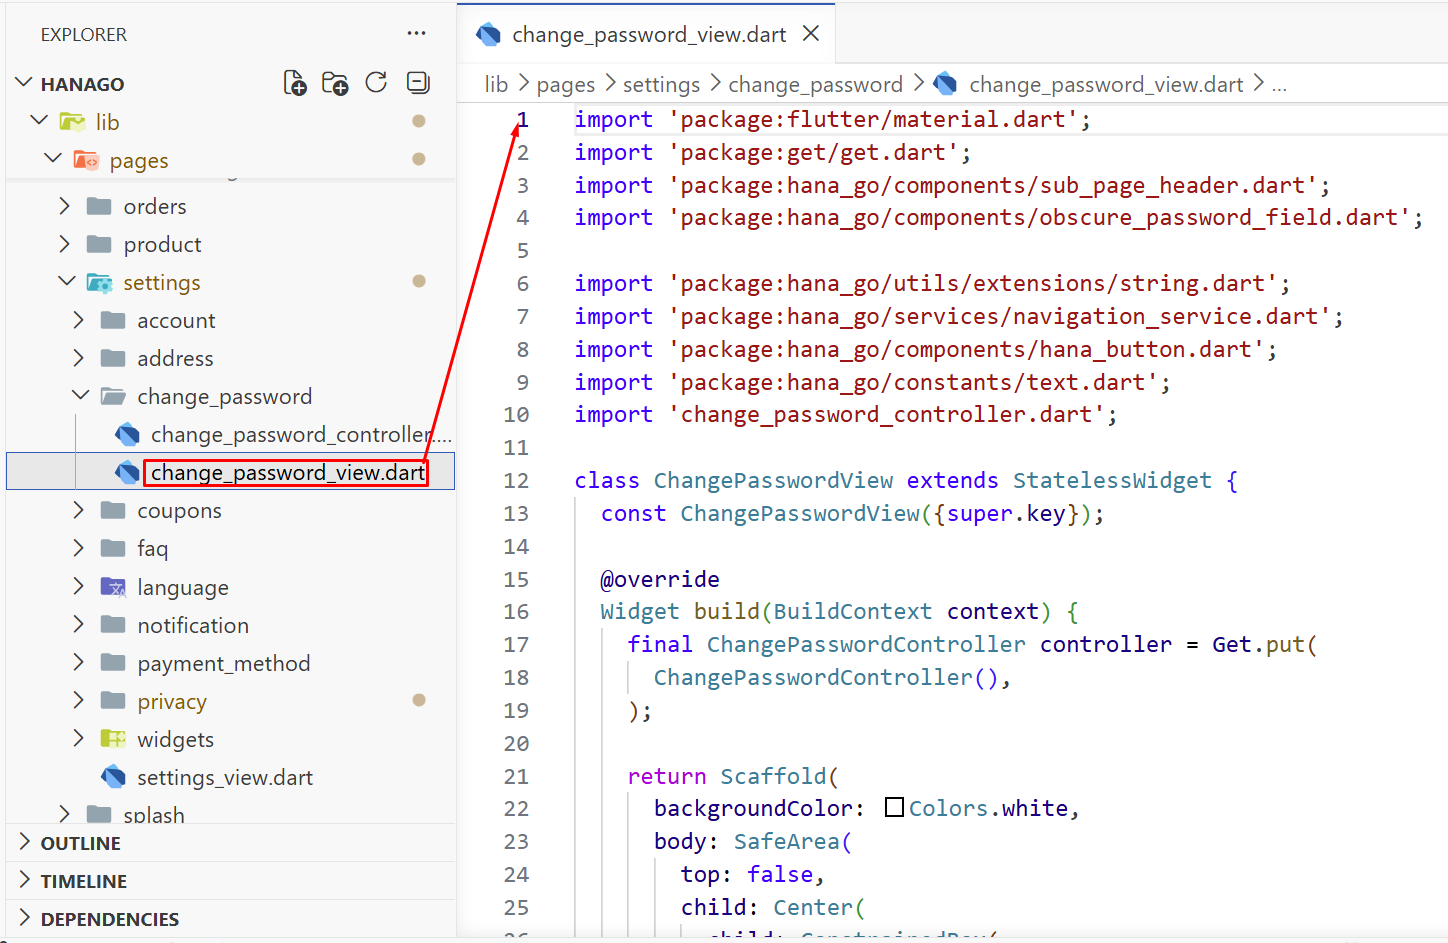
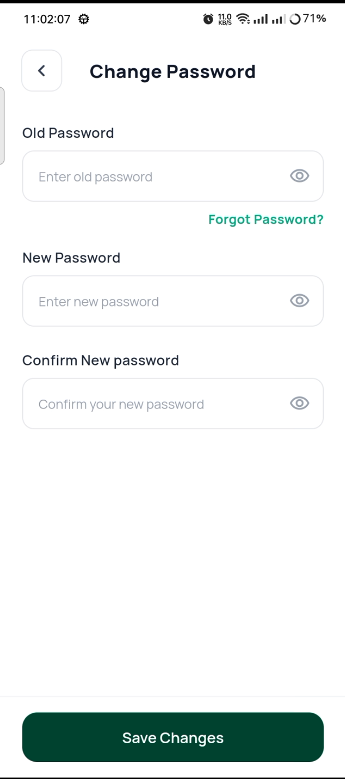
37. Change Password
A security screen where users enter their current password and create a new one. Simple three-field form with a Update Password button at the bottom.
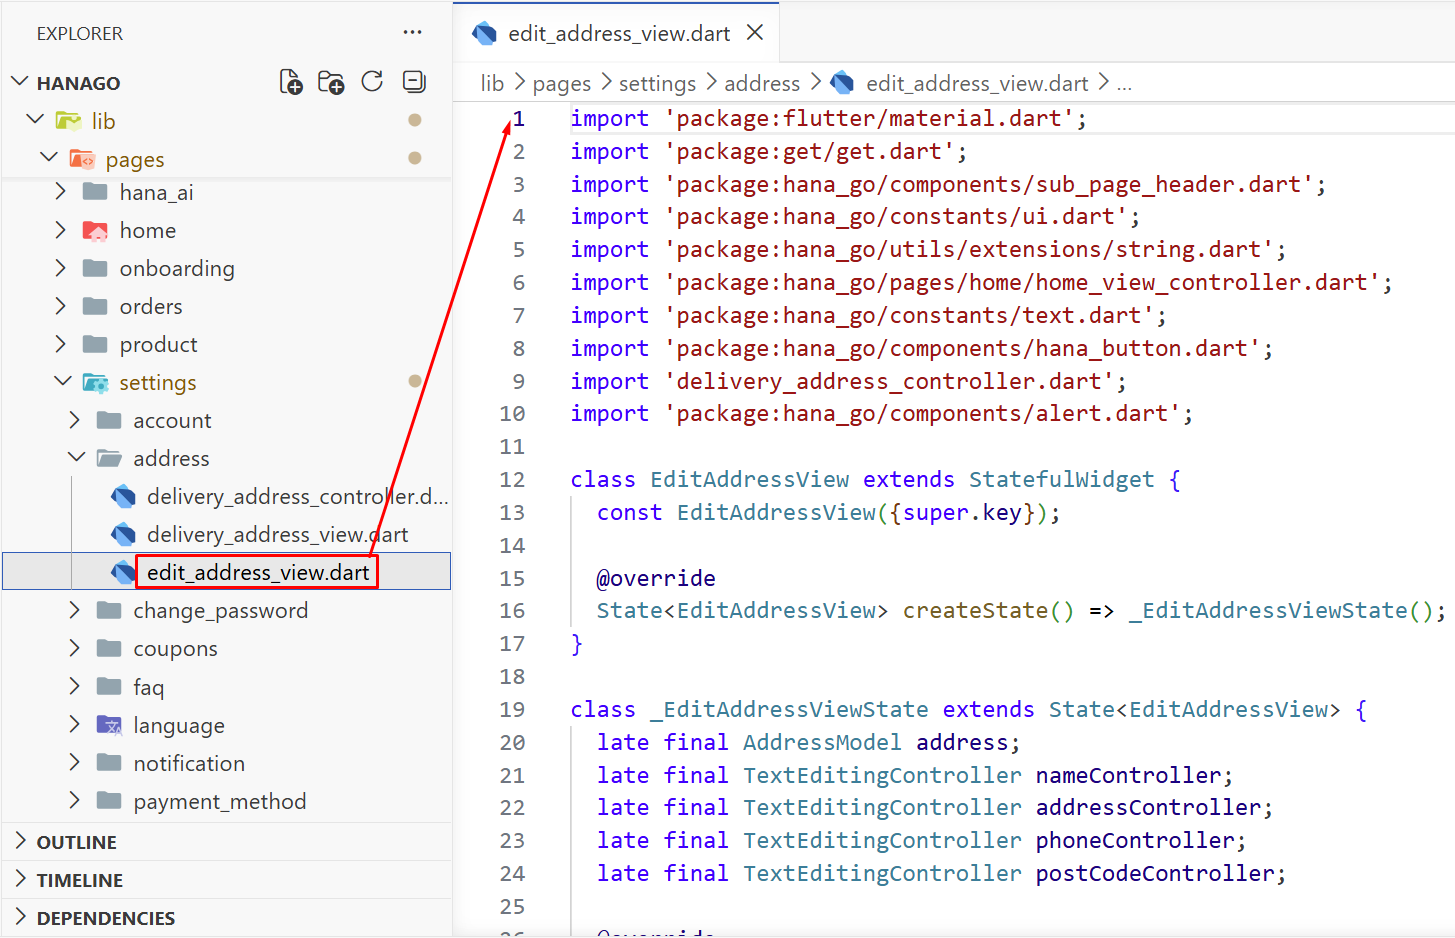
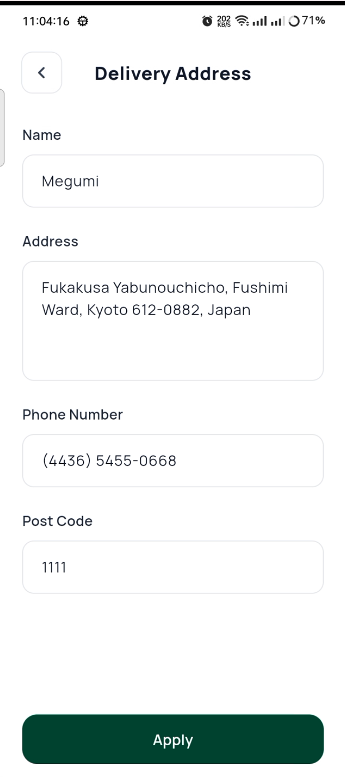
38. Edit Address
An editing form for updating a saved delivery address. Label, street, city, state, and zip code fields that users fill out and save.
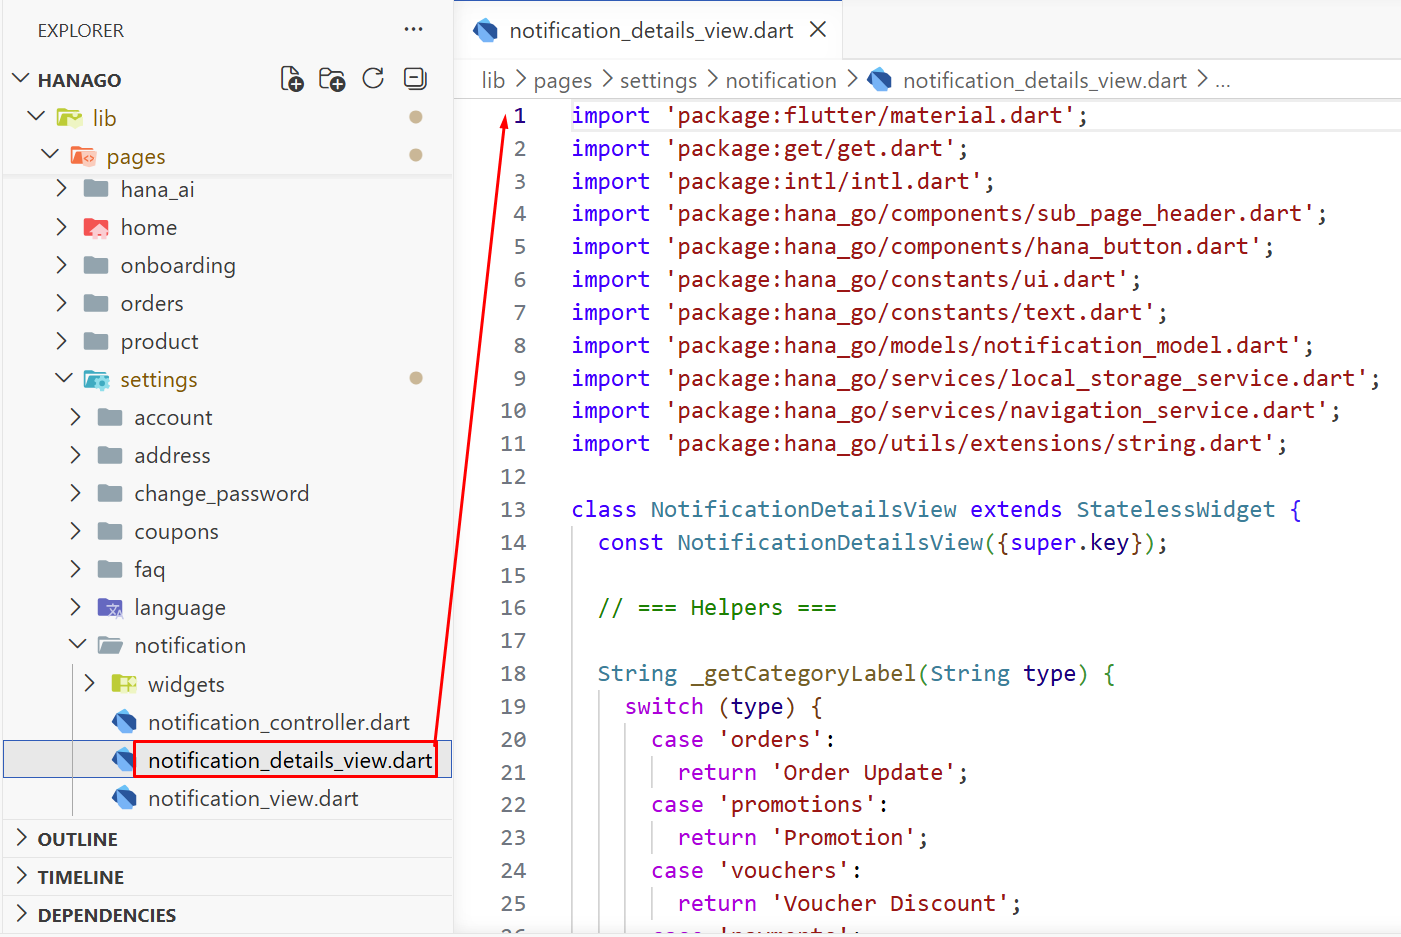
39. Notification Details
The full view of a single notification. Title, timestamp, and body text. Users land here when they tap on a notification from the list.
40. Privacy and Sharing
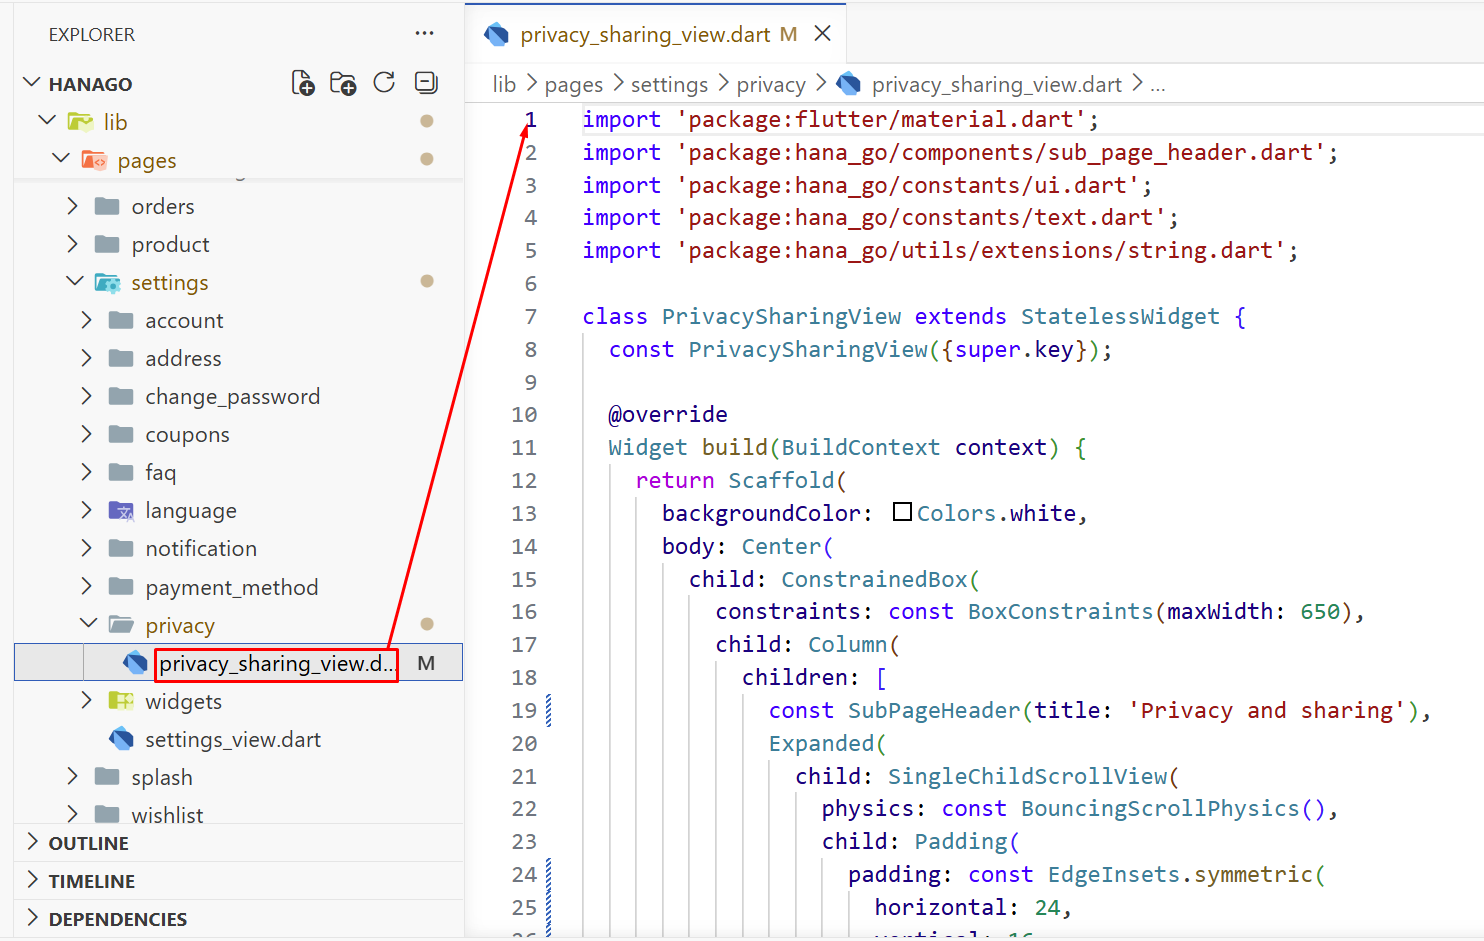
A settings page with three sections: Privacy Policy (view policy, manage data), Sharing (share app, rate us, refer a friend), and Legal (terms of service, open source licenses).
:::tip Adding Your Screenshots
Place your code screenshots in static/img/screenshots/code/ and app screenshots in static/img/screenshots/ using the filenames shown above. The images will render in the grid layouts automatically.
:::